


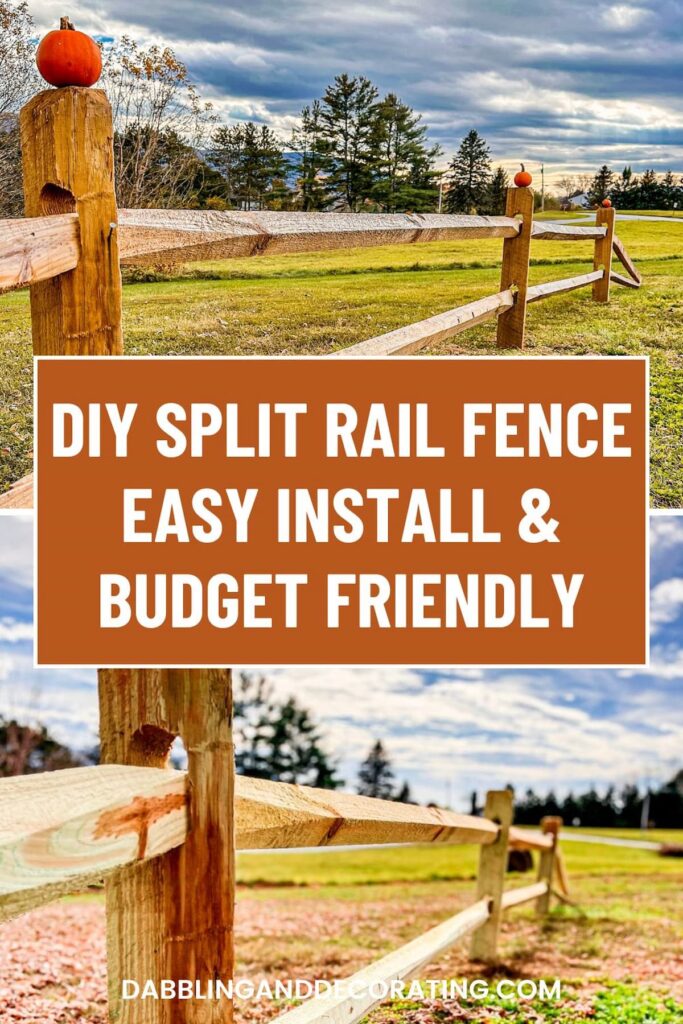
Learn how to build a split rail fence with step-by-step instructions, easy DIY tips, and rustic style ideas to add timeless charm and affordable beauty to your property.
Looking to build a split rail fence that adds rustic charm, structure, and function to your outdoor space? This affordable, easy-to-install DIY project is perfect for framing your yard, defining backyard zones, and creating timeless cottage style.
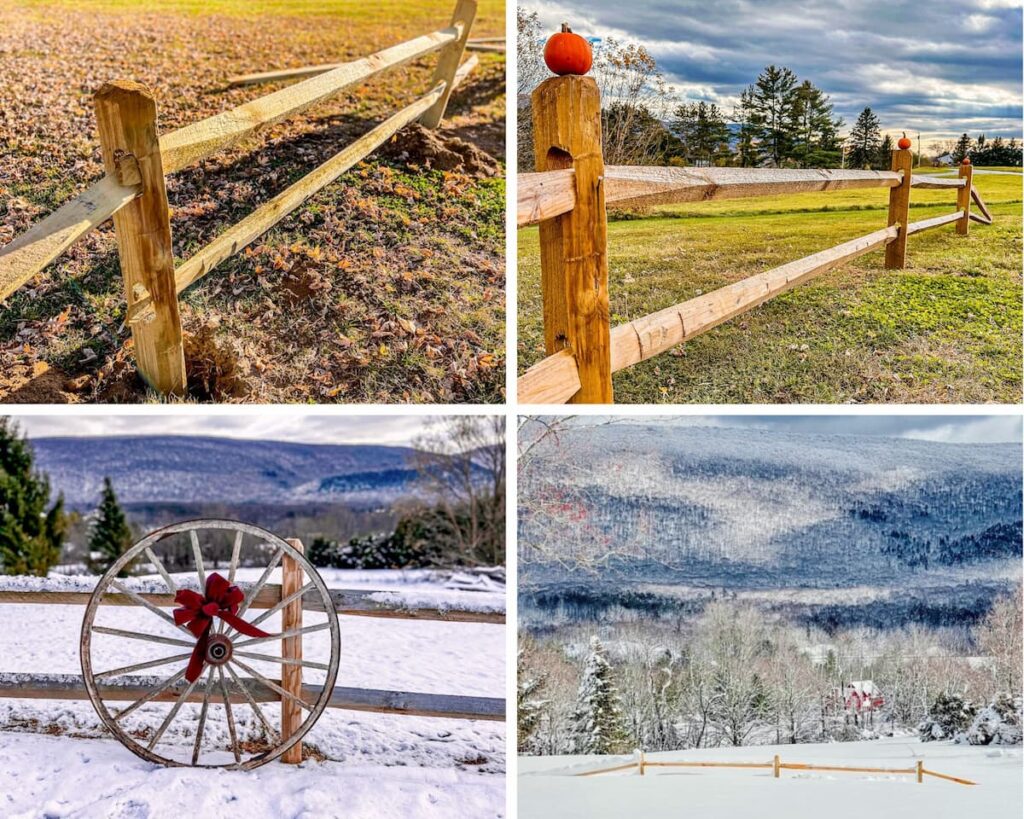
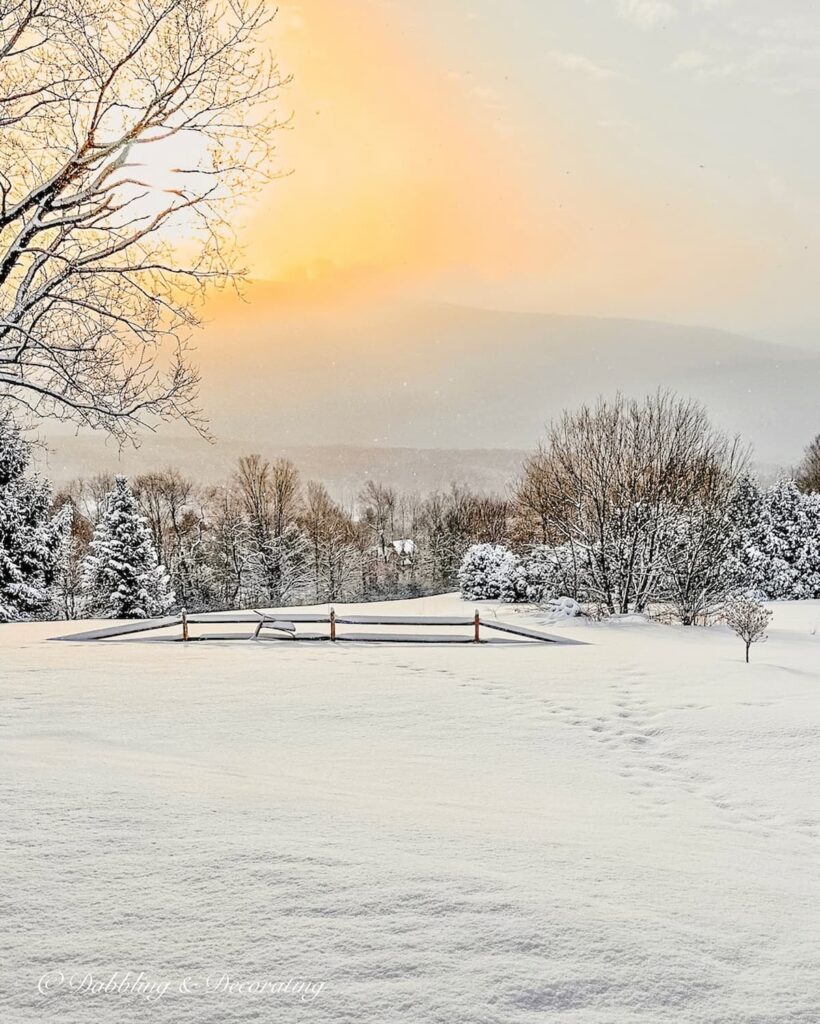
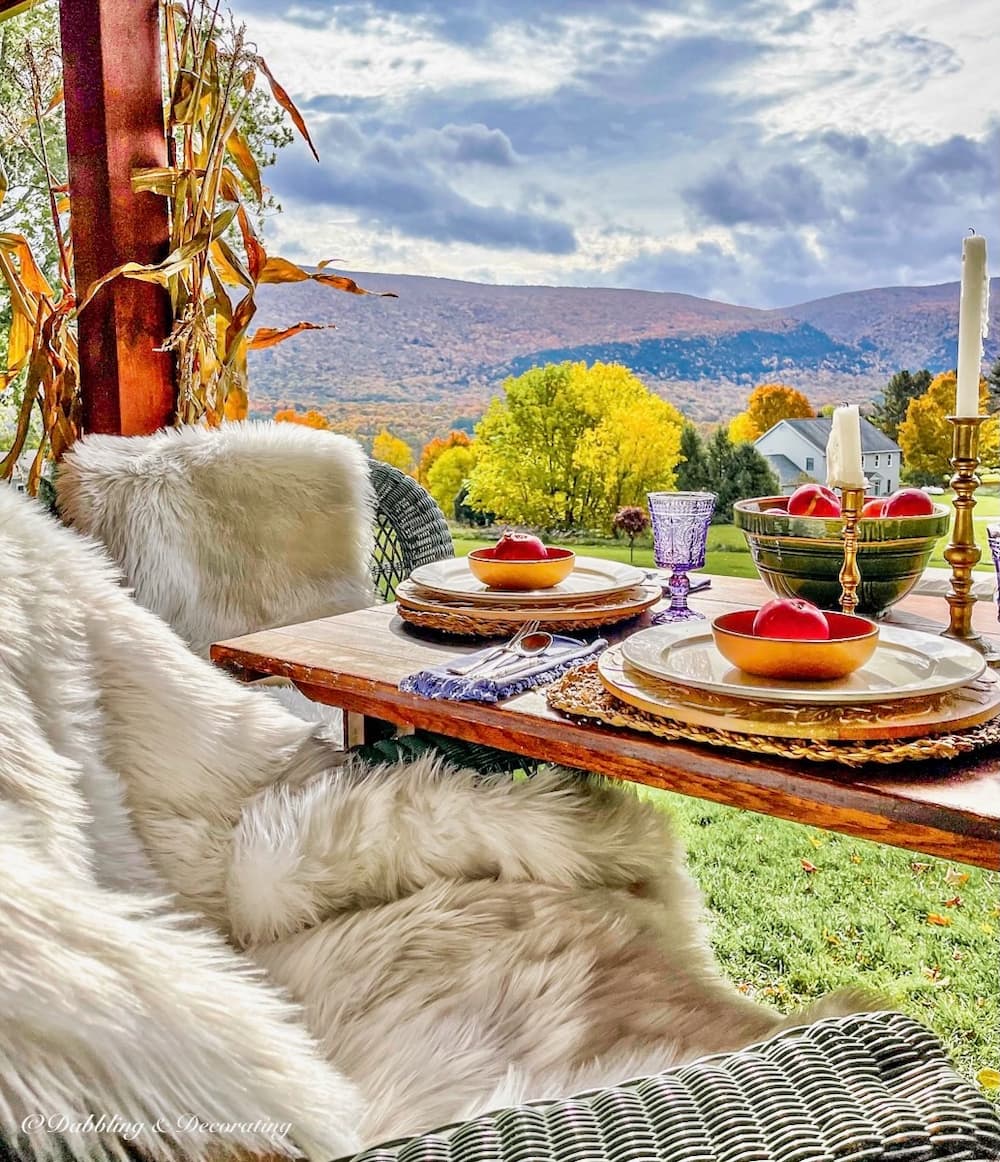
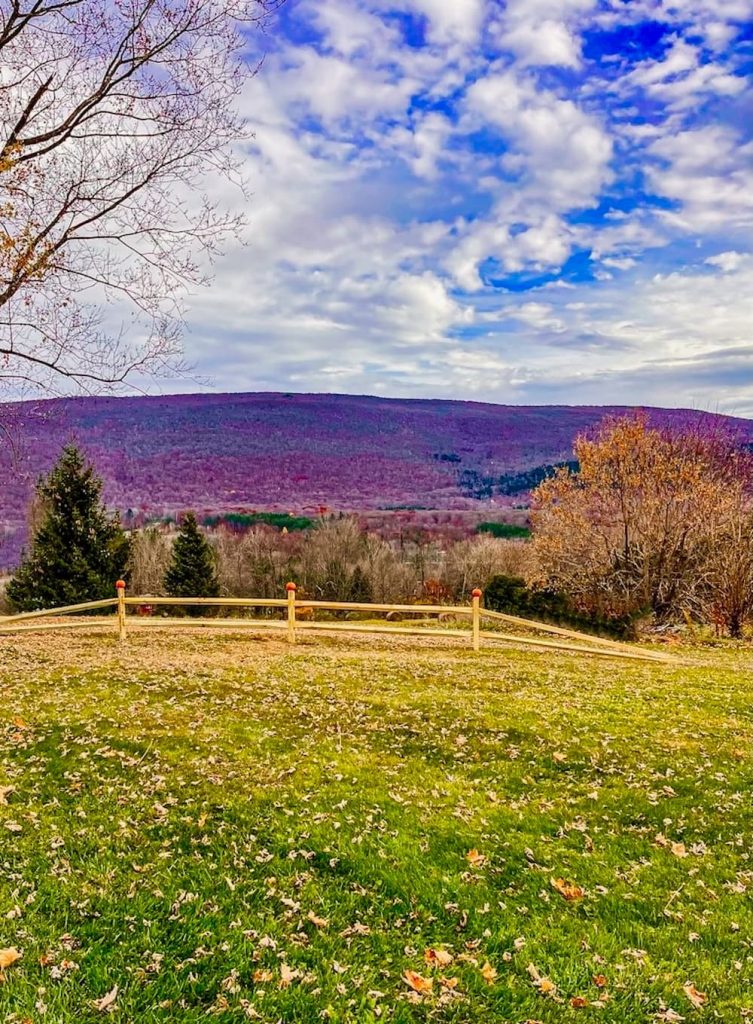
We built this classic split rail fence to transform our Vermont backyard and fire pit patio, turning it into a cozy outdoor retreat we love decorating with seasonal vintage touches all year long.
Easy DIY Home Decor Projects with Vintage Style
Explore our easy DIY home decor guide with vintage style, using thrifted and repurposed finds. Simple, beginner-friendly ideas to decorate your home with charm.
What is a Split Rail Fence?
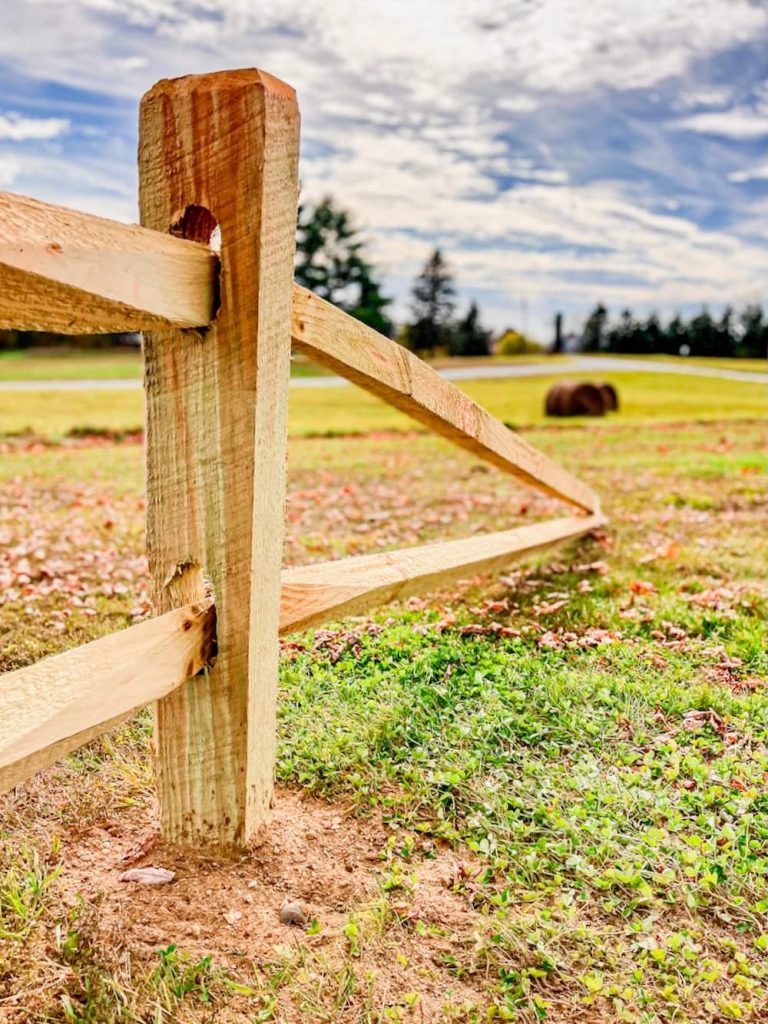
Split rail fencing, also known as post and rail fencing, is one of the most classic and recognizable styles for rustic outdoor spaces. Made from durable wood like cedar or locust, a split rail fence features evenly spaced vertical posts with horizontal rails that fit snugly into notched holes. This open, airy design has long been favored for its simplicity, timeless charm, and natural beauty, especially in country, farmhouse, and New England-style homes.
Whether you’re defining property lines, enclosing a yard, or adding vintage character to your landscape, split rail fences offer a practical and affordable way to blend seamlessly with outdoor surroundings while creating rustic curb appeal.

Your Guide to Vintage Fall Home Decor in Vermont
Step into fall with cozy charm, colorful vintage finds, and nostalgic New England style. This seasonal decorating guide brings together over 15 fall-inspired blog posts, from porch styling and table settings to fire pits, Halloween touches, and more, all inspired by life in the Vermont mountains.
Why Choose a Split Rail Fence for Your Yard?
A split rail fence is more than just a practical way to define your outdoor space, it’s a charming, flexible, and approachable project that instantly adds rustic curb appeal. Whether you have wide-open country views or a cozy backyard, this timeless fence style brings rustic beauty and character to your landscape through every season.
Budget-Friendly Backyard Upgrade
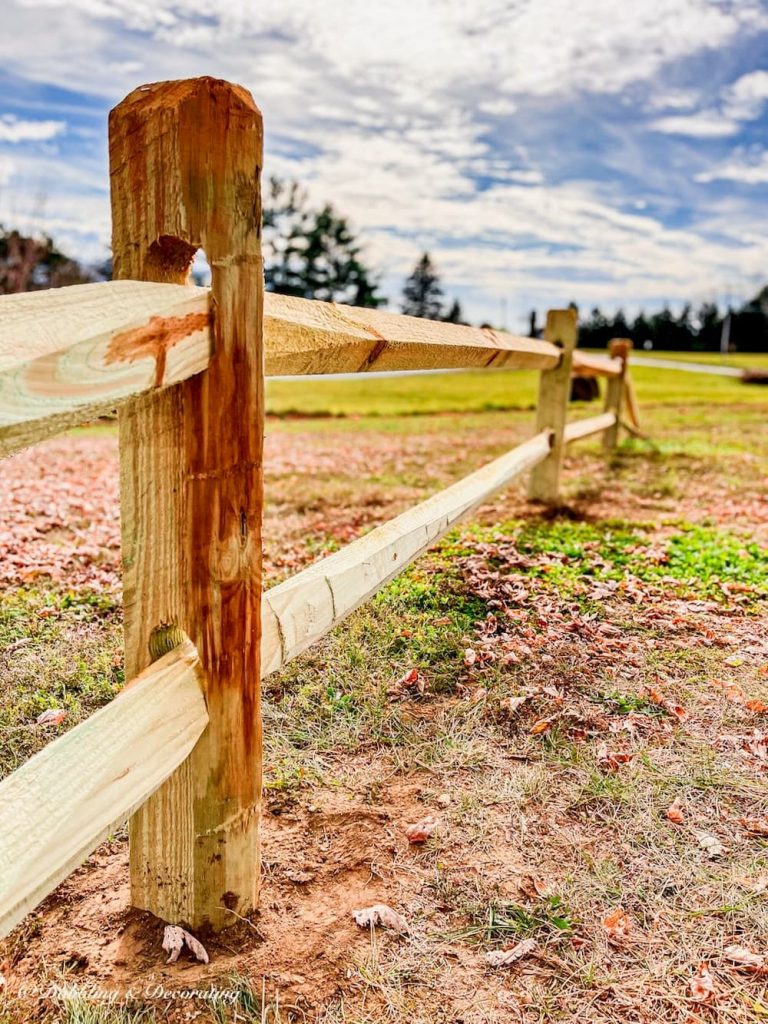
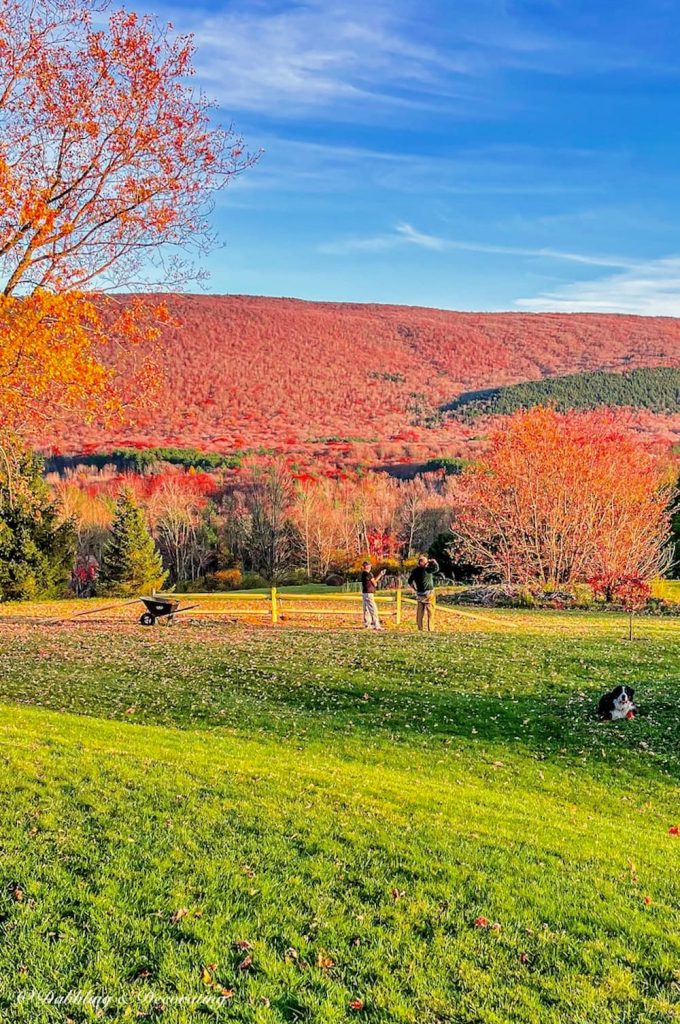
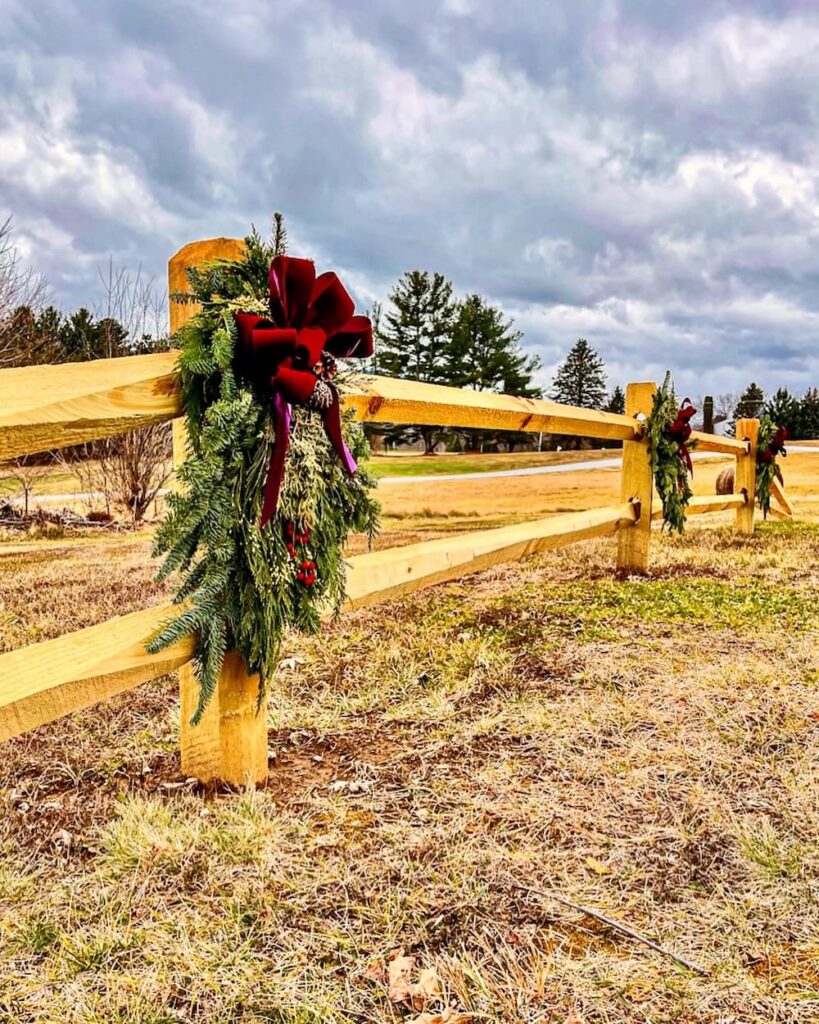
If you’re dreaming of a timeless fence without the hefty price tag, split rail fencing is a cost-effective backyard solution that delivers on charm and function. With fewer materials and straightforward installation, it’s a wallet-friendly way to elevate your property lines or garden space. Ours has three posts and two rails, simple, clean, and just enough to create visual interest without blocking the mountain views.

The Vintage Posts Readers Love Most
Start with the posts readers come back to again and again. These vintage decorating ideas are rooted in New England, styled with thrifted and antique finds, and filled with real-life tips you can use in your own home. Familiar Finds, Styled Your Way.
Eclectic Decorating Style Guide: How to Layer Vintage, Antique, and Thrifted Decor
How to Start a Vintage Booth: Tips, Display Ideas, and Lessons Learned
7 Things I’ll Never Thrift Again—and the Vintage Decor I Buy Now Instead
Scandinavian Spring Homes: 10 Light and Airy Cottage Tours to Inspire
Easy DIY Wicker Basket Makeover with a Leather Belt That Adds Instant Charm
Weekend DIY-Friendly
Installing a split rail fence is one of the easiest DIY landscaping projects you can tackle. No need for complex tools or digging for days, just a little planning, and you’re on your way to a beautiful, rustic fence in a weekend. In our Vermont yard, we installed it ourselves and were amazed by how effortlessly it added structure, charm, and decorating potential to the space, think blooming sunflowers in summer, snow-draped rails in winter, and twinkling Christmas lights in December.
Charming Accent Fencing That Blends with Every Season
Split rail fencing isn’t just functional, it’s a decorative detail that complements every style, from cottage gardens to mountain landscapes. It naturally draws the eye and adds definition without feeling heavy or obstructive. For us, it’s that perfect balance of open and enclosed, a cozy nod to tradition while letting the views and seasons shine.
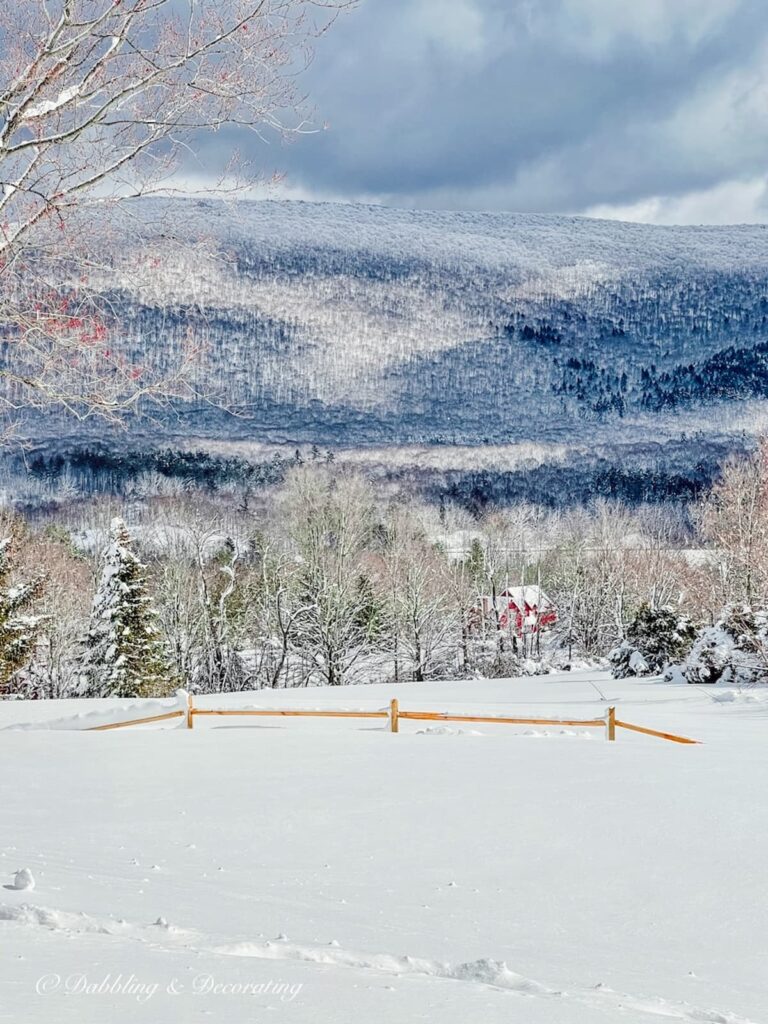
Cozy New England Decorating Inspired by Vermont Mountain Views
Experience how our breathtaking Vermont mountain views inspire cozy New England-style decorating ideas throughout the seasons. Discover timeless tips for bringing warmth and charm into your home with nature as your muse.
Our Split Rail Fence Project: A Simple & Affordable DIY
Split Rail Fence Home Depot
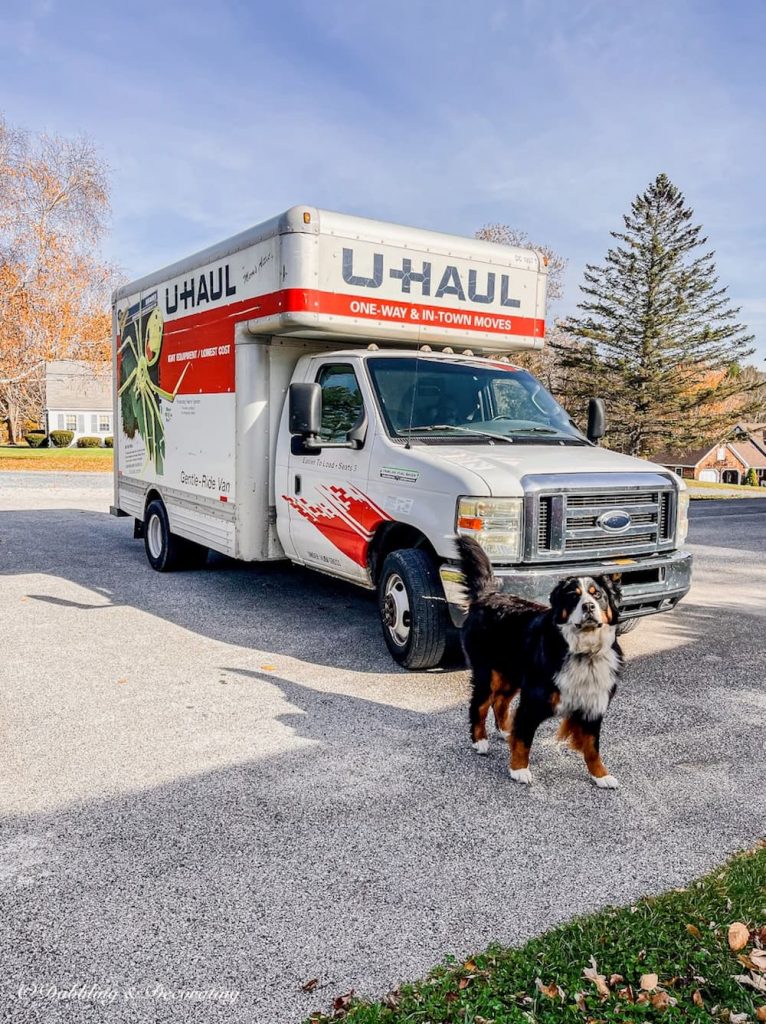
We purchased our wood split rail fence directly from Home Depot, and their customer service couldn’t have been more helpful. They assisted us with placing a special order and arranged for next-day delivery, making the process smooth and stress-free.
If you’re planning a similar project, you can also explore local fencing suppliers or garden centers, which may offer different configurations and wood types depending on your style and region.
Here’s what we purchased:
For our post-and-rail fencing, we are keeping it small with six rails and three posts for a total cost of $224.55 with delivery or $145.55 without delivery.
We kept this project intentionally small, just enough to frame a cozy spot in our Vermont yard and create visual depth against the mountain views. And as you’ll see throughout this post, this little fence has become the perfect seasonal backdrop—from sunflower-lined summers to snow-dusted holidays.
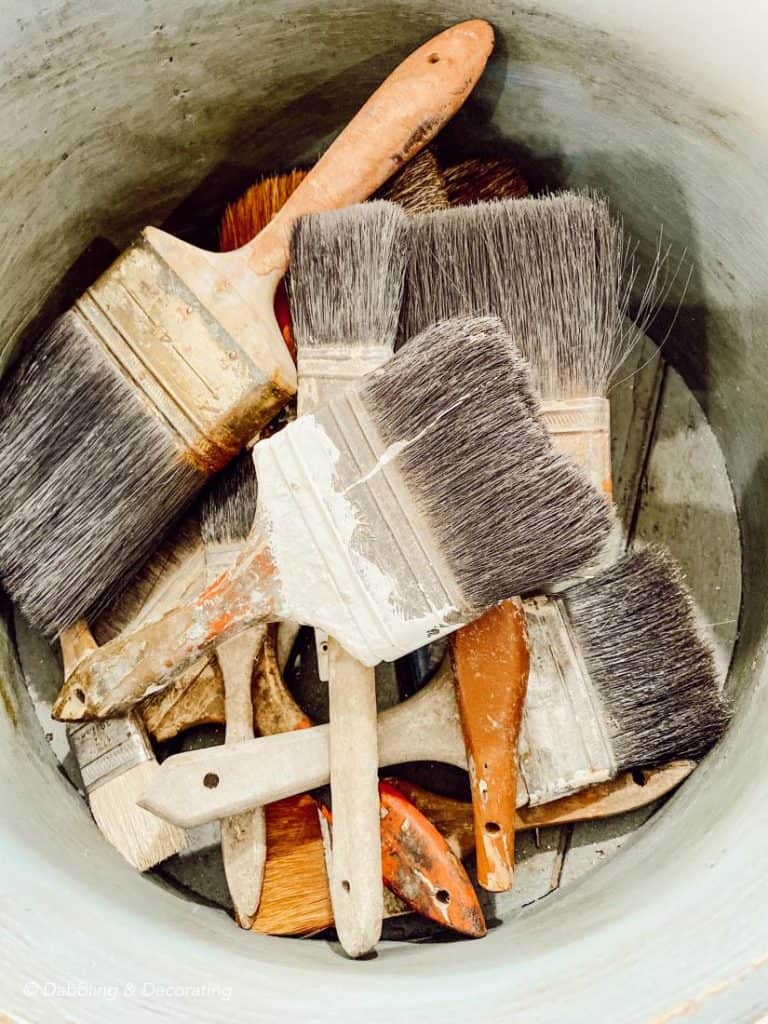
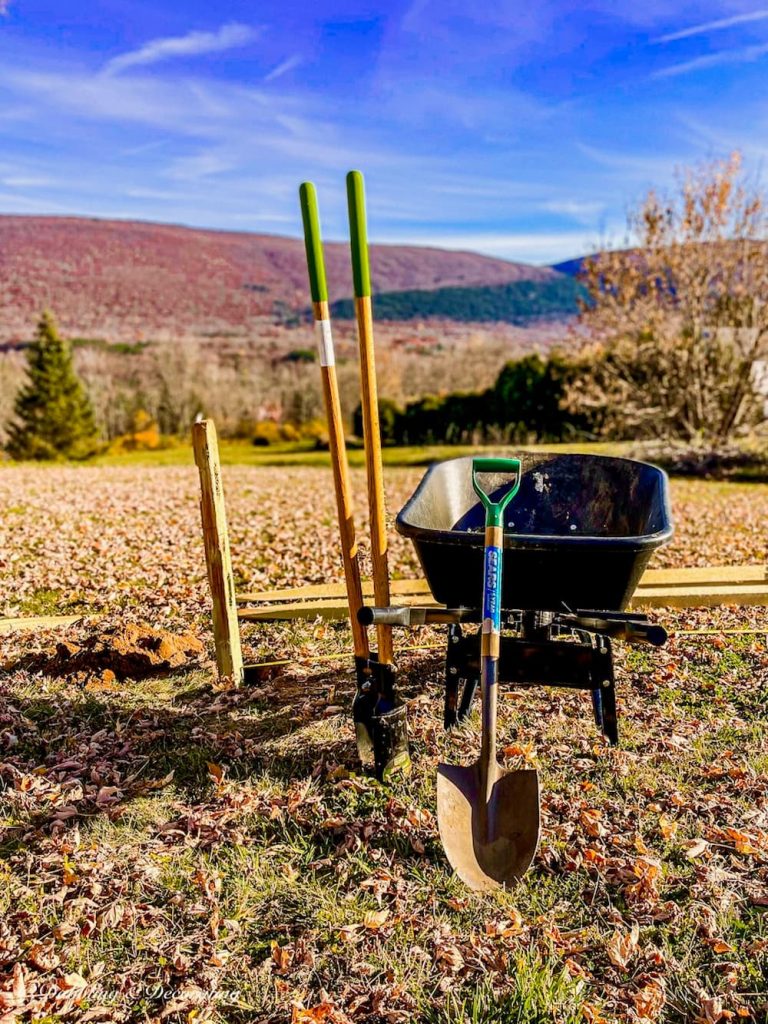
What You’ll Need to Get Started
Compared to heavier fencing styles like solid wood panels, split rail fencing is wonderfully lightweight and DIY-friendly. In fact, it’s one of the easiest ways to add rustic charm and structure to your yard in just an afternoon.
Before you begin, gather a few basic tools to make the installation process simple and efficient:

Vintage Home Decorating Guides and Styling Inspiration
Are you curious about vintage decor but don’t know where to start? These cornerstone guides are packed with seasonal styling tips, how-tos, and inspiration to help you confidently decorate with charm and character.
How to Install a Split Rail Fence in 5 Simple Steps
Installing a split rail fence is a straightforward DIY project that adds rustic charm, structure, and visual depth to any outdoor space.
Whether you’re working with wide open fields or a cozy corner of your yard, this fence style brings timeless appeal without blocking the view.
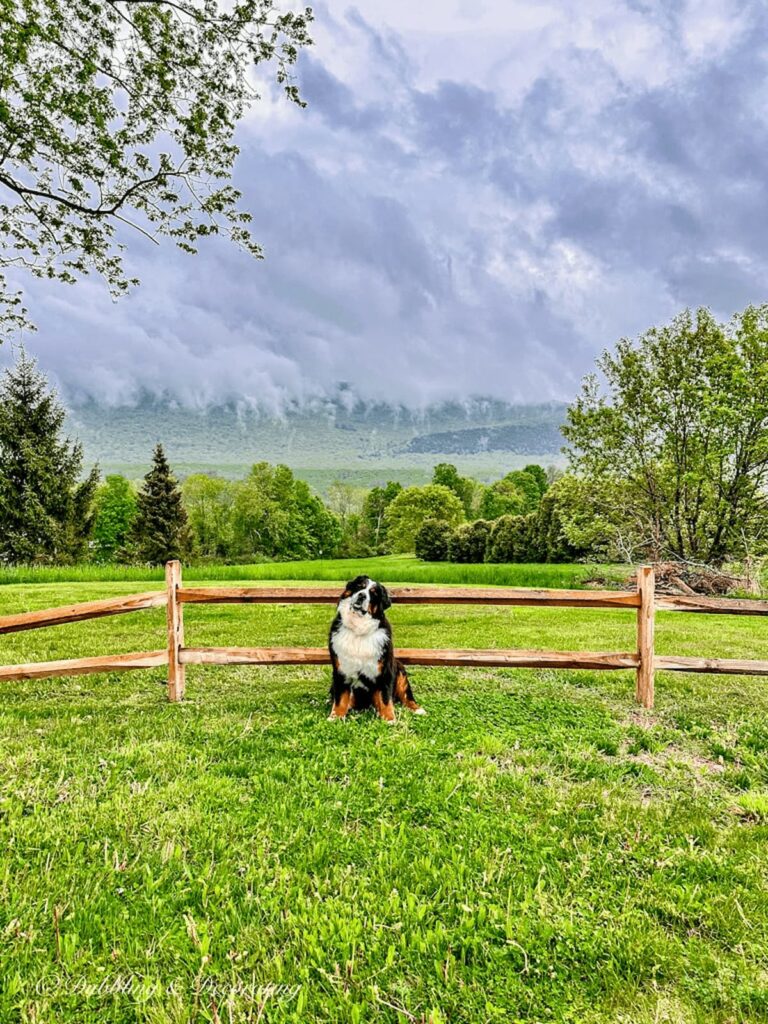
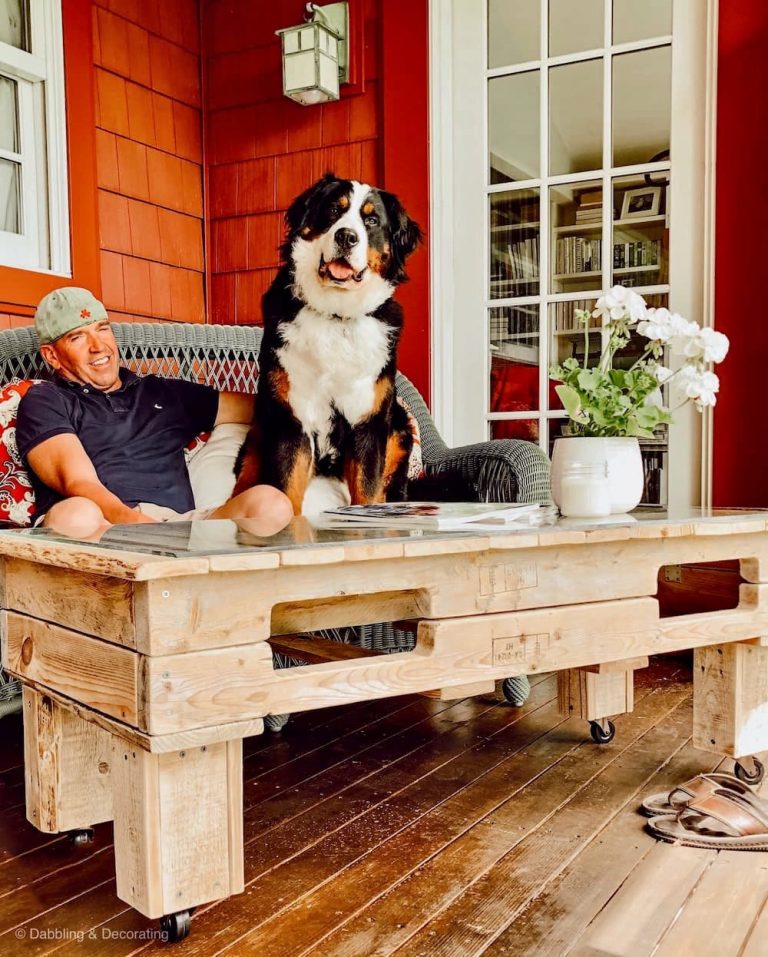
Here’s exactly how we installed our three-post, six-rail fence in our Vermont yard, with a little help from Home Depot and a whole lot of love (and Ella, of course).
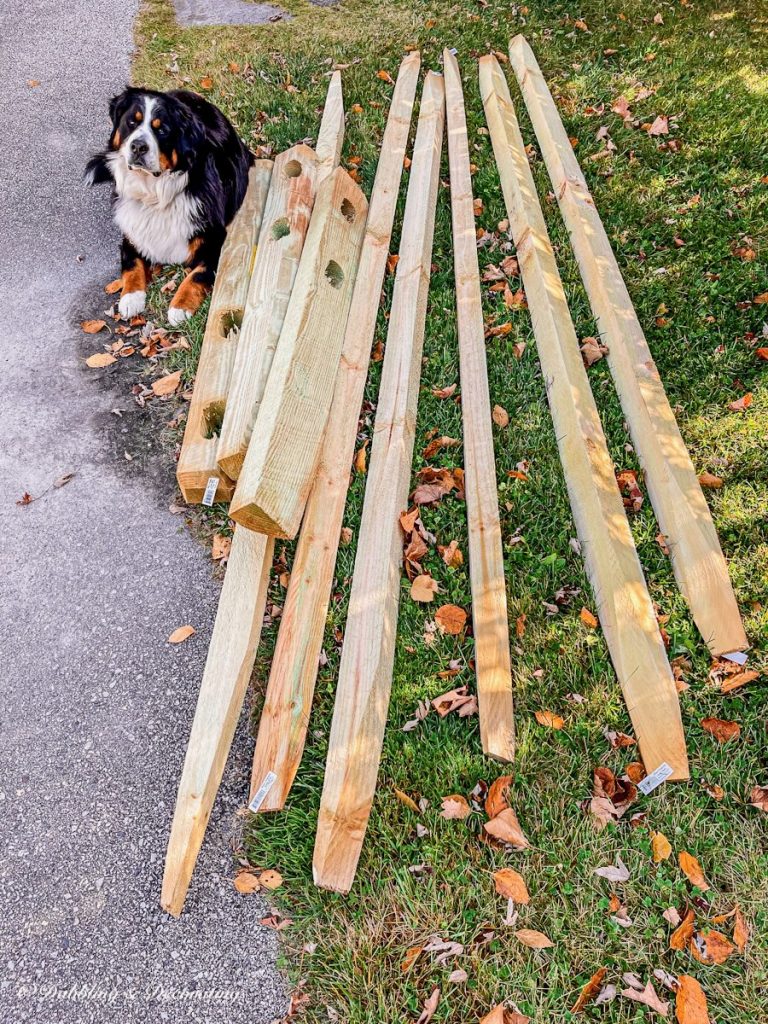
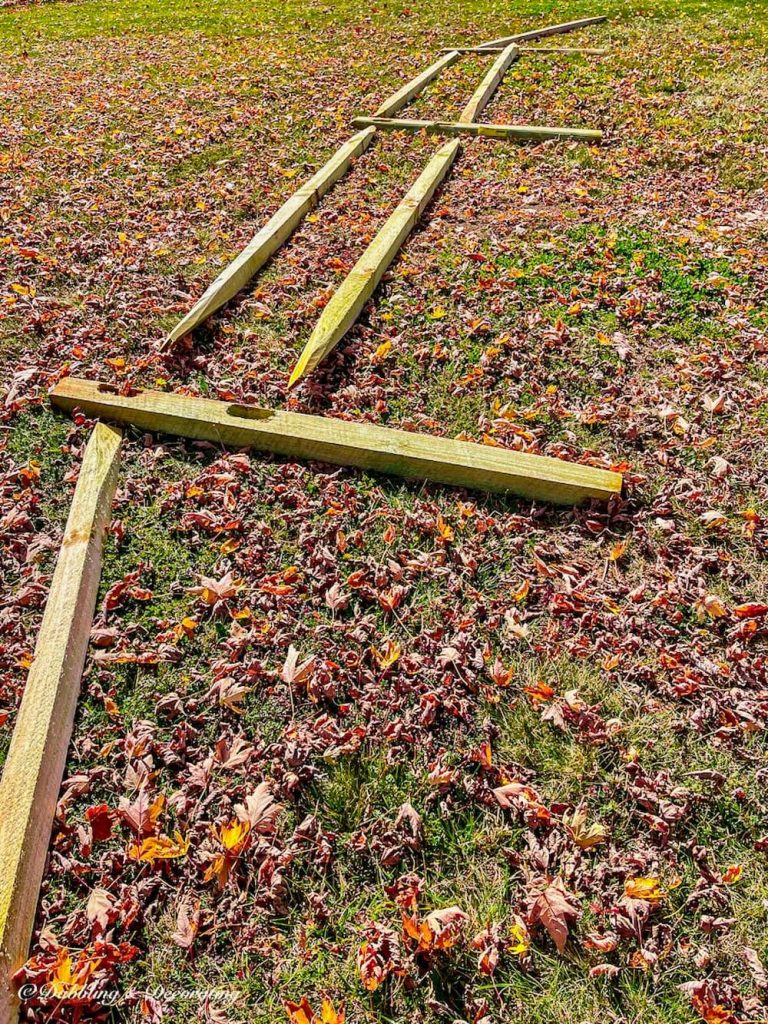
Step 1: Lay Out Your Fence Design
Start by laying out the fence posts and rails exactly where you’d like them to go. This helps you visualize spacing, height, and alignment before digging. We laid everything on the ground first, using our mountain views as a guide for the perfect placement.
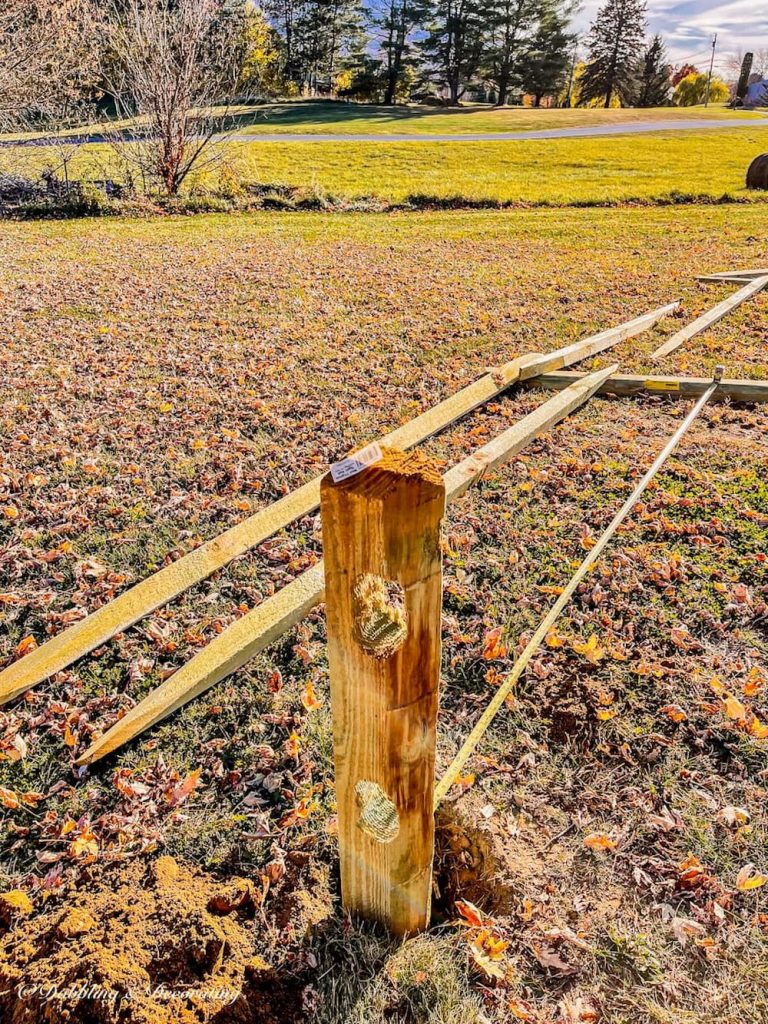
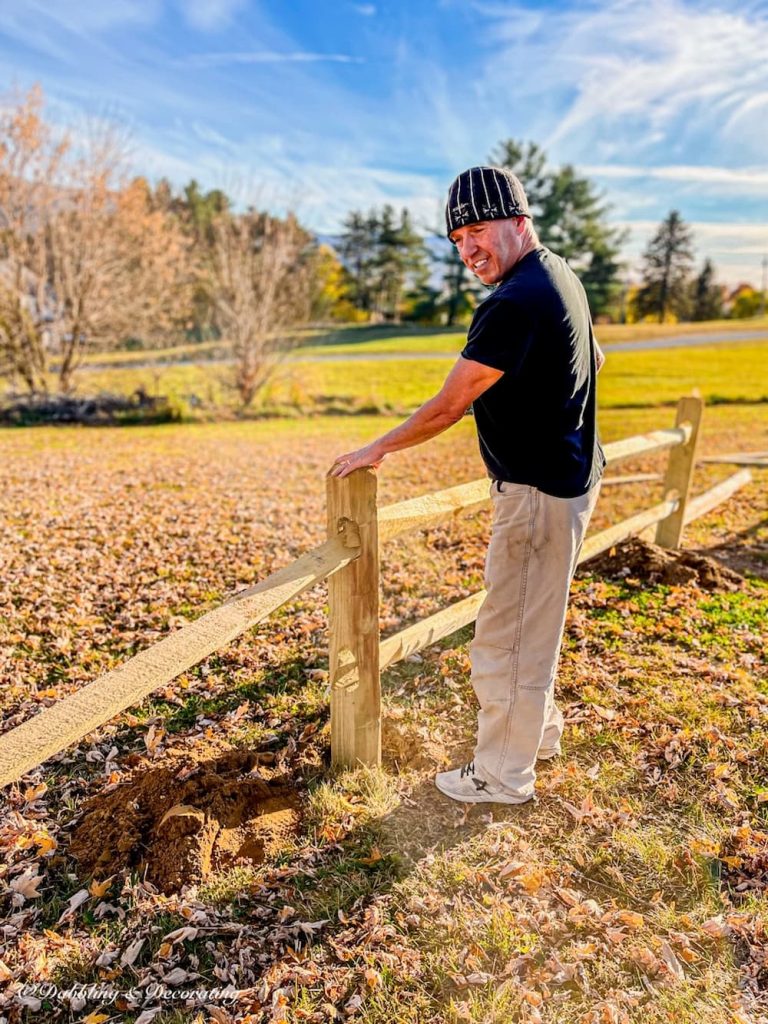
Step 2: Dig the First Post Hole and Check Alignment
Use a shovel or post hole digger to dig your first hole, then temporarily place one post into it. Step back and check the overall alignment of your fencing line, this is your anchor. Use a string line and level to ensure your fencing is straight before moving on.
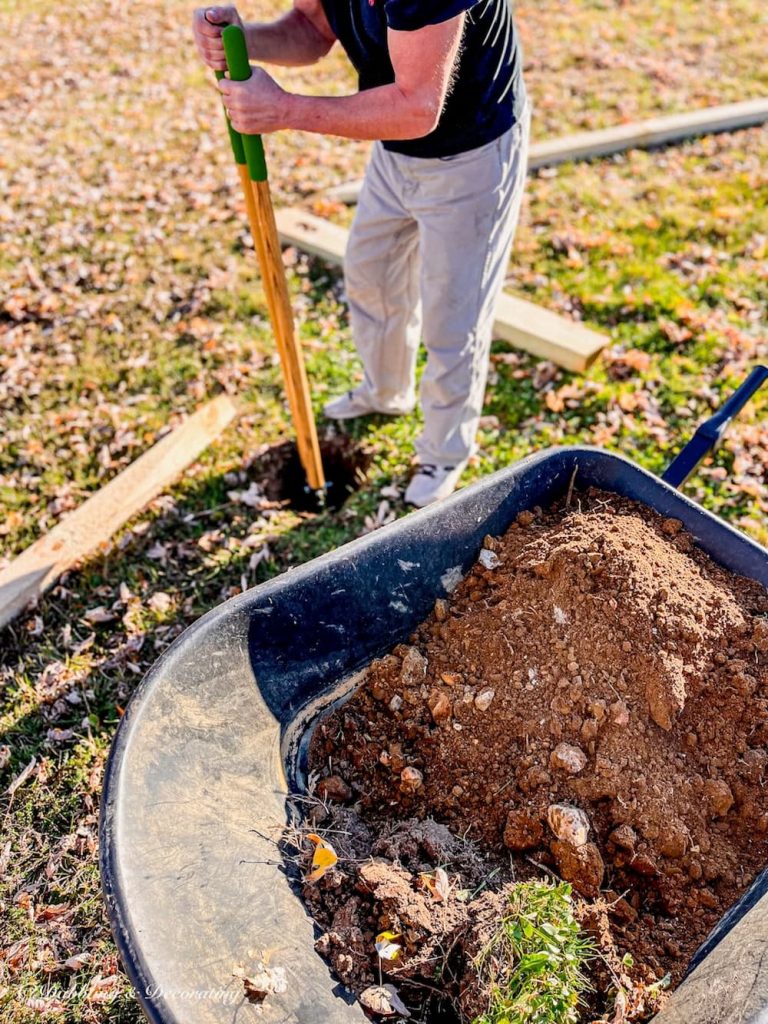
Step 3: Dig Remaining Holes and Prep Your Materials
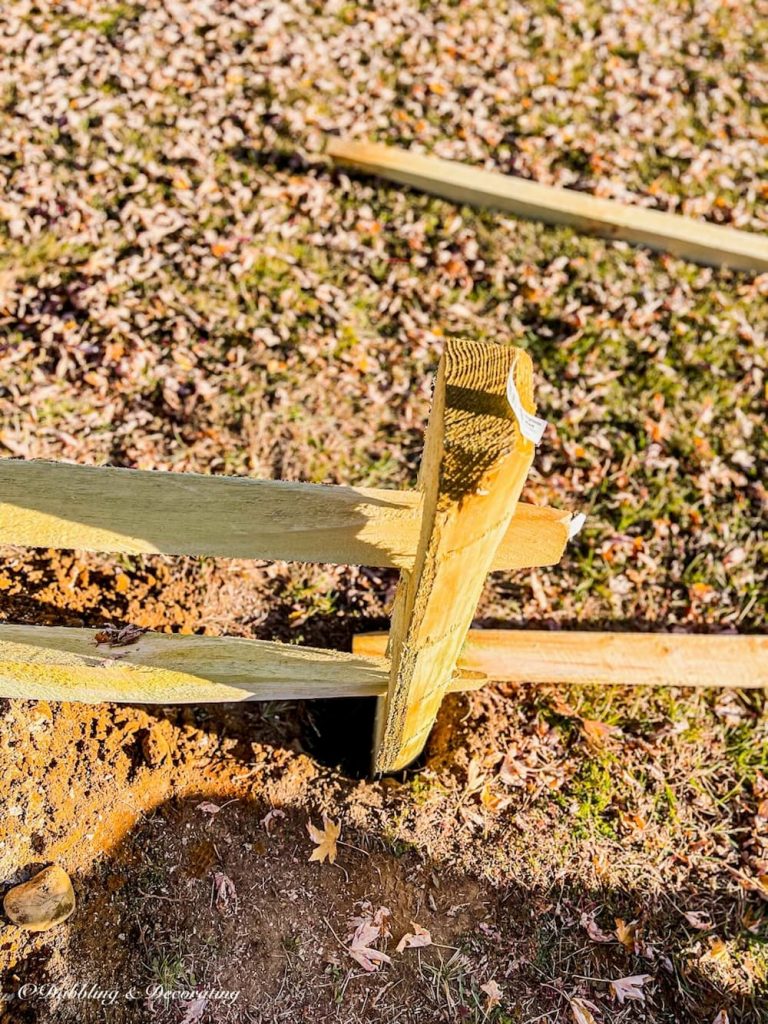
Measure the distance between your posts and dig the remaining holes, ours were dug 28 inches deep. Keep the dirt in a wheelbarrow to refill the holes later. Don’t forget that split rail fencing has an overhang where rails slide through post holes, factor that into your measurements for a snug fit.
Step 4: Set Posts and Pack Dirt from the Bottom Up
Place your posts in the holes, checking that the tops are level with one another, even if the ground is uneven. Slowly pack the dirt back in from the bottom up, tamping as you go for a tight and sturdy hold.

Pro Tip
Don’t just pile dirt on top and call it done. A common mistake is failing to tamp from the bottom, which can lead to leaning posts later on. For added stability, mix in gravel, stone, or water as you go. Or try something like Sika Polyurethane Fence Post Mix, which we used in this project to mount a red birdhouse.
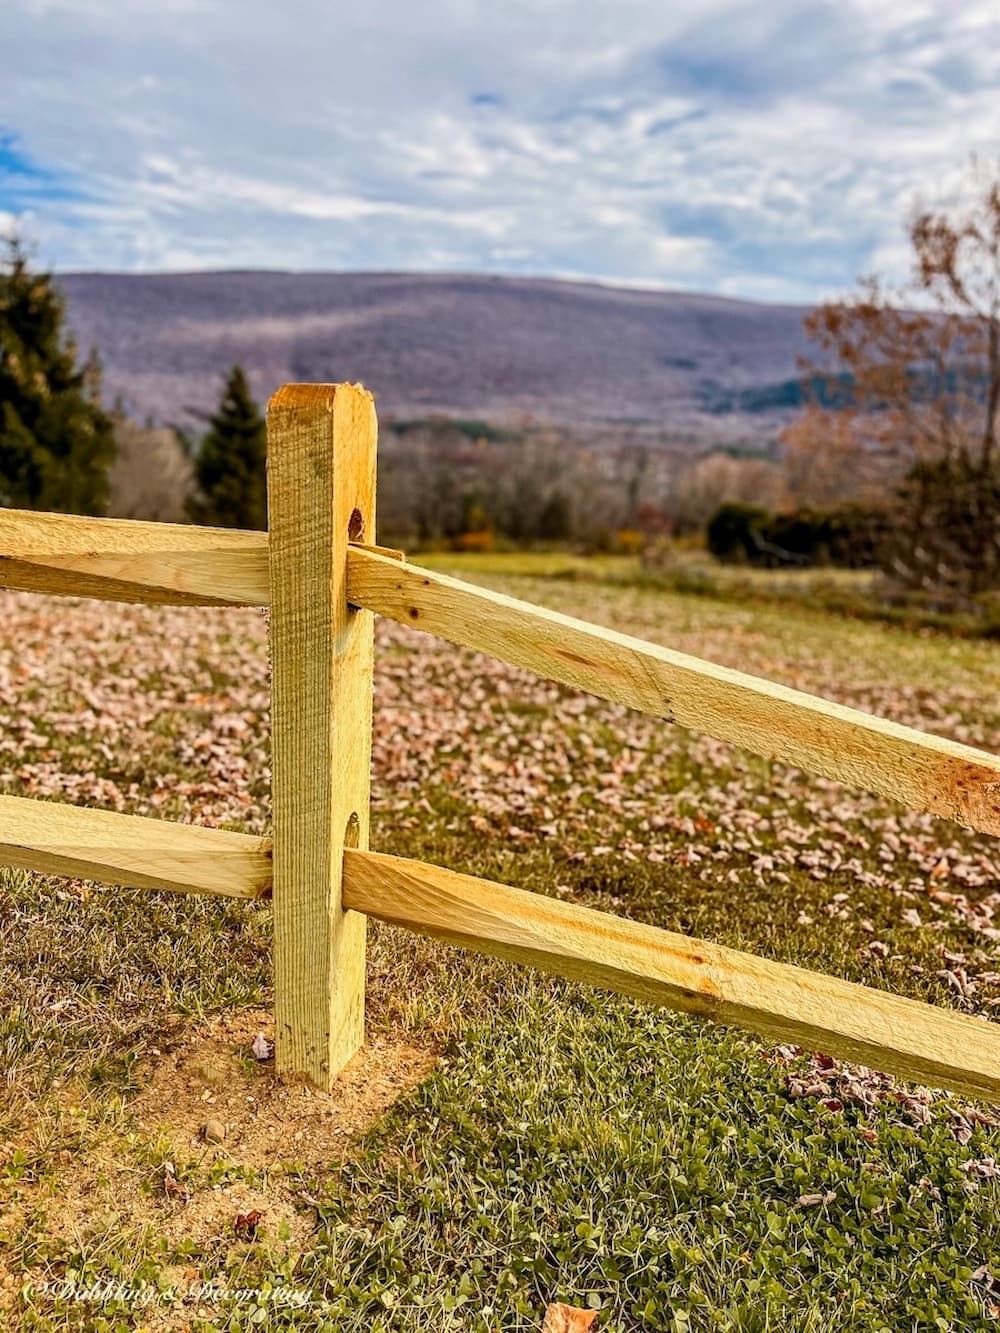
Step 5: Slide Rails into Posts and Admire Your Work
Once your posts are secured, slide the rustic rails into the post holes, and that’s it, your fence is up! You’ll instantly see how the open design adds character and depth without closing in your space. It’s ideal for showcasing everything from summer blooms to snowy evergreens.

This post may contain affiliate links, which won’t change your price but will share some commission.
Recommended Reading
You may also find more backyard inspiration in this Unique Mailbox Creative Curb Appeal Design Ideas post.
Start Here: Your Guide to Vintage, Thrifted, and Antique Home Decorating
Looking for a welcoming place to begin? Start with my Start Here page, where I share favorite vintage decorating ideas, thrifted finds, and styling inspiration from our cozy New England homes in Vermont and Coastal Maine.
Styling Your Split Rail Fence for a Rustic Look Year-Round
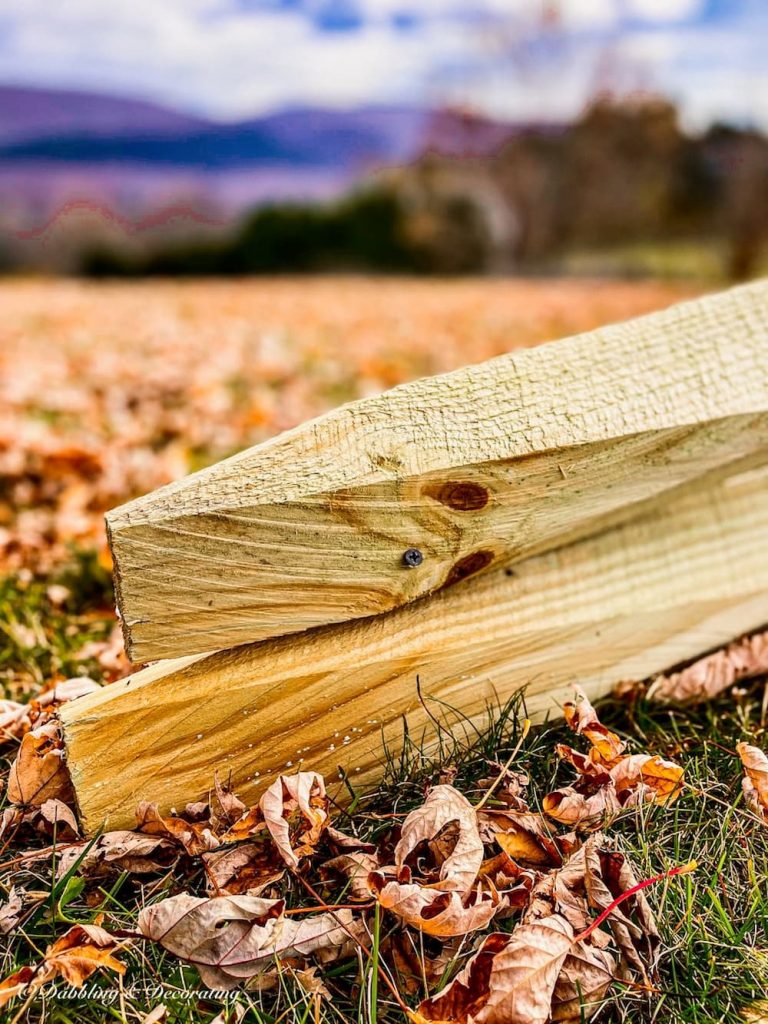
After installing our cedar split rail border fence, we decided to let the natural wood weather into a soft, silvery gray, which beautifully complements the surrounding Vermont landscape. Over time, cedar develops that classic aged patina, blending seamlessly into mountain views and seasonal changes.
You can also choose to stain your split rail fence to match your home’s exterior, garden palette, or cottage-style aesthetic. Whether you go with a warm wood tone or a soft gray wash, this type of fence easily adapts to whatever style you love most.
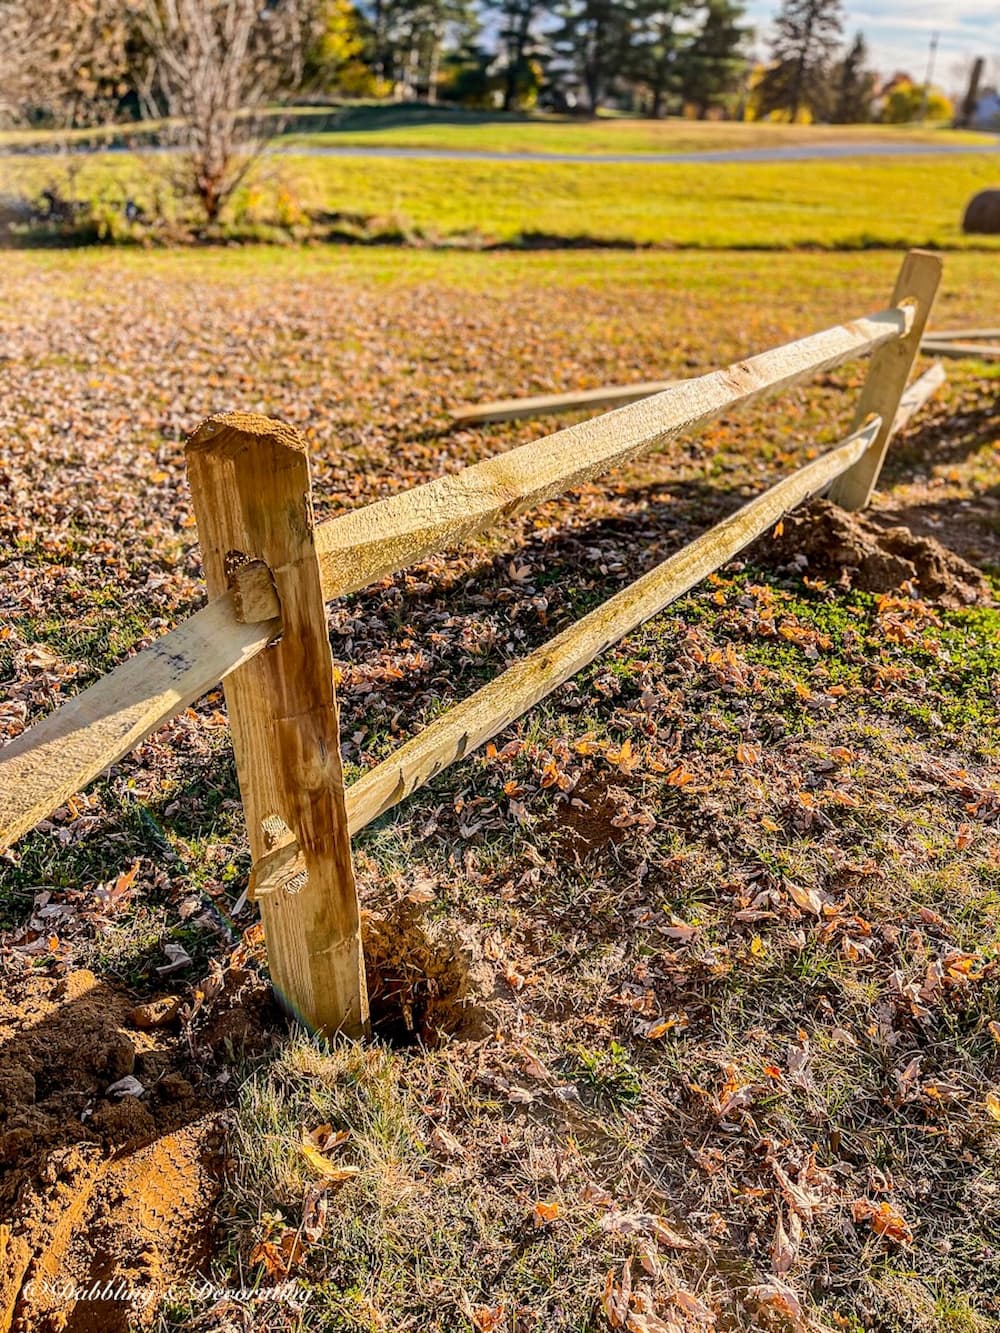
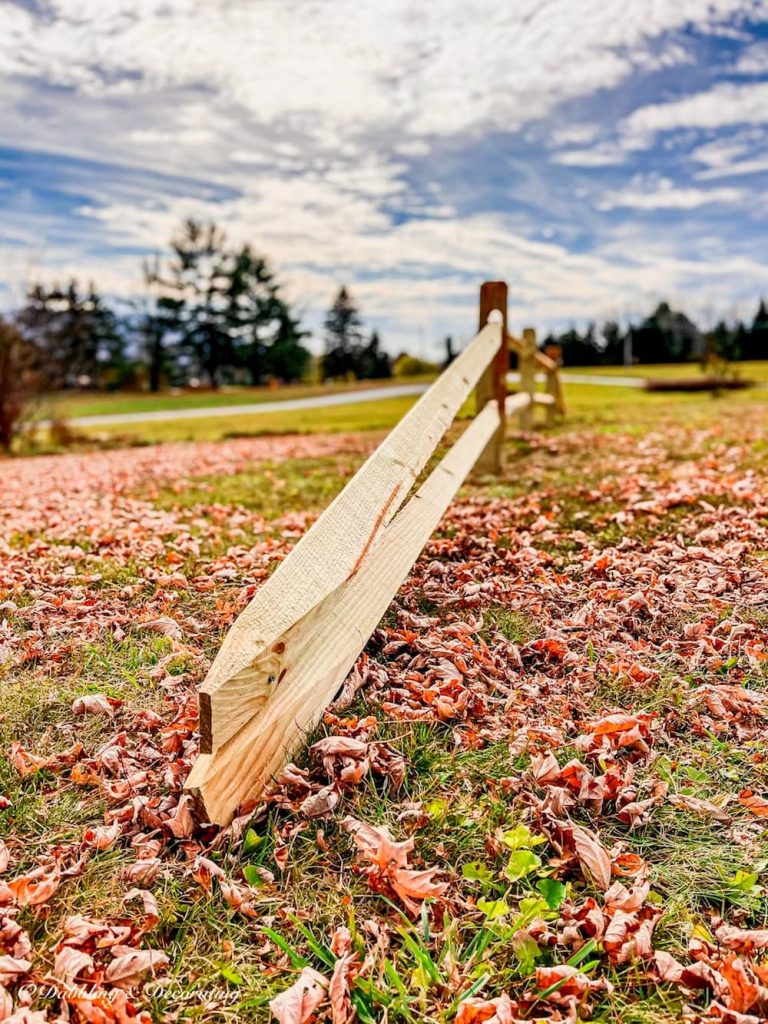
For a more finished look, consider using end posts, or do what we did, let the last rails rest gently on the ground in a diagonal fashion. We originally installed one diagonal rail, but after seeing how charming it looked, we decided to purchase two more rails for a more balanced (yet still rustic!) finish.
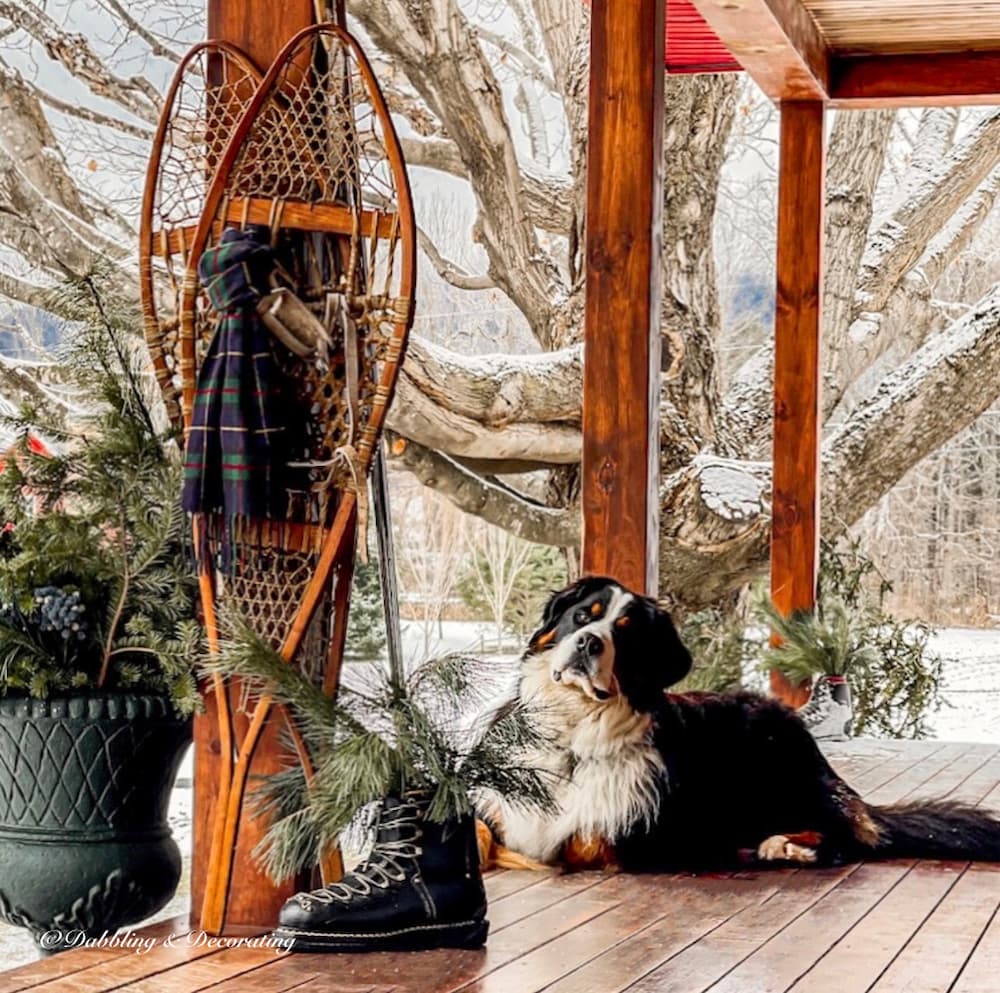
A New England Guide to Vintage Ski Lodge Decor
Love cozy winter charm and antique alpine finds? Don’t miss our Vintage Ski Lodge Decor Guide, where I share nostalgic winter decorating ideas, vintage ski gear styling, and charming pieces inspired by Vermont’s snowy mountain life.
How to Secure Leaning Rails for a Custom Finish
To secure the angled split rails at the end of the fence, we simply added a screw through the end pieces to hold them in place. It’s a small touch that goes a long way in making the fence feel finished and sturdy—without taking away from its laid-back, rustic style.
Cedar Split Rail Fence: Customizable & Decorative
One of the unexpected perks? We realized the rails would have fit easily into our Subaru Ascent, so adding to or modifying the fence later is a breeze. With so many flexible styling options, split rail fencing works beautifully for small yards, ranch-style fencing, and defining property lines in a decorative way.
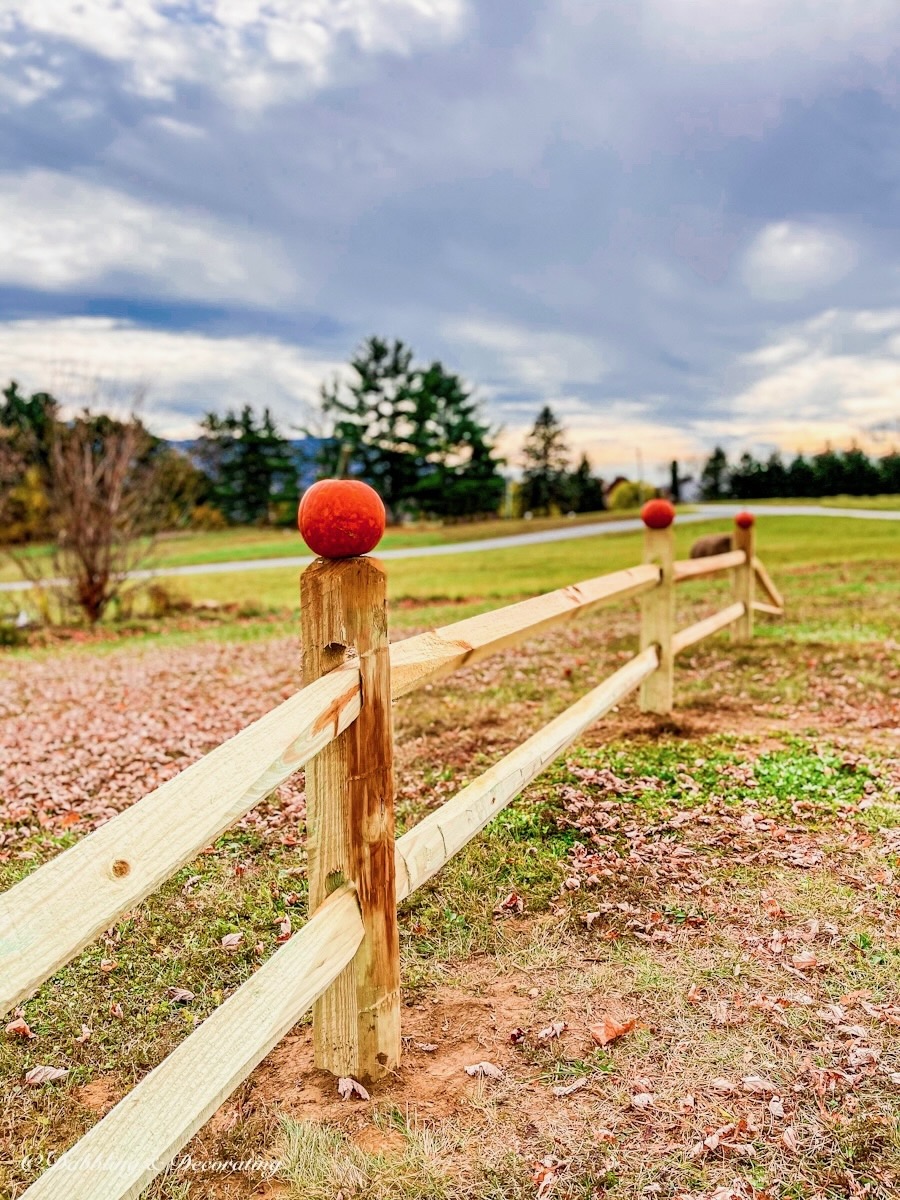
Compared to modern vinyl fences, split rail fencing brings a softness and warmth that feels both vintage and timeless. It invites decorating throughout the year, think pumpkins in the fall, twinkling lights at Christmas, or sunflowers in the summer.

Explore the Vintage Home Decor Glossary
Curious about the vintage and thrifted pieces I use throughout my home? Visit the Vintage Home Decor Glossary to explore 15 of my favorite styling ideas, from milk glass to blue and white dishes, antique quilts, and more.
Don’t Miss Our Holiday Split Rail Fence Styling!
We’ll be decorating our new post and beam fence all winter long, so check back soon to see how it transforms for the holidays with greenery, wreaths, and twinkling lights.
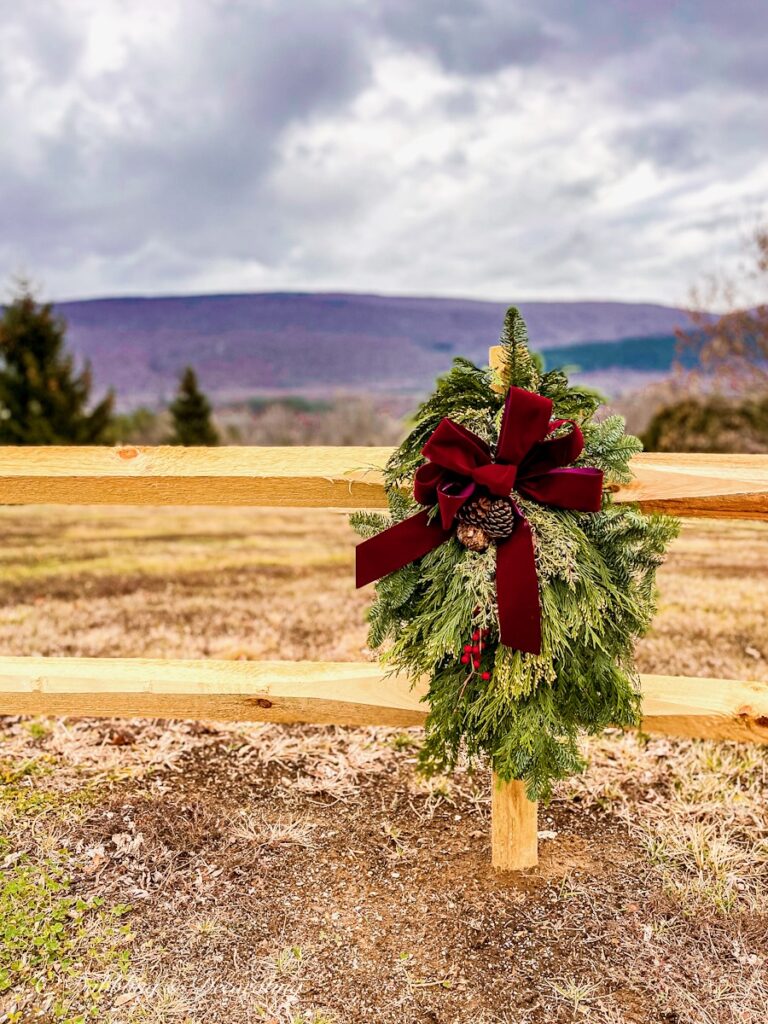
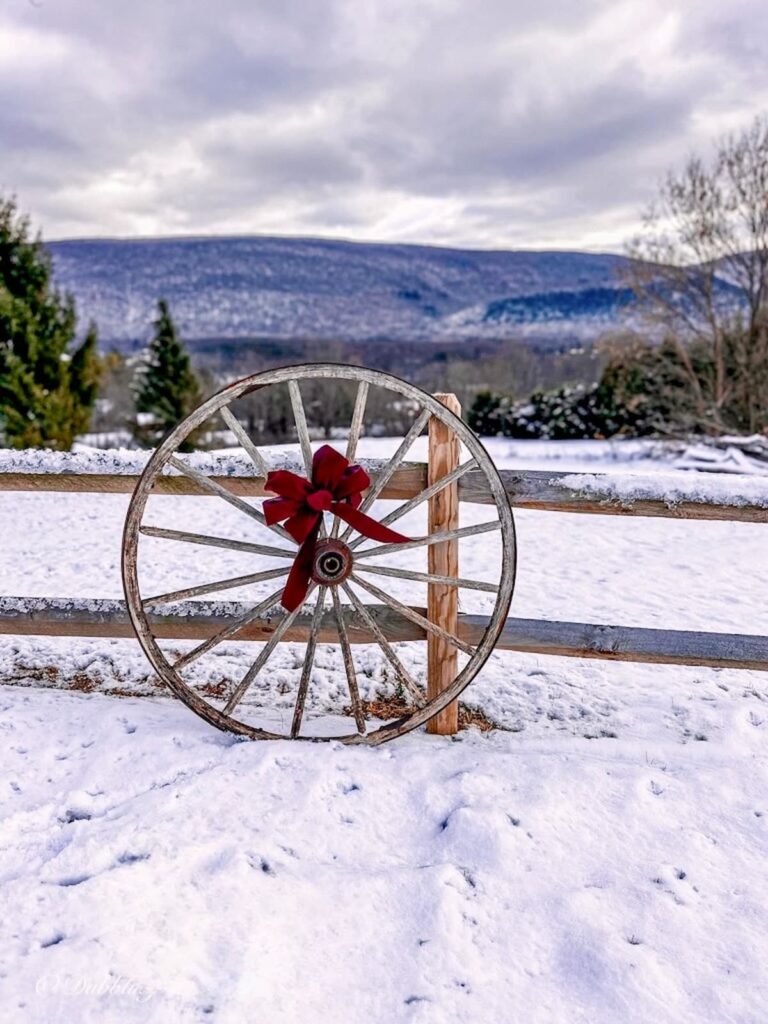
This simple split rail fence has become one of our favorite features to decorate year-round, from sunflower-lined summers to wreaths and wagon wheels in the snowy winter.
Whether you’re looking to define a space, add rustic charm, or create a scenic backdrop, a DIY split rail fence offers beauty, ease, and timeless appeal in every season
Recommended Reading
Explore more of our split rail fence decorated for the holidays in this Vintage Christmas Decor Ideas: Best of the Holidays post.
Thinking about adding a split rail fence to your yard? Share your plans or photos in the comments below, I’d love to see how you bring rustic charm to your outdoor space! And don’t forget to subscribe for more easy DIY ideas and seasonal styling inspiration.
Frequently Asked Questions About a Split Rail Fence
A split rail fence is a rustic, open-style fence made of wooden posts and horizontal rails. It’s often used to mark property lines, add vintage charm to a yard, or define garden areas in a simple, decorative way.
The cost of a split rail fence varies by material and size, but on average, it ranges from $10 to $20 per linear foot. DIY installations with locally sourced materials or kits from places like Home Depot can help keep split rail fence costs affordable.
Yes! Split rail fences are one of the easiest fences to install yourself. With a few basic tools and a weekend, you can create a charming, rustic fence that instantly boosts your yard’s character and structure.
A well-maintained split rail fence made from cedar or locust wood can last 15–25 years. Using rot-resistant wood and keeping posts properly set and packed ensures long-lasting durability.
Split rail fences are low-maintenance, but they do benefit from occasional care. Check posts and rails seasonally, replace any damaged wood, and consider staining or sealing the fence to protect it from weathering.
Learn More:
If you’re curious about wood selection, durability, and proper installation techniques for your split rail fence, the American Wood Council’s wood fencing resources offer excellent guidance on building a long-lasting, beautiful fence that will stand the test of time.
Join the Vintage Circle — Familiar Finds, Styled Your Way™
Love vintage treasures, thrifted gems, and a home that tells your story? Leave a comment, share this post with a kindred spirit, or head to my Start Here page to explore more. Want fresh prompts and timeless ideas? Subscribe to join our Seasonal Vintage Decor Styling Challenge for weekly inspiration and behind-the-scenes peeks.
Pin forLater!


Fence & Deck Connection here — this post does an excellent job showing why split rail fencing is such a winner. Rustic charm, easy DIY install, and cost savings are all big pluses. Using durable woods like cedar or locust and setting posts deeply will help keep it lasting for many seasons.
It looks great and love the two rails leaning on each end. Those pumpkins are so cute, now what for Christmas?
Ann,
It really looks great. I can’t wait to see how you decorate it for Christmas!
Thanks so much, Rachel!
I love the way this looks, Ann! Was it hard to dig the holes? The ground can be so hard!
Thanks, Molly. Not at all, we used a hole digger and Steve did most of it, ha ha!