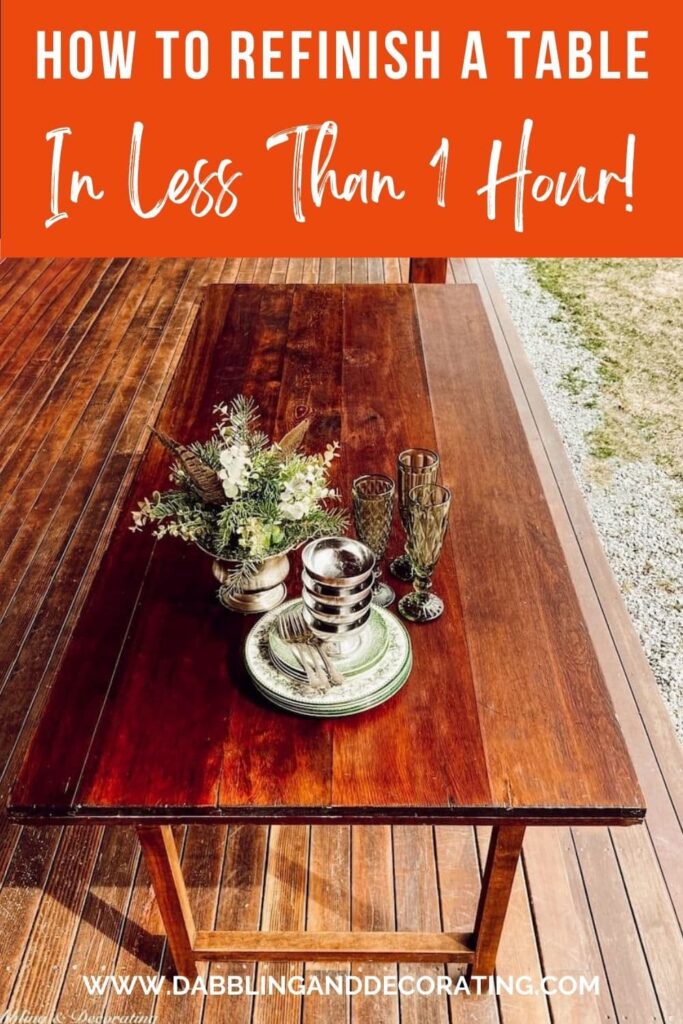
Learn how to refinish a table in less than one hour! With this step-by-step guide, you can achieve a beautiful, restored look. Restore it, don’t strip it!
Refinishing a table is a great way to breathe new life into an old or worn-out piece of furniture. It allows you to update the look and style of the old finish while also restoring its functionality. With the right tools and techniques, you can transform an old dining room table into a stunning piece of furniture that will be enjoyed for years to come.
A Vintage Wood Table
I found This Favorite Second-Hand Table while out Thrifting with the Gals last summer. Its size was just perfect for our long, narrow front porch.
And the character—well, it’s just adorable! This vintage wood table is an old wallpaper table. A vintage wallpaper table is a unique and decorative piece of furniture that can be found in antique stores, vintage shops, or online marketplaces specializing in retro and vintage old furniture.
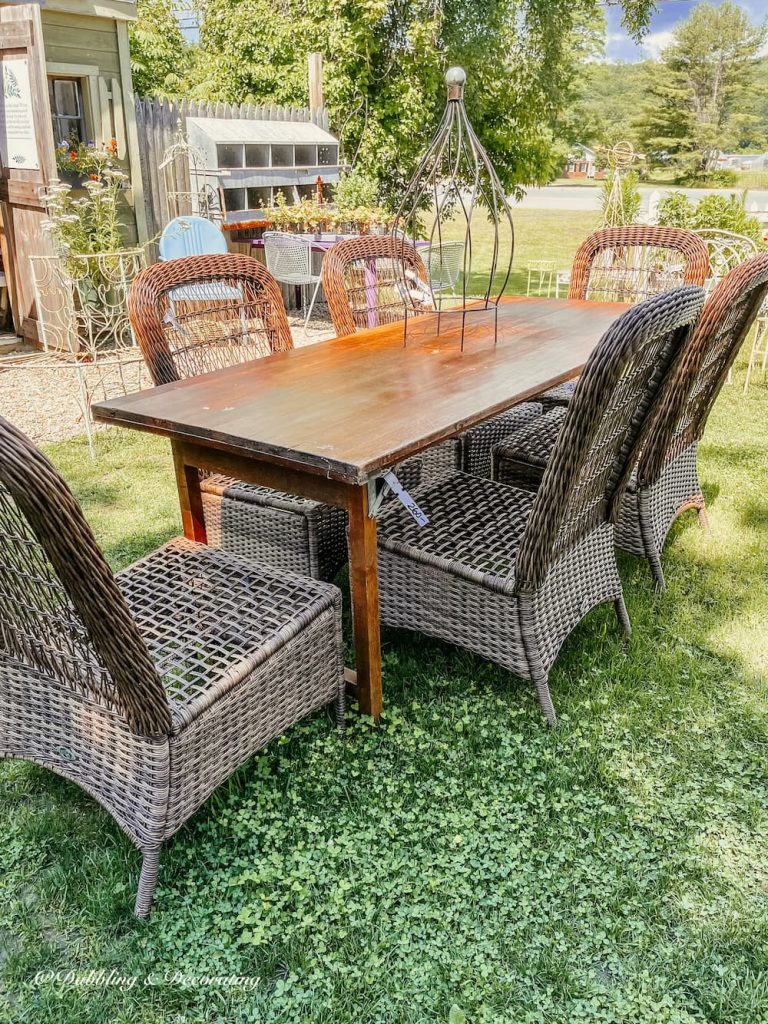
Vintage wallpaper tables are great for outdoor dining tables, workbenches, kitchen table, craft benches, buffet tables, display tables, flea market tables, picnic tables, etc. And they fold up for easy transport and storage, too! Check out these other posts where I have used vintage wallpapers in our home decor:
Shop Vintage Wallpaper Tables
This post may contain affiliate links which won’t change your price but will share some commission.”
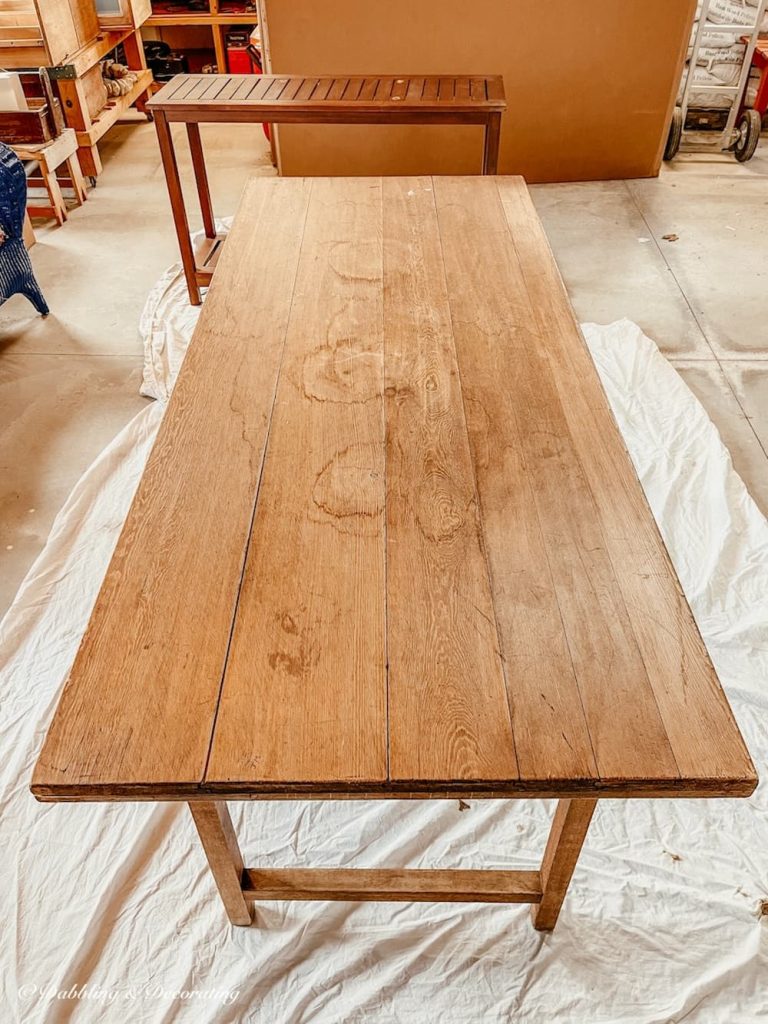
Wooden Table Before
But after a year of being exposed to the elements on our covered front porch and Vermont’s harsh winter weather, this old wooden wallpaper table top desperately needed restoration and refinishing.
A project I was really dreading! Do you know that feeling?
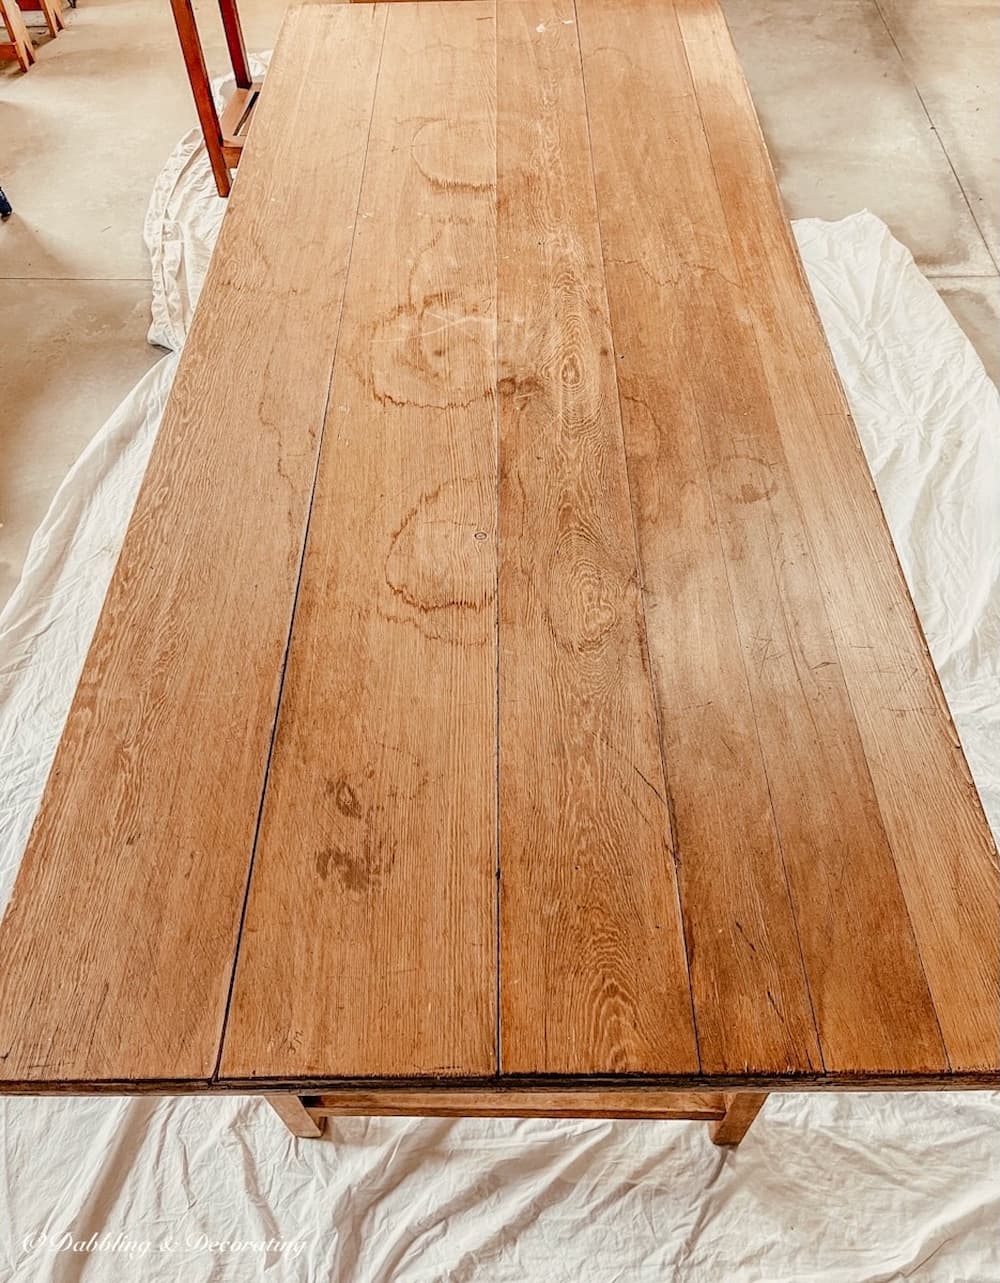
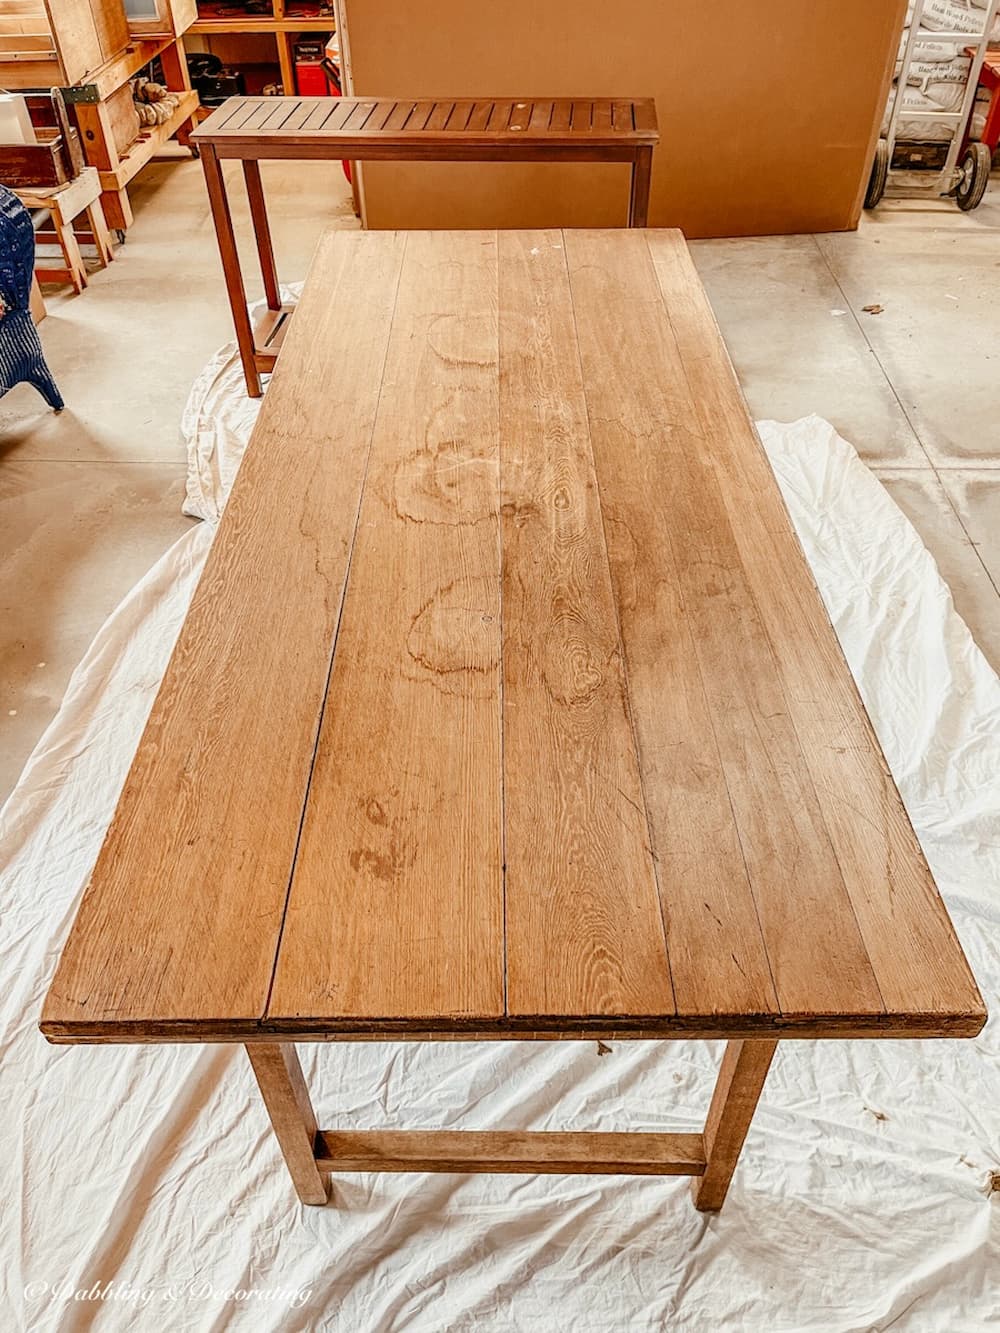
Here is this solid wood table before the refinishing.
You can see all the markings, wallpaper paste, and how dry the wood had become.
What is the best way to refinish a tabletop in under 1 hour?
If you are like me, you can get highly impatient when tackling some DIY projects.
I don’t want to spend a full day or more sanding a wooden table or furniture piece to get it looking just right. I am totally guilty of wanting instant satisfaction.
*I am not an expert in refinishing furniture. These are my experiences, and I hope you find these methods useful!
Step-By-Step Instructions Video:
Restor-A-Finish | A One-Step Refinisher
So, my go-to for refinishing a wood table affordably and quickly is Restor—A—Finish!
It’s so easy and produces impressive results!
How To Refinish a Wood Table
Refinishing Process
Restore it, Don’t Strip it!
1. First step: choose the finish from Restor-A-Finish you want to work with. There are five finishes available. Choose the finish that matches the type of wood and color you are striving for with your wood table.
Today, my best option is this Restor-A-Finish Mahogany, a rich brownish-red color. I want it to match the flooring on our covered front porch, which is where this wood table will reside.
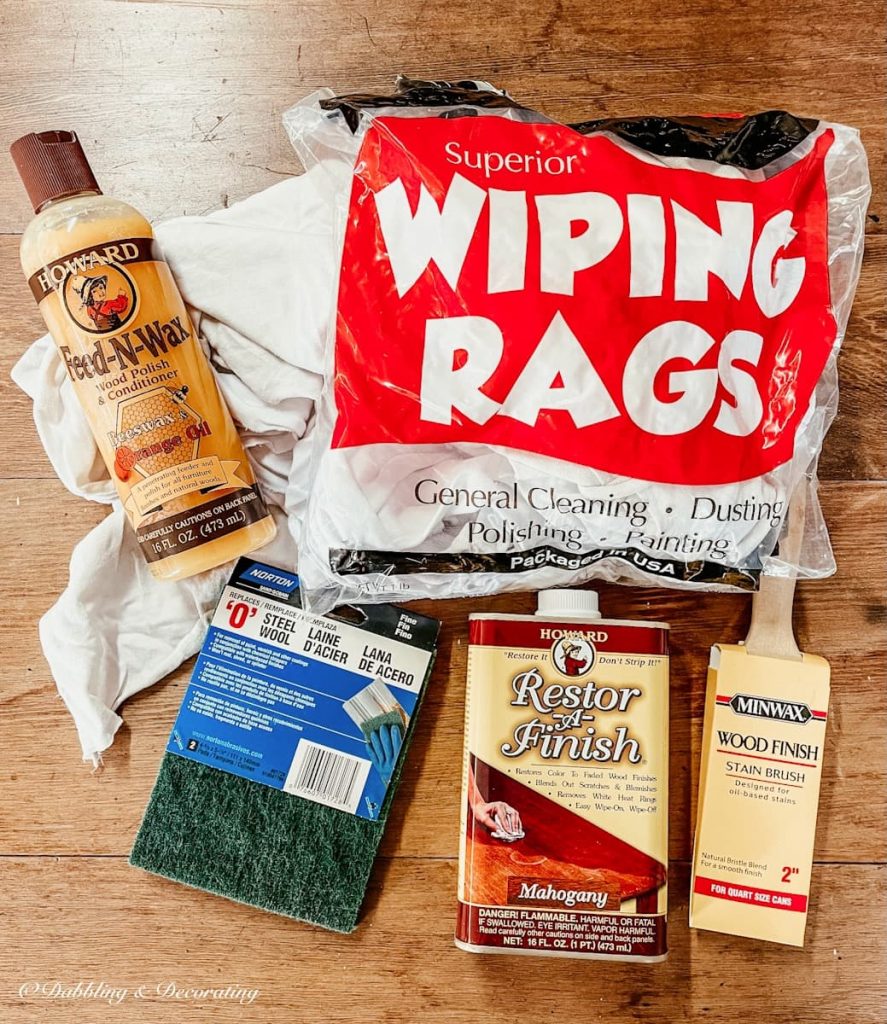
2. Next step: shop the supplies you will need to refinish the existing finish for best results:
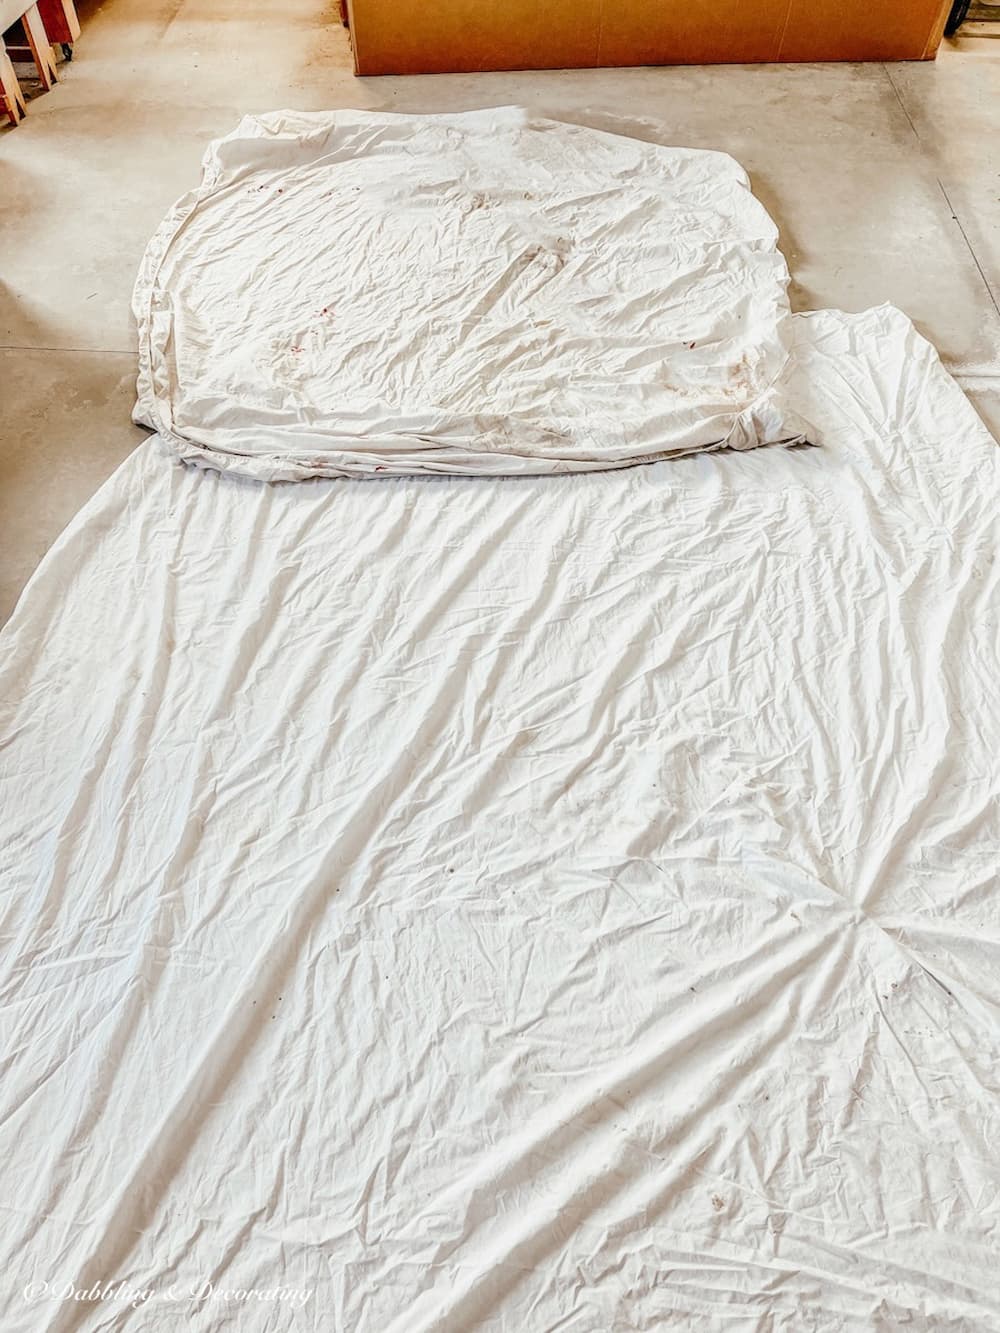
3. Prepare your workspace where you want to refinish the wood table in a well-ventilated area.
I used old bedsheets I collected to protect our garage floor surface over the years.
You could also use drop cloths, cardboard, plastic drop cloth, paper towels, etc…
4. Wipe off any dust or dirt on the wood furniture you want to refinish with a clean cloth.
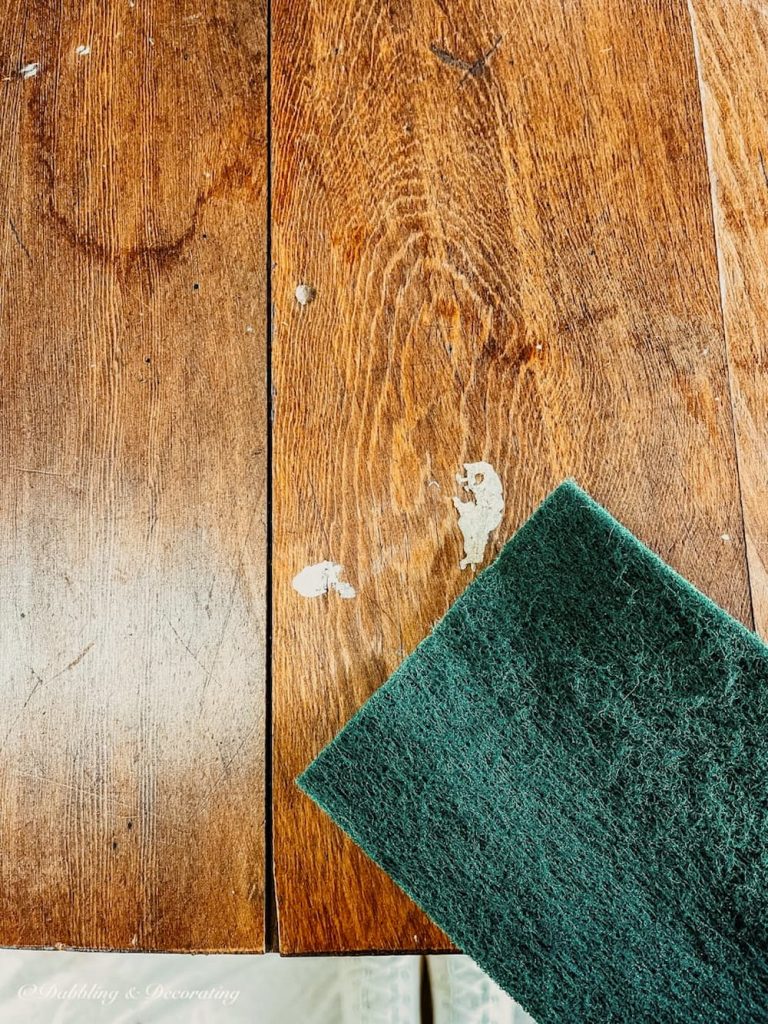
5. Use fine steel wool to rub out any imperfections you would like gone by going with the grain of the wood. I used the steel wool on this wallpaper table to remove the old wallpaper paste lingering on the surface.
6. Once the surface is cleared off, apply the Restor-A-Finish to the bare wood.
You can use a brush or a rag. I used a clean cloth because it was easier to smooth on for an even finish.
Be sure to read the safety precautions and directions on the back of the can.
Simply pour the Restor-A-Finish onto the rag, not onto the table directly, and apply evenly with the grain.
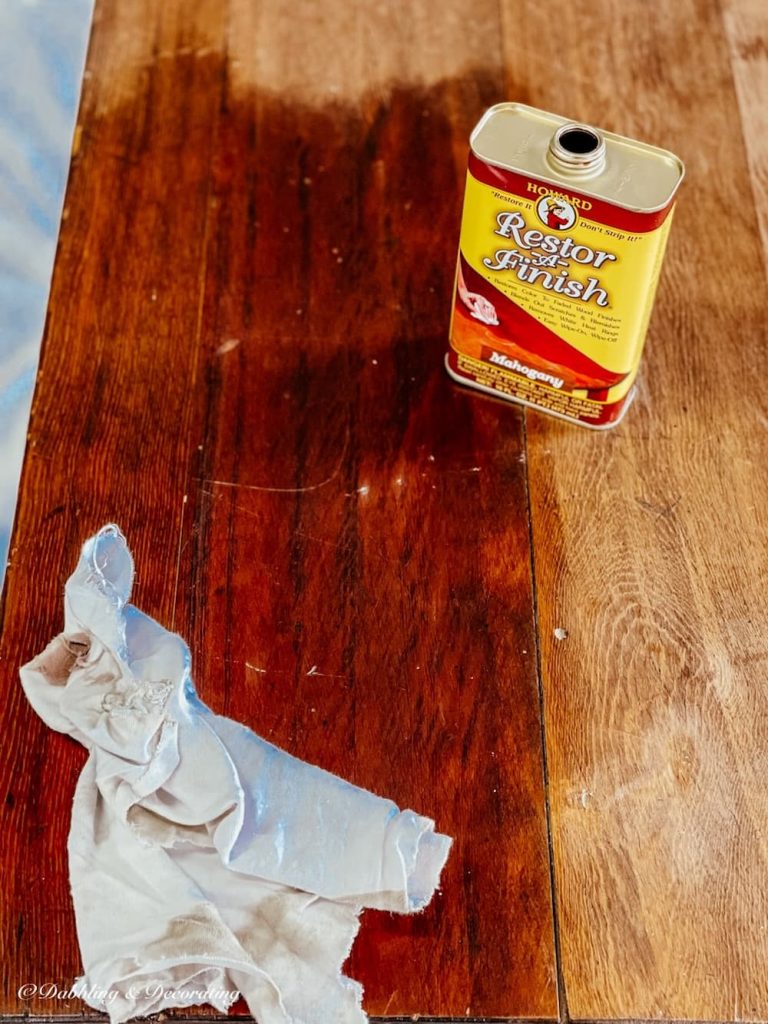
This table was so dry that it was literally drinking up the solution. I applied it very generously, as I wanted a really dark and rich color finish.
I applied a second coat and then about 3 – 4 more coats to the table’s surface, one right after the other, as it dried that quickly.
7. Let the surface of your table sit and dry for 30 minutes.
Here is my base of the table, which was refinished with Restor-A-Finish in less than one hour. Upon a closer look, you can see there are still a few markings.
These top of the table markings could have been removed with a good sanding.
But we’re not done yet!
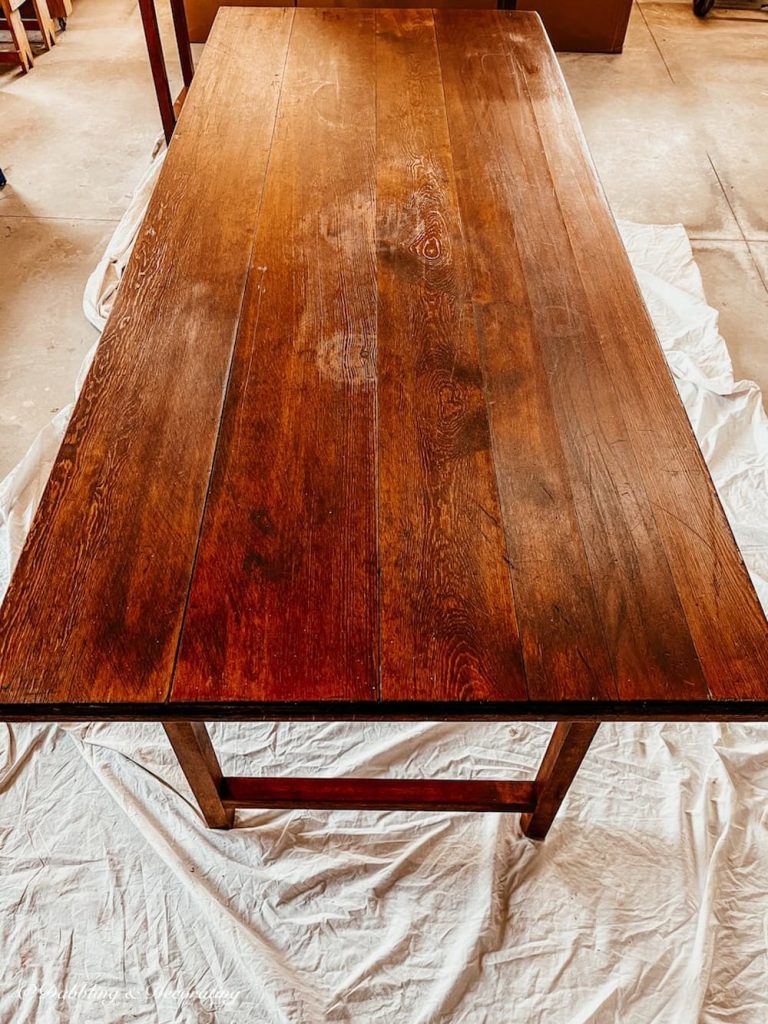
8. The last step: Apply Howard’s Feed-N-Wax wood conditioner to the entire surface.
First, reading the safety precautions and directions on the bottle is always a good idea.
This conditioning oil “feeds” the wood and helps keep it from drying and fading. And boy, is it beautiful! Use a clean cloth to spread it onto the entire piece. Once again, I used a generous amount, almost half a bottle, on this table. Refer to this post’s video to see more.
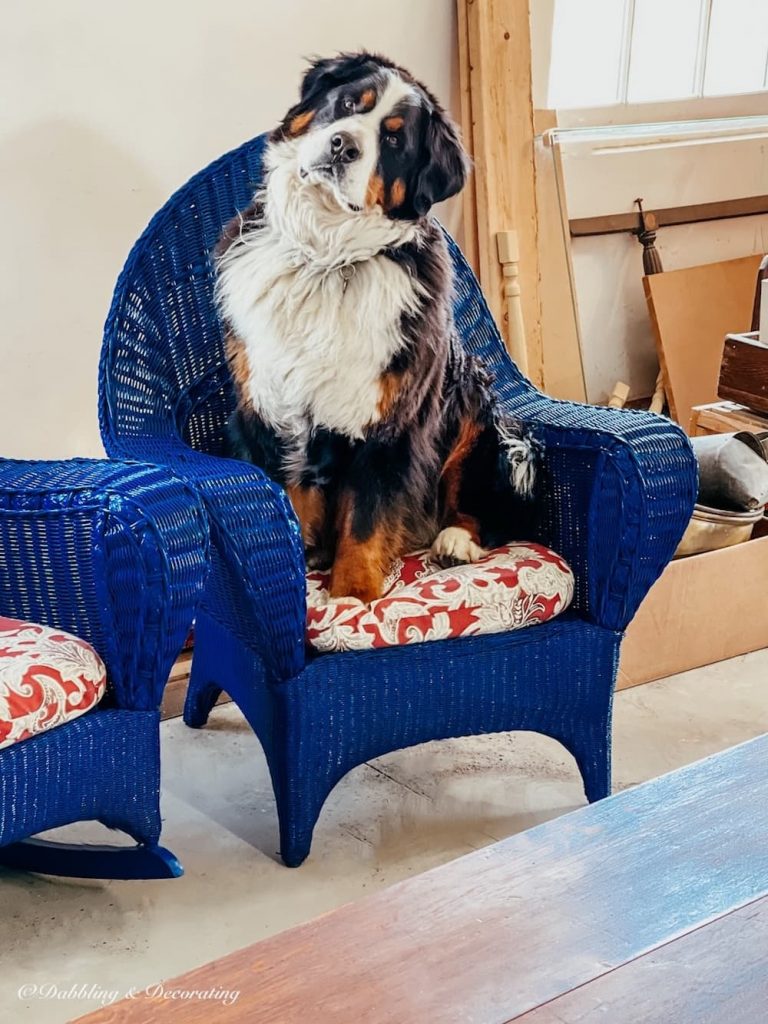
9. Let your furniture refinishing project dry for 24 hours to ensure it is completely dry before use. Ella, our Bernese Mountain Dog, also practices her patience with us.
You may appreciate How to Paint Wicker Furniture Shabby Chic Style like the one Ella sits on here.
You may also appreciate 16 Easy Spring DIY Ideas You Can Start Today!
Refinished Wood Table
Final Result
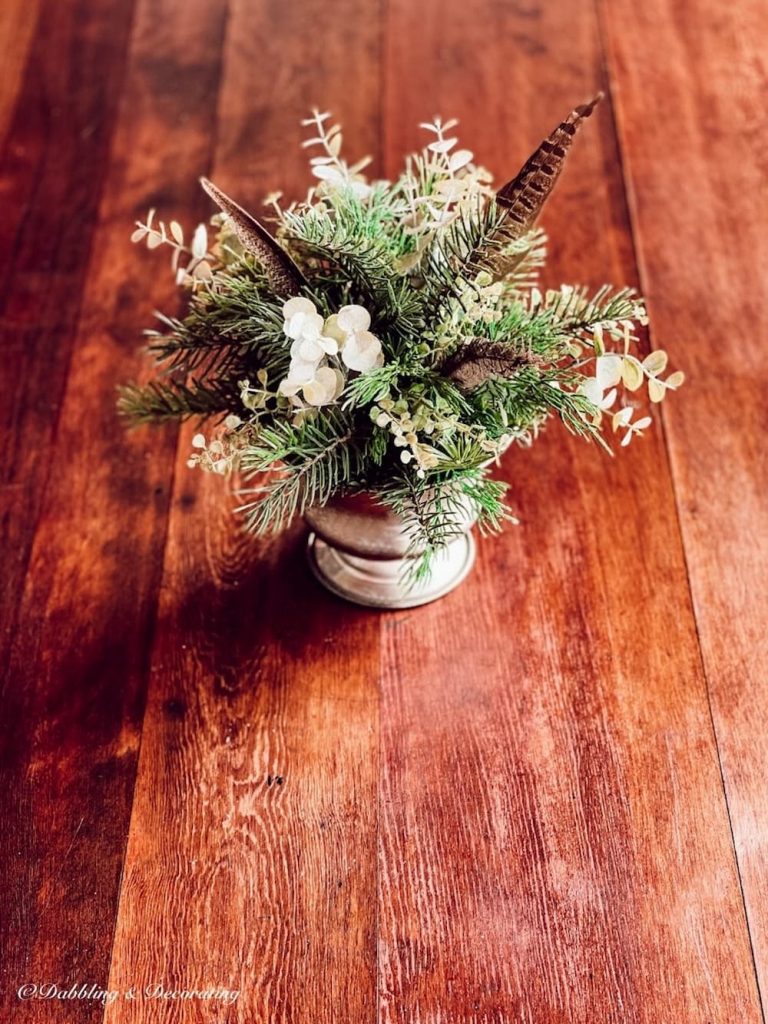
Here she is…
Isn’t the color spectacular? What a difference.
You may also be inspired by this Pie Safe Antique Kitchen Cupboards Decorating Ideas post.
Here is the Before and After of our Refinished Wood Table
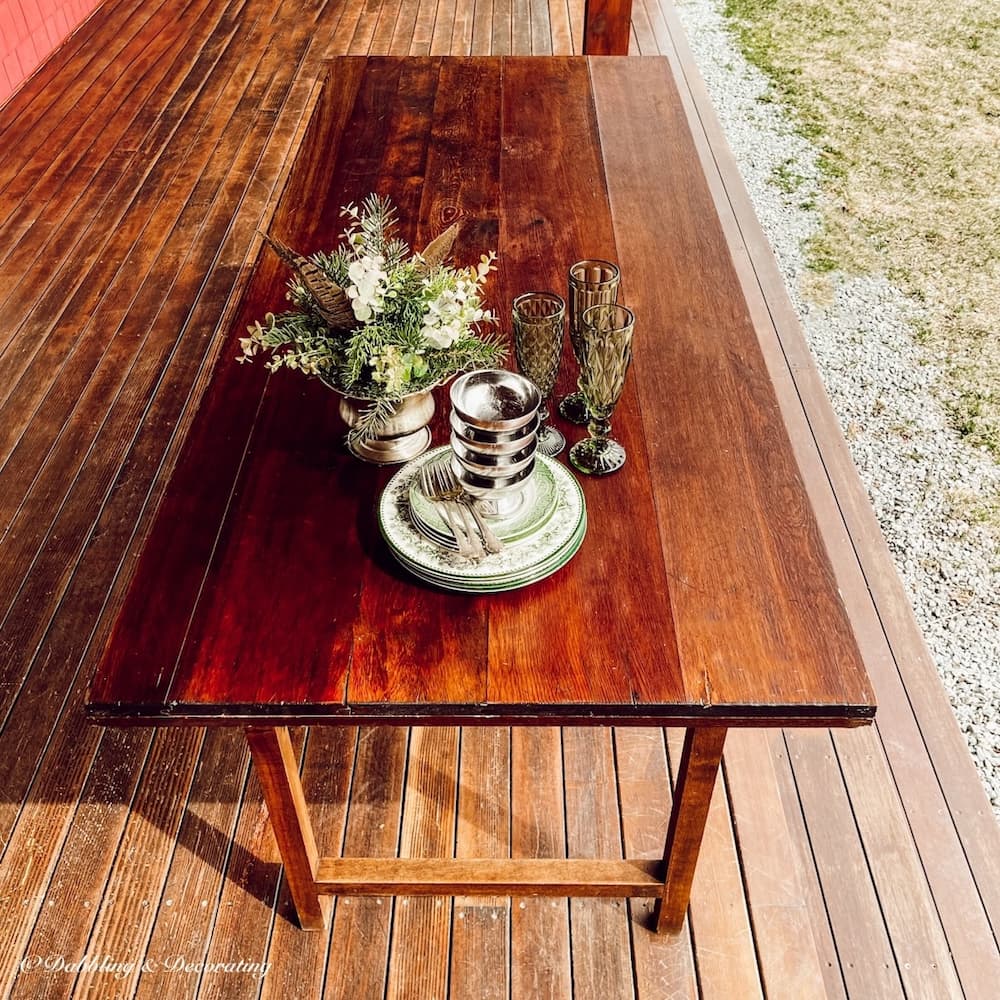
The stains and markings in the middle of this table did not completely disappear.
But honestly, I feel imperfections like this add to the charm of vintage collections, like this old wallpaper table.
And we were able to refinish this old wooden table in under an hour’s time.
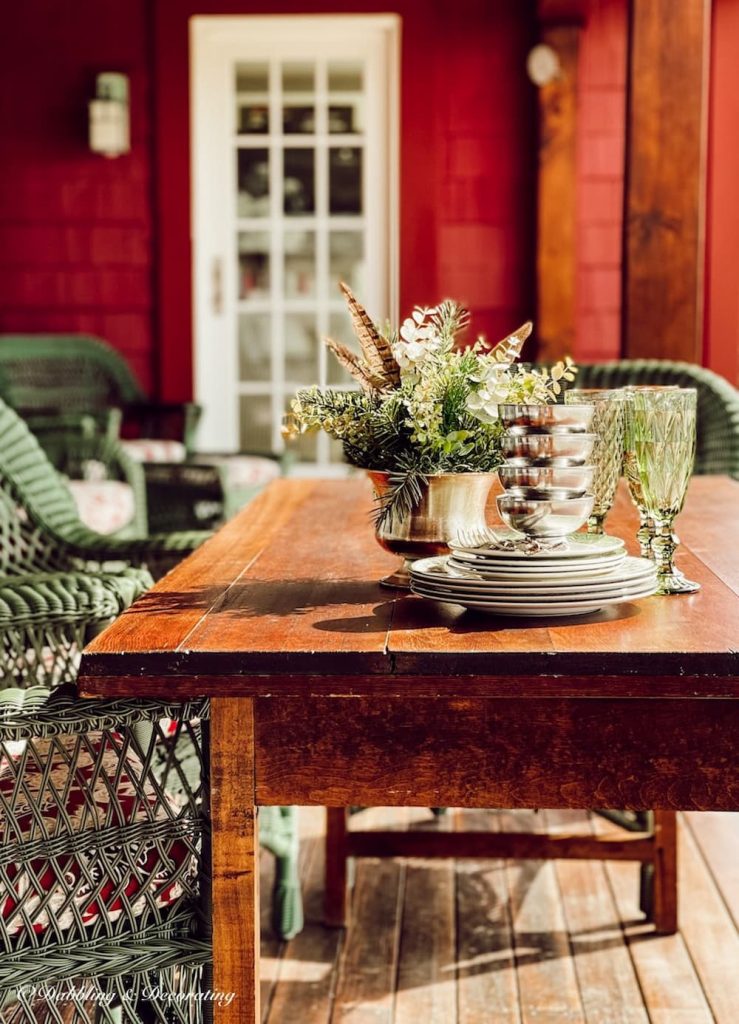
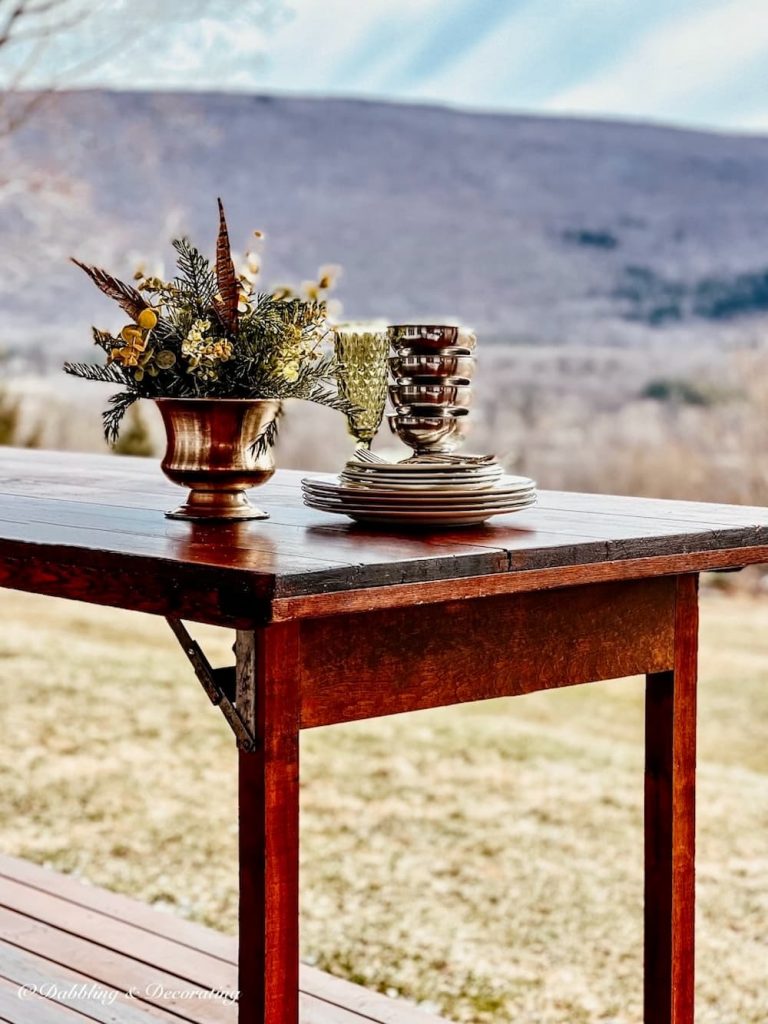
Now, I can’t wait to decorate this refinished table with the first spring table setting of the year!
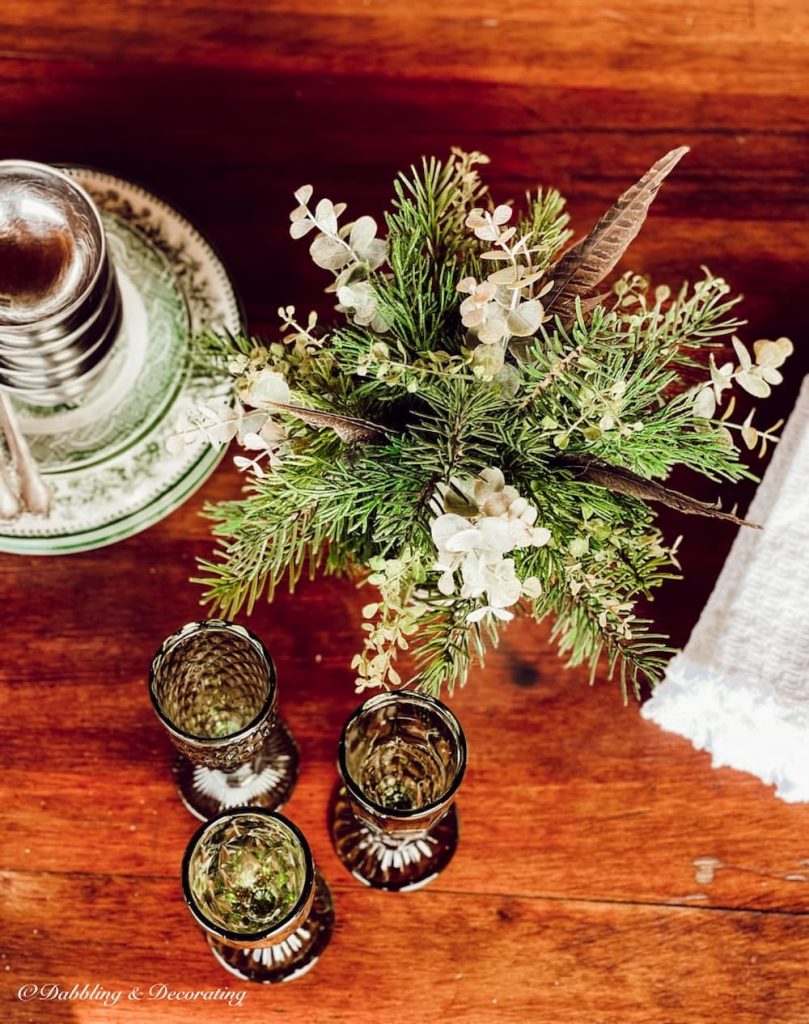
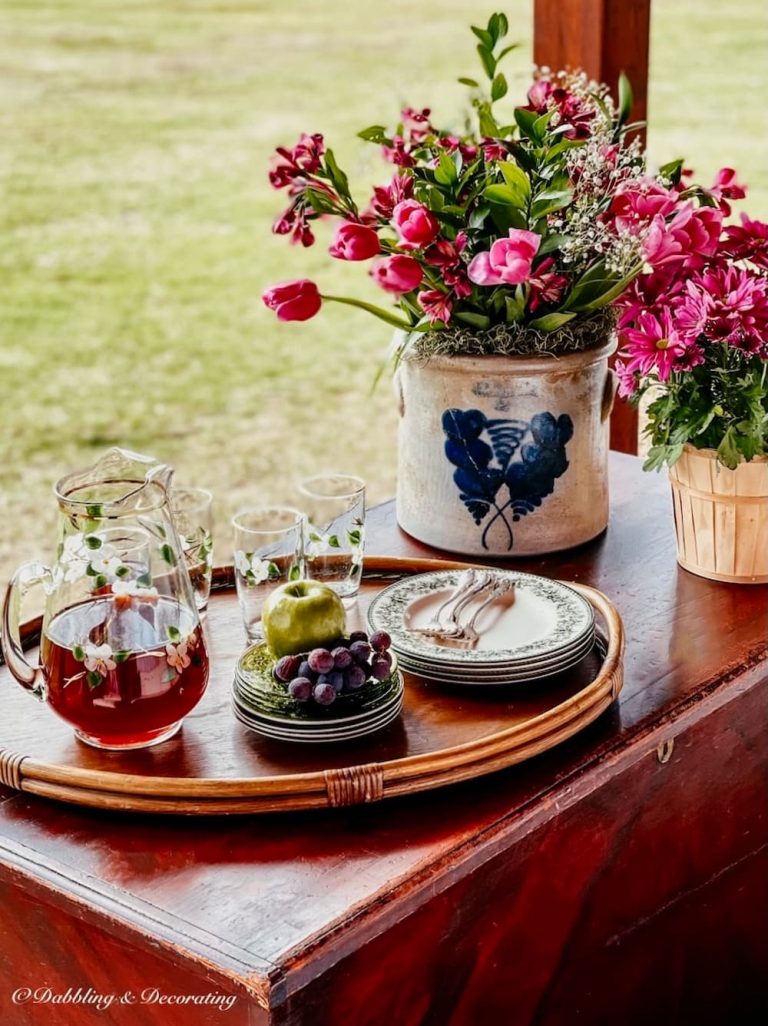
I envision a table full of mixed-green and white vintage dishes paired with my favorite green champagne flutes, shown here.
You may also like this A Vintage Haul for The Porch post.
You may also enjoy the post, Step Up Your Home Decor Style with a Vintage Cobbler Rack.
See you in the spring!
You may also be inspired by the Antique Trunk Restoration Made Easy post.
Your Guide to an Eclectic Style~
I’d love to hear from you! If you have thoughts, questions, or just want to pop in and say hello, feel free to leave a comment below. And if you have a vintage-loving friend, don’t forget to share this post—they might find a little inspiration here too.
Do you have a flair for all things vintage, too? I would love to see and feature you in our Reader’s Showcase Series. A place for you to share and be recognized for your talents and passion for all things thrifting, vintage, and antique decor-related inspired by your time here with Dabbling & Decorating. Email me at [email protected]


Shop This Post
This post may contain affiliate links, which won’t change your price but will share some commission.

What an amazing difference! I love this table so much.
I think Ella is your best decor asset! She is simply charming! I have never heard of a wallpaper table – thank you for introducing me to them. I have been eyeing the Howards Restore-a-finish. I have a houseful of mahogany pieces that I know will benefit. I already use the Feed-n-Wax (with Murphy’s Oil Soap) and truly there is simply nothing like it. Thank you for sharing your steps and instructions, and helping me feel more confident about taking on this project. I have pinned your blue & white table everywhere. I love how you curate your finds, and pull them together to make such amazing and inviting spaces. I get so tired of the ‘blogger blandness’ I see so much of.
Thank you so much Kristine. I appreciate your kindness so much🙏🏻
Love this! And the Poser.
Thank you so much Karen 🐶
Ann,
What a great tip and boy does it look great. I’ll share a link on Sunday.
Thanks so much Rachel🙏