Discover creative closet space ideas with this wardrobe closet DIY for rooms without closets. Learn how to refinish a thrifted wardrobe for extra storage.
What is a freestanding clothes closet?
A free-standing wardrobe closet is a versatile storage solution that can be moved and placed anywhere in your home without the need for installation or permanent fixtures. It provides additional storage space for clothing, shoes, accessories, and other items. Here are some considerations and steps to help you choose and set up a free-standing wardrobe closet:
- Assess Your Storage Needs: Before purchasing a free-standing wardrobe closet, assess your storage needs. Consider the number and types of items you plan to store, including hanging clothes, folded clothes, shoes, and accessories. This will help determine the size, configuration, and features of the wardrobe closet that will best suit your needs.
- Measure the Available Space: Measure the area where you plan to place the wardrobe closet to ensure it will fit comfortably. Take into account the height, width, and depth of the space. Leave enough clearance around the wardrobe closet for easy access and to open doors or drawers.
- Choose the Style and Design: Free-standing wardrobe closets come in various styles, designs, and materials. Consider the overall aesthetic of your room and choose a wardrobe closet that complements the existing decor. You can opt for a modern, minimalist design or a more traditional style, depending on your preference. Or a thrifted wardrobe closet like the one we’re DIYing today.
- Consider the Features: Look for wardrobe closets that offer the features you need. This could include a combination of hanging rods, shelves, drawers, and shoe racks. Some wardrobe closets may also have mirrors, hooks, or additional storage compartments for accessories.
- Purchase and Assemble: Once you have chosen the right free-standing wardrobe closet, make your purchase and have it delivered to your home. Follow the manufacturer’s instructions to assemble the wardrobe closet, ensuring that all parts are securely attached.
- Organize and Arrange: After assembling the wardrobe closet, start organizing your clothing and other items. Hang garments on the provided rods, fold and store clothes on the shelves or drawers, and arrange shoes and accessories in the designated compartments. Use storage boxes or bins to keep smaller items organized.
- Customize and Personalize: To make the wardrobe closet more functional and personalized, consider adding additional storage solutions such as hanging organizers, drawer dividers, or storage baskets. This will help maximize the available space and keep your items neatly organized.
Thrifted Wardrobe Closet
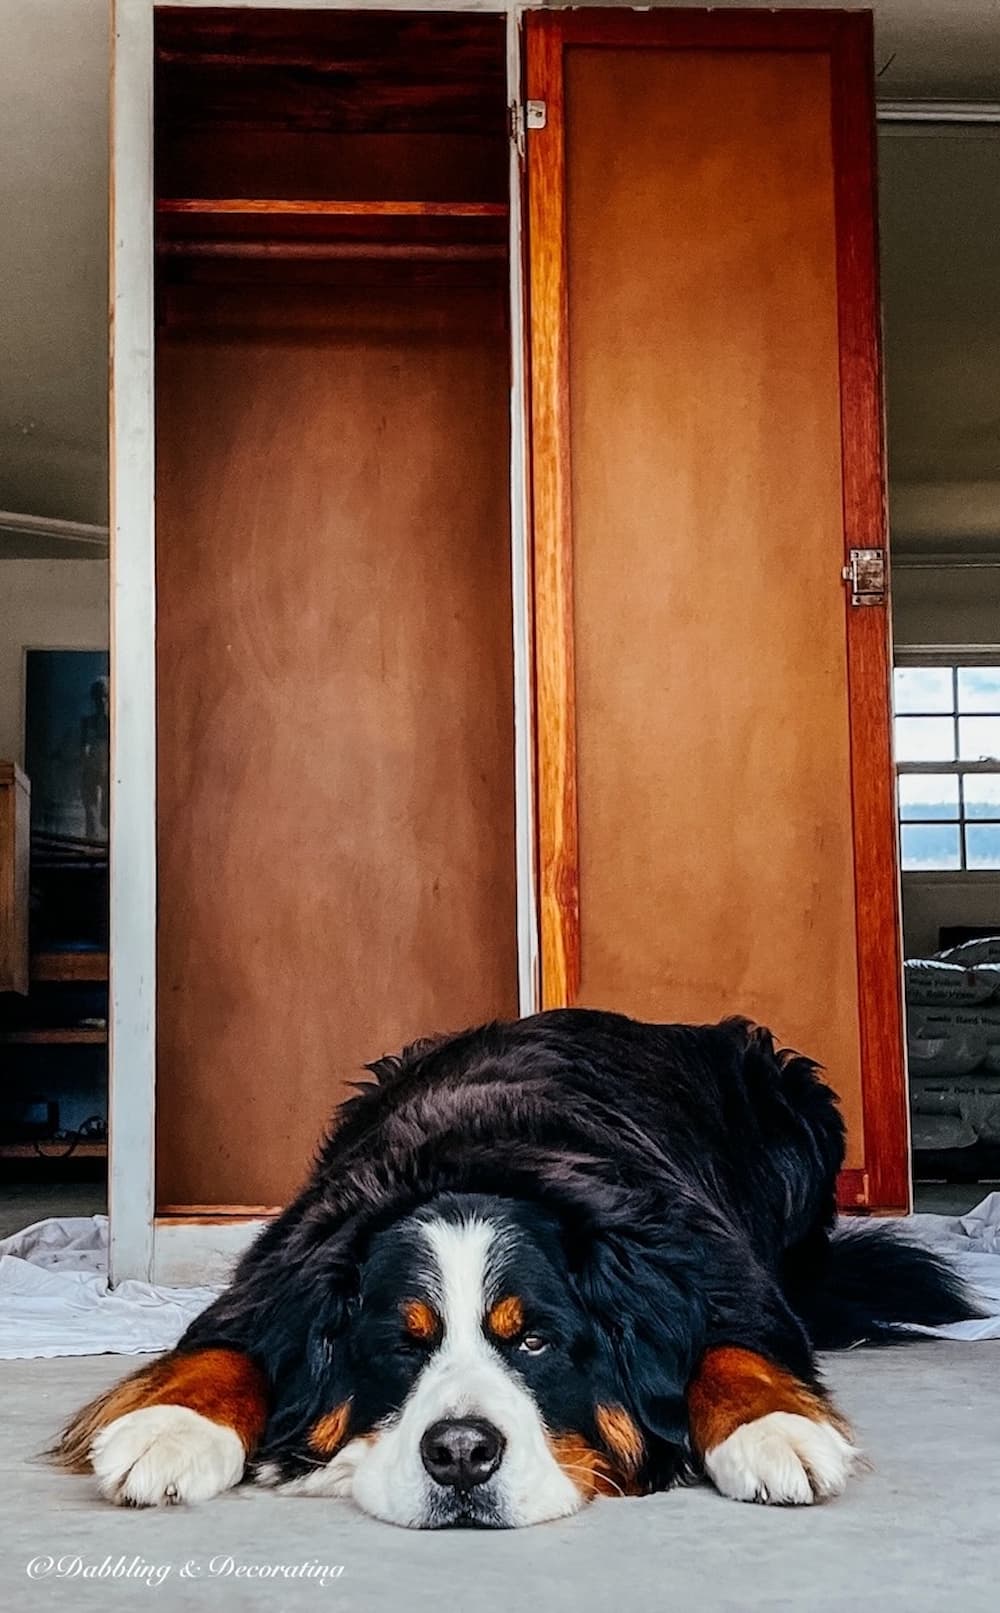
I saw this old wooden wardrobe closet over on Facebook Marketplace selling for $50.
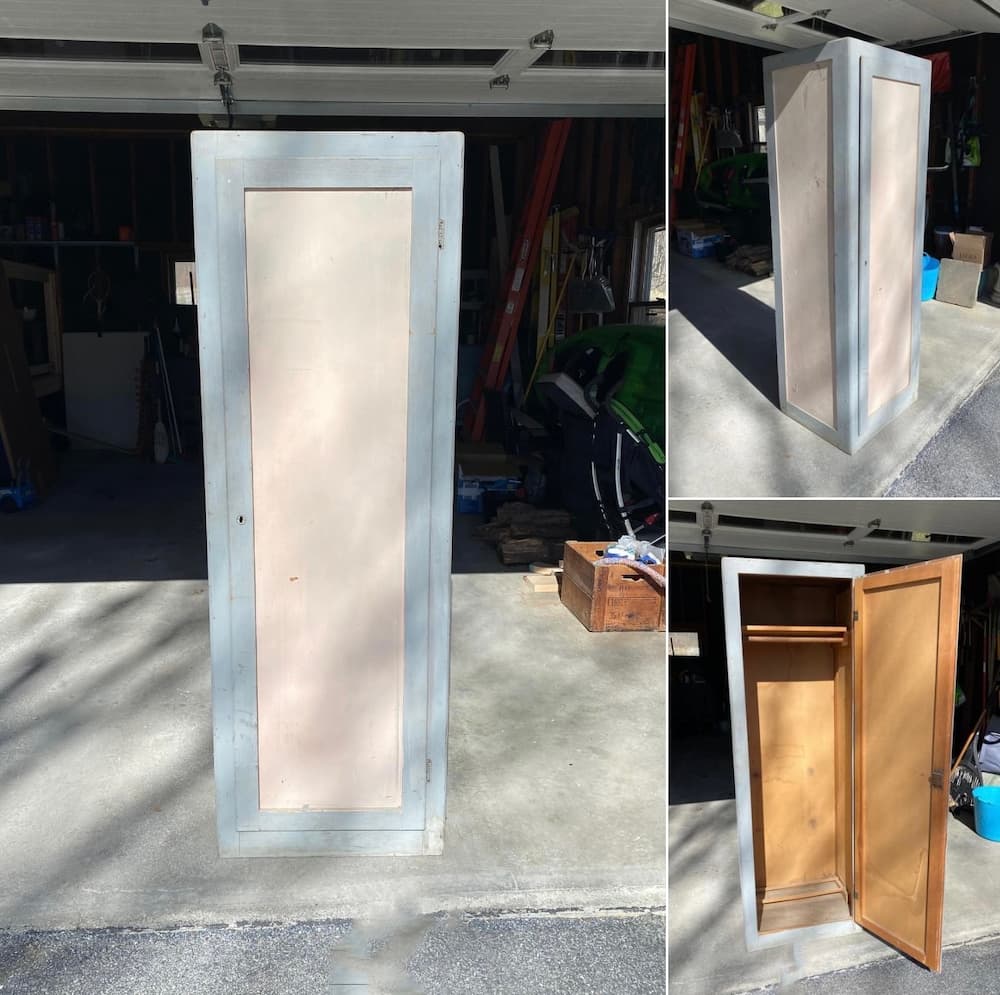
I first thought it would be so adorable repurposed into a wardrobe closet for one of our ‘no closet’ attic bedrooms at our home in Maine.
When we added the 2 finished guest bedrooms to our attic about 8 years ago, the zoning didn’t allow for wardrobe closets.
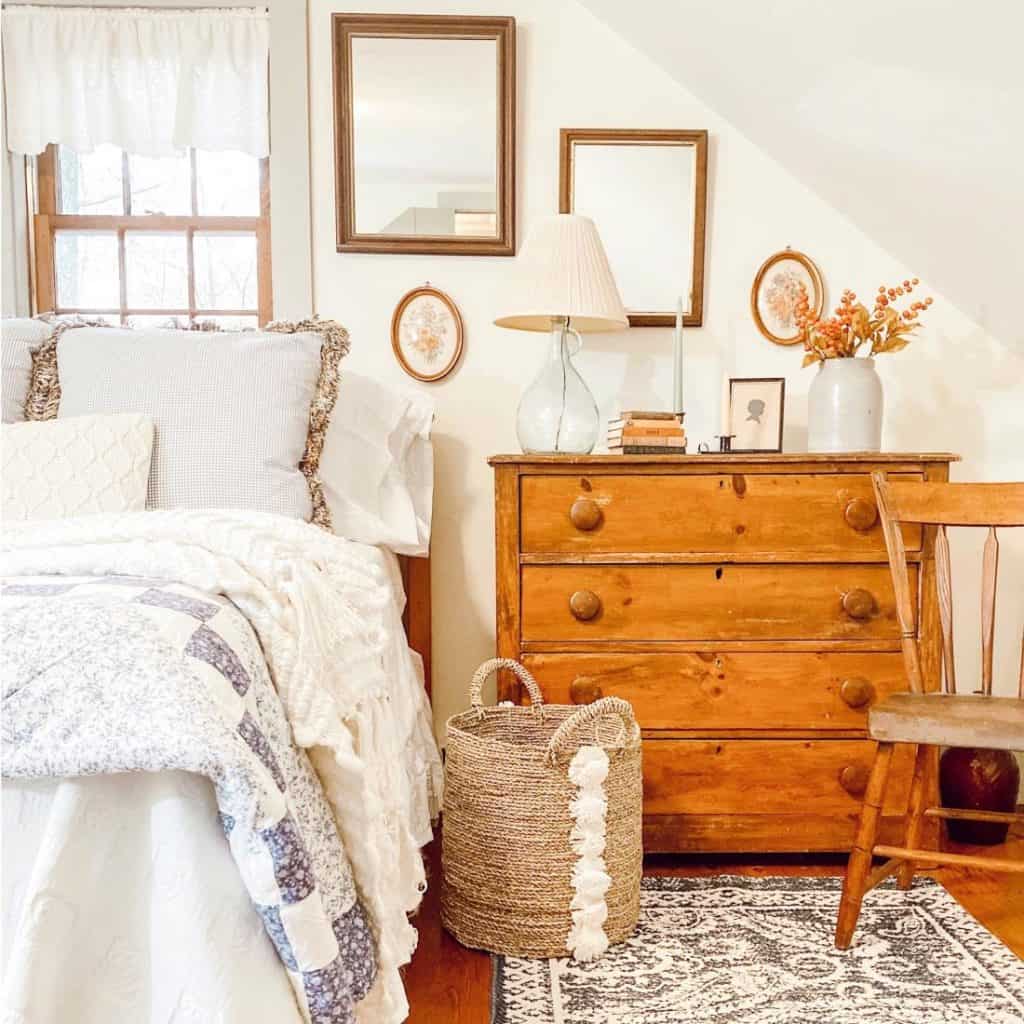
I had a vision of this old portable wardrobe closet, all refinished, sitting pretty in one of the two attic bedrooms.
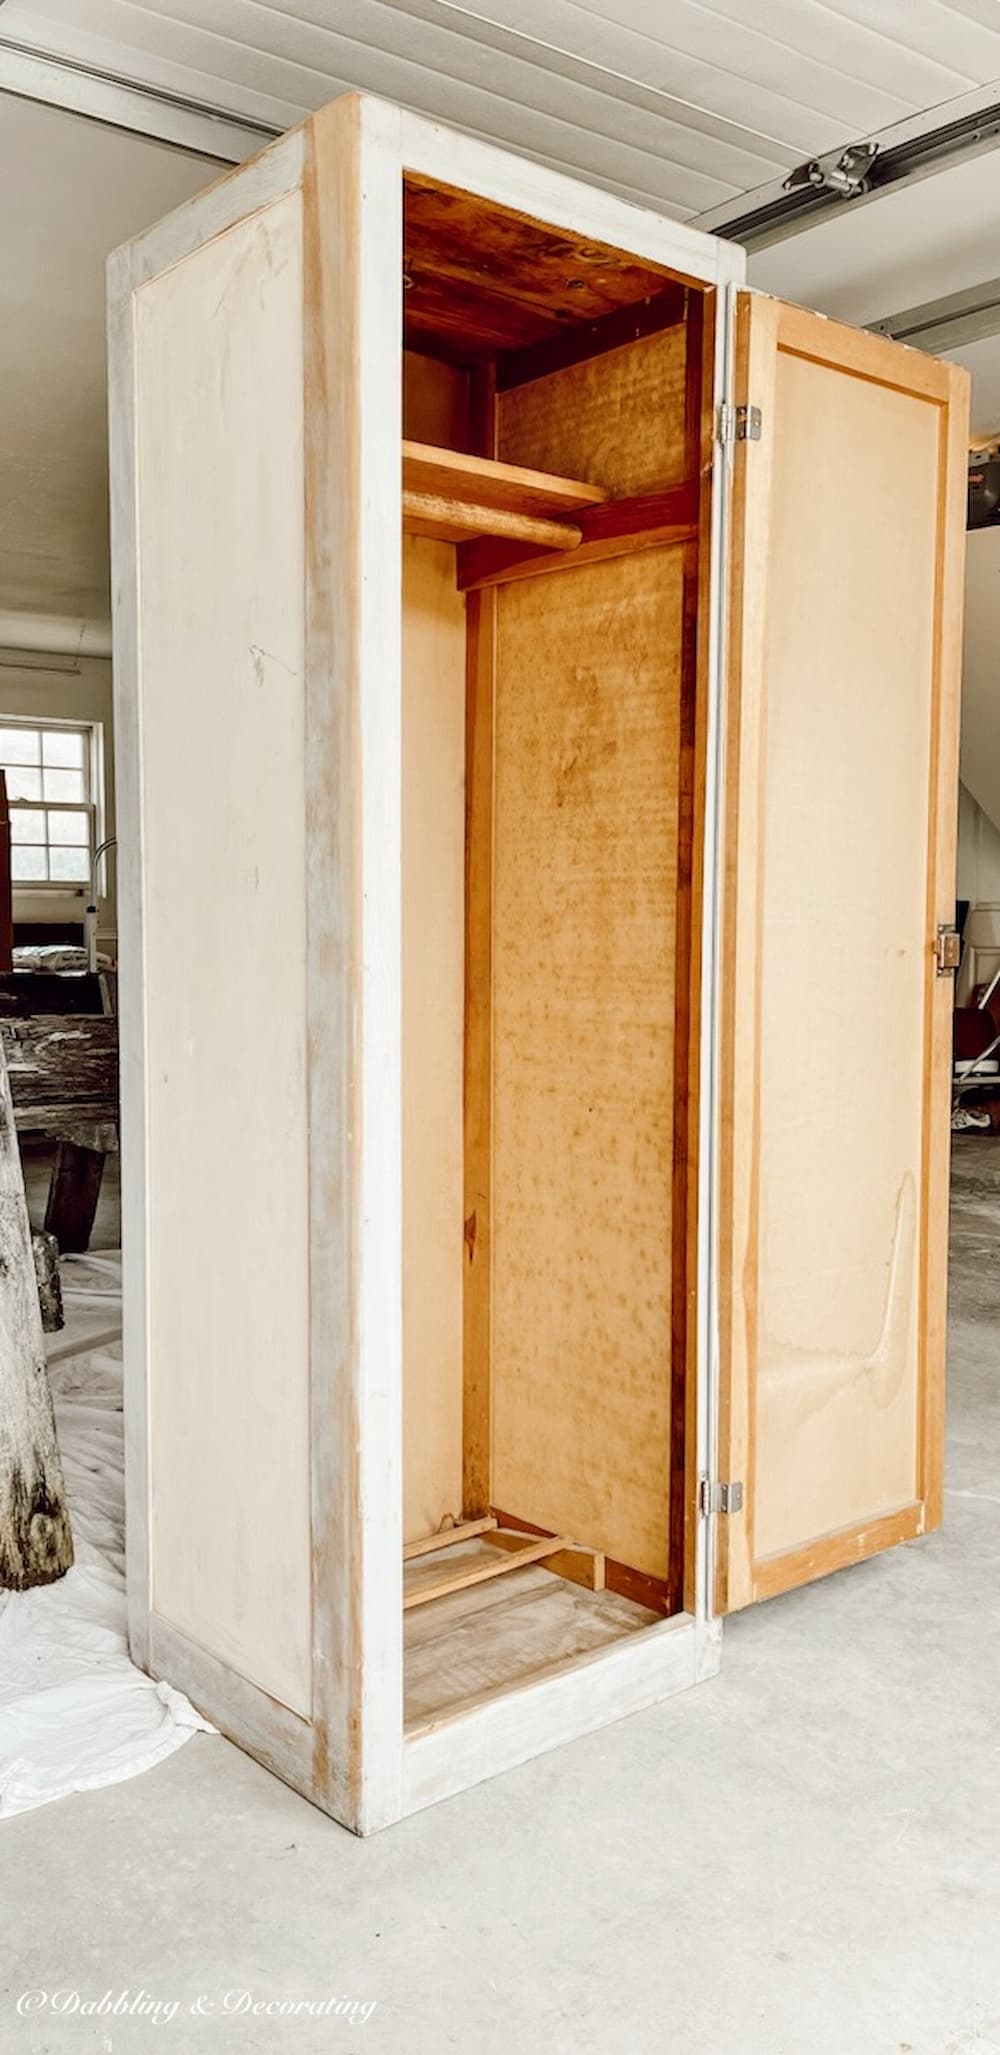
Mobile Wardrobe Closet DIY
Step 1. Sanding the Wardrobe Closet
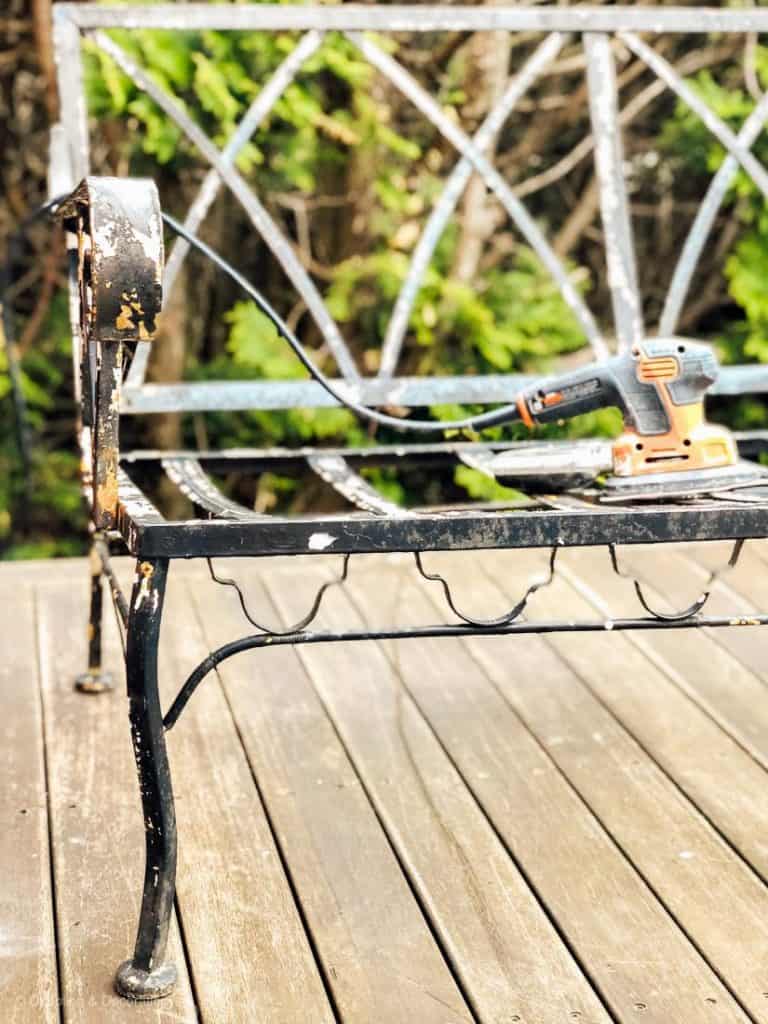
I started by sanding down the entire outside of this freestanding closet to get a better idea of how I really wanted to repurpose it.
Did I want to strip it entirely of its paint? This could be a very long, painstaking project…
Or simply clean it up and paint over it? Elementary and easy.
Unfortunately, though, the sides of this closet were made with a combination of wood and veneer. I’m not a big fan of veneer, so I’ll need to work around that, both inside and outside.
What would you do?
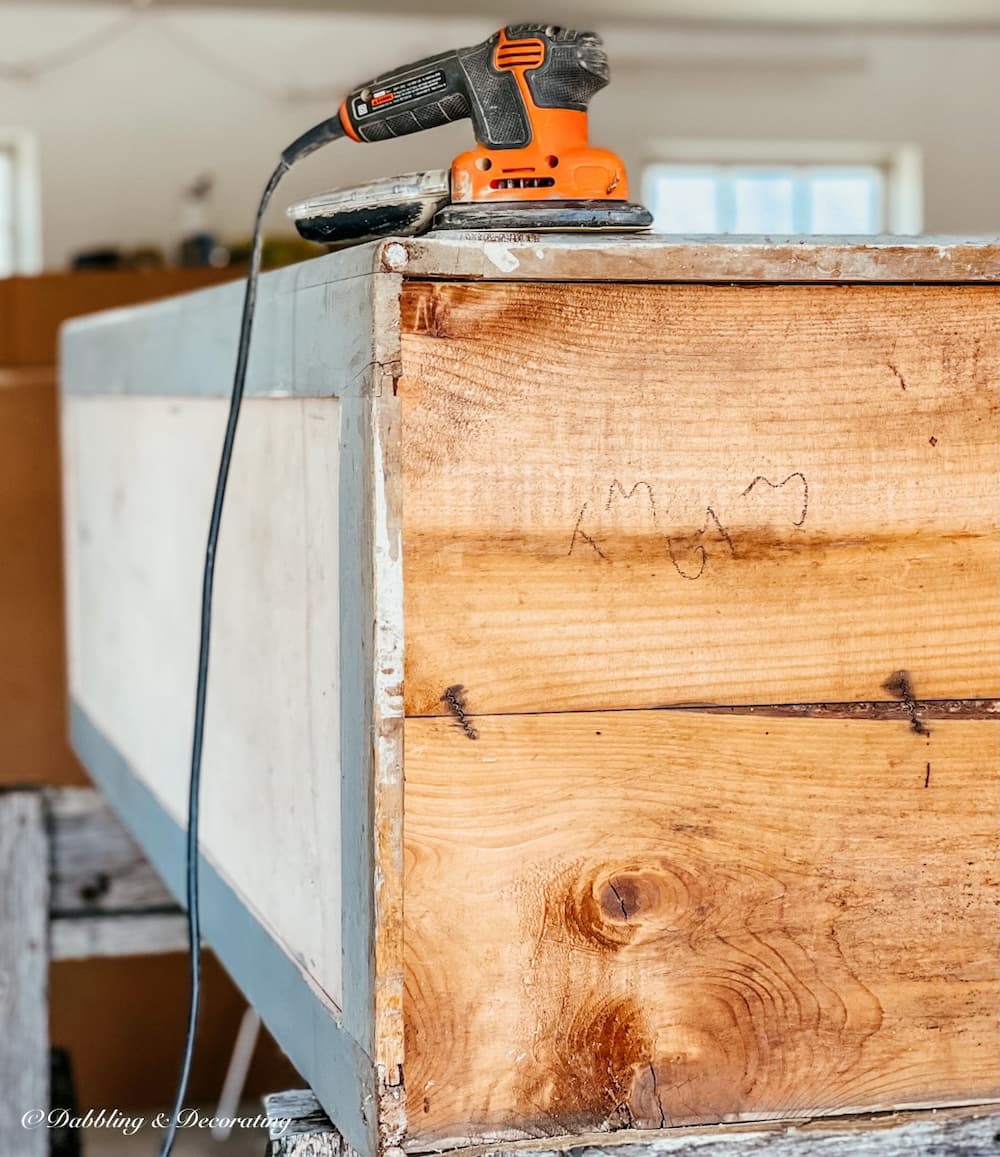
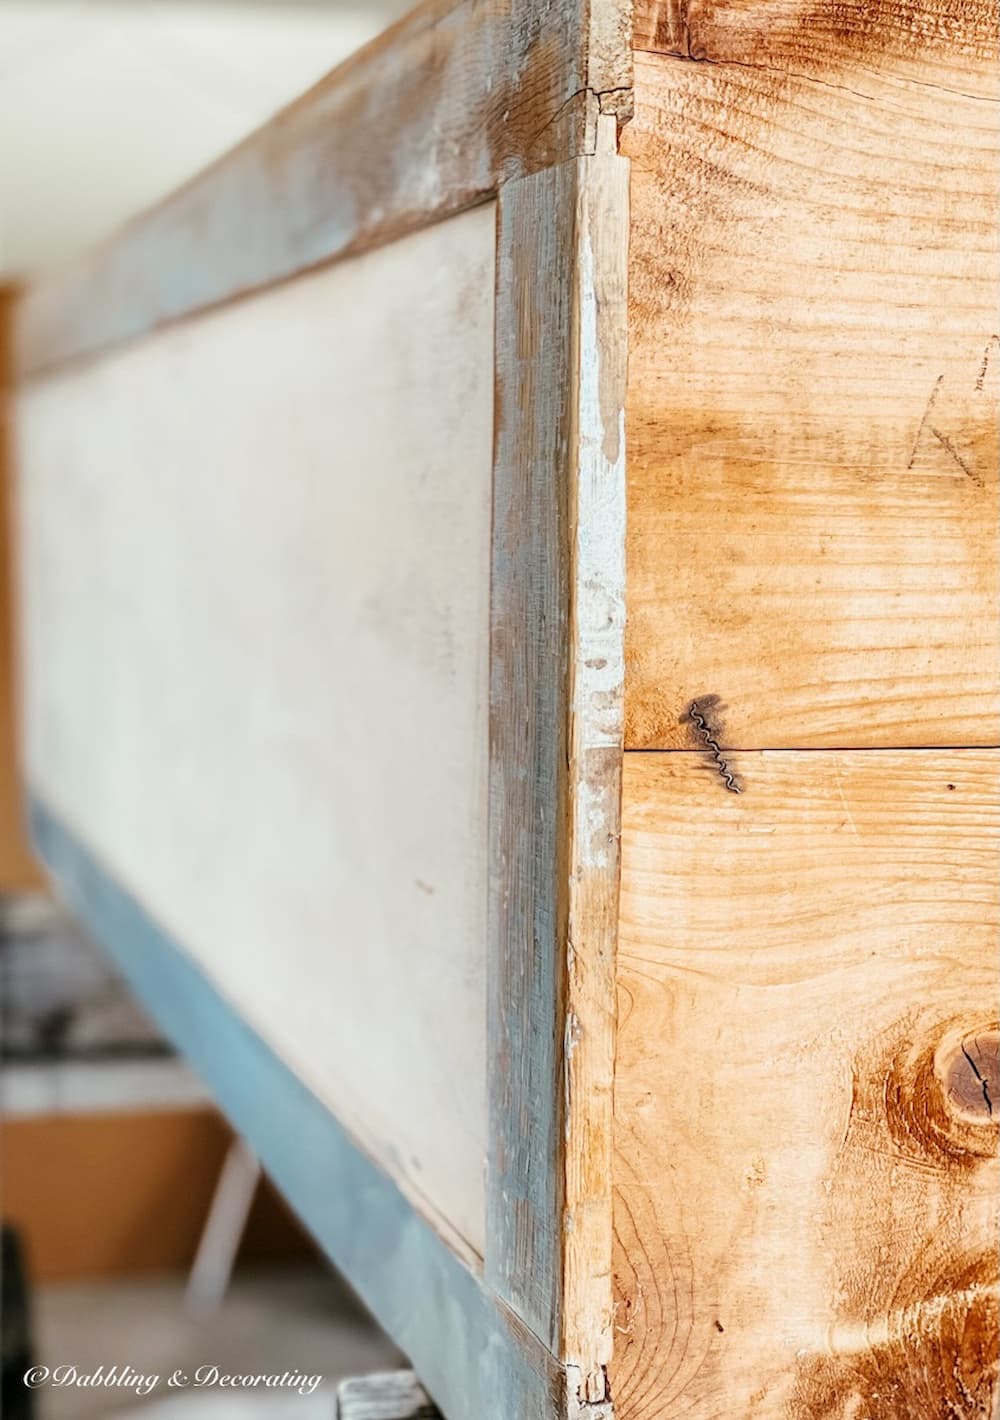
Can You Stain Veneer? Yes, you can!
Or should I wallpaper the inside with peel-and-stick wallpaper? There are so many beautiful patterns to choose from today.
Step 2. Staining the Interior
I decided to try staining the interior first, and if I don’t like that, I will go with wallpaper.
That way, I am leaving my options open.
* I am not an expert in refinishing furniture; I am simply sharing my makeover thrifted wardrobe closet experience.
Restor-A-Finish is my new best friend!
So, after refinishing this wood table in less than one hour, I grabbed and used a can of Mahogany that I had on hand.
One coat of Restor-A-Finish took about half a can. This project also required a paintbrush rather than a rag, as the wood and veneer were just so dry. It will definitely require a second coat, too.
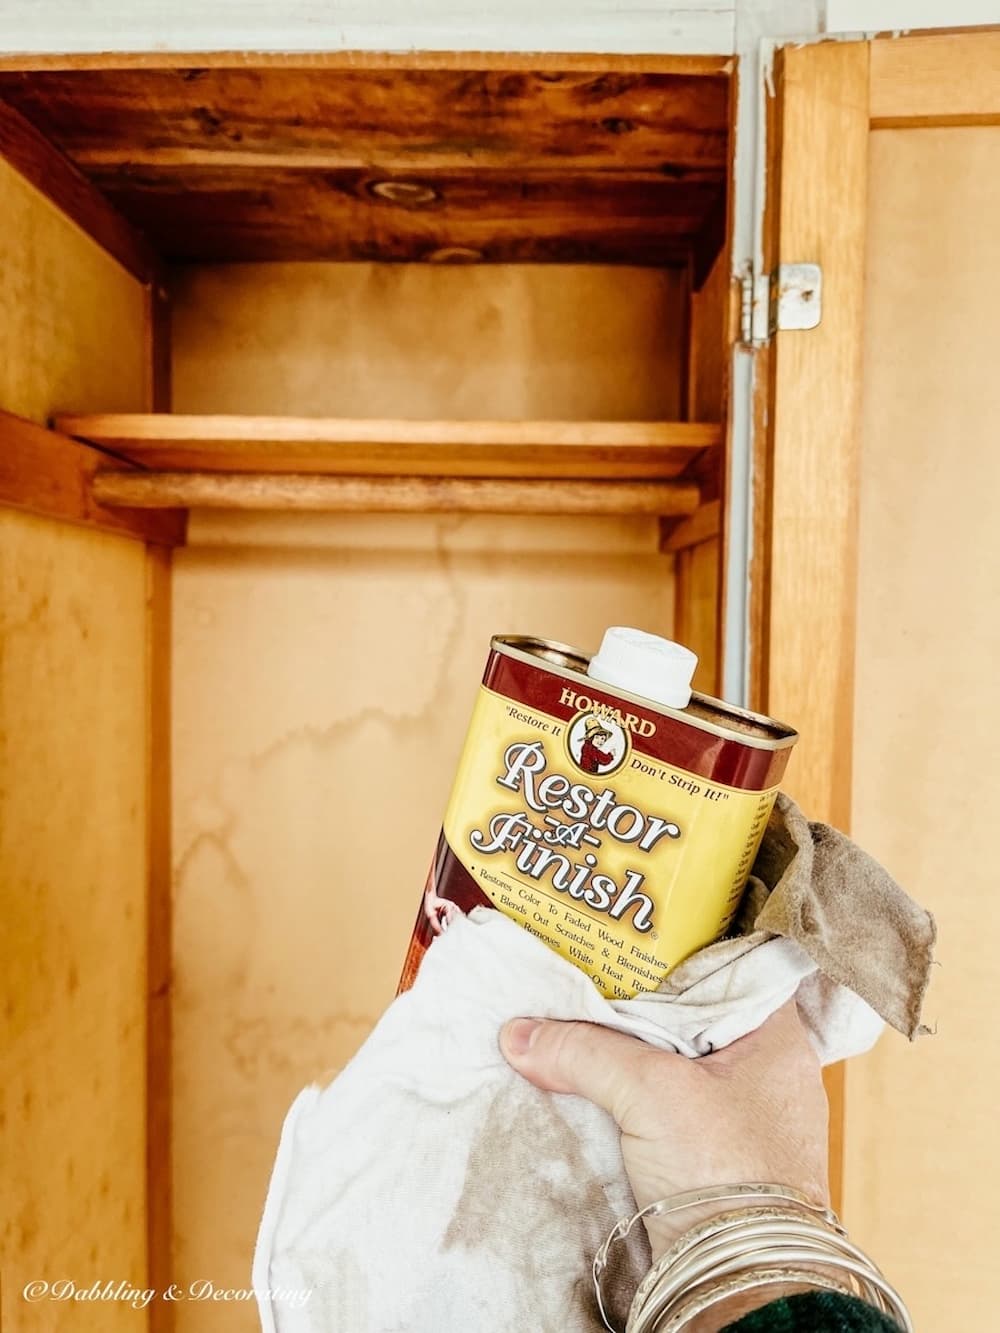
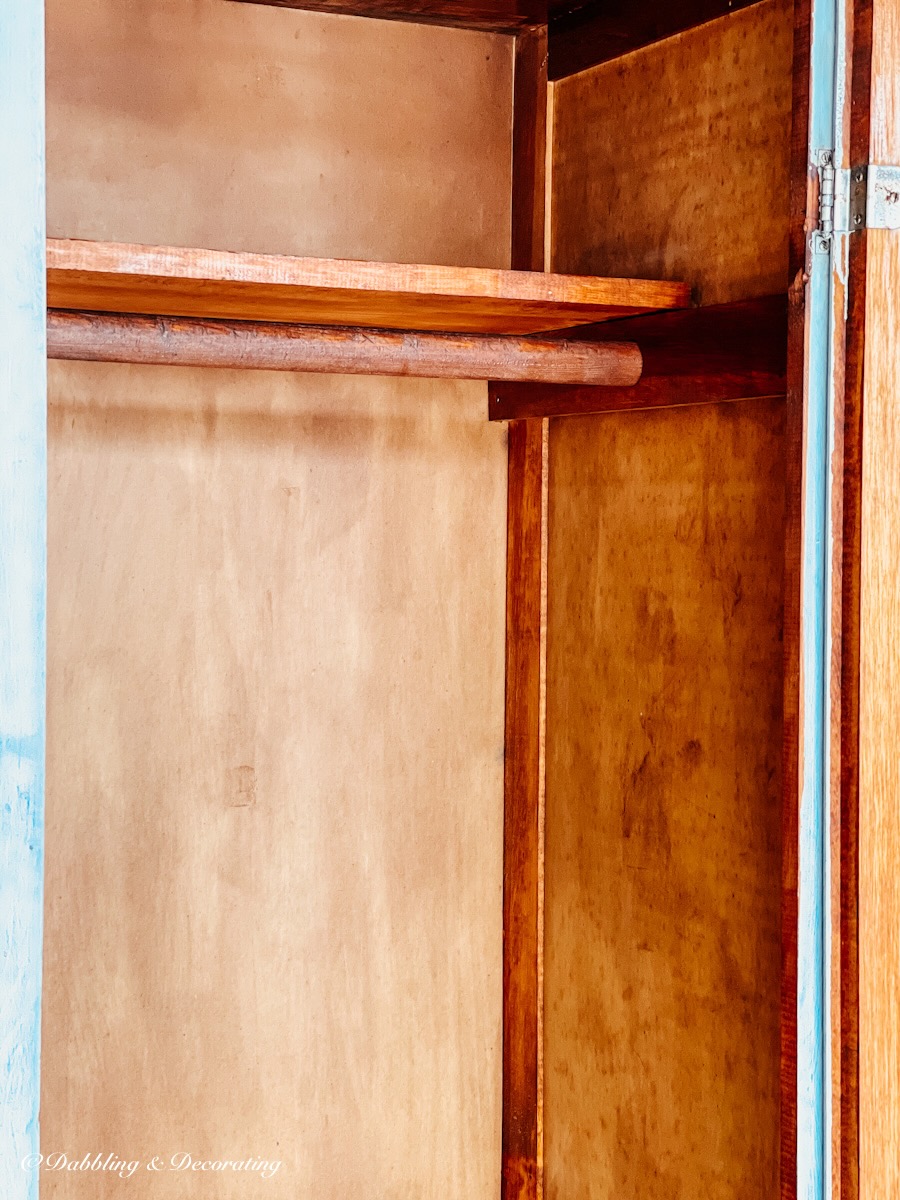
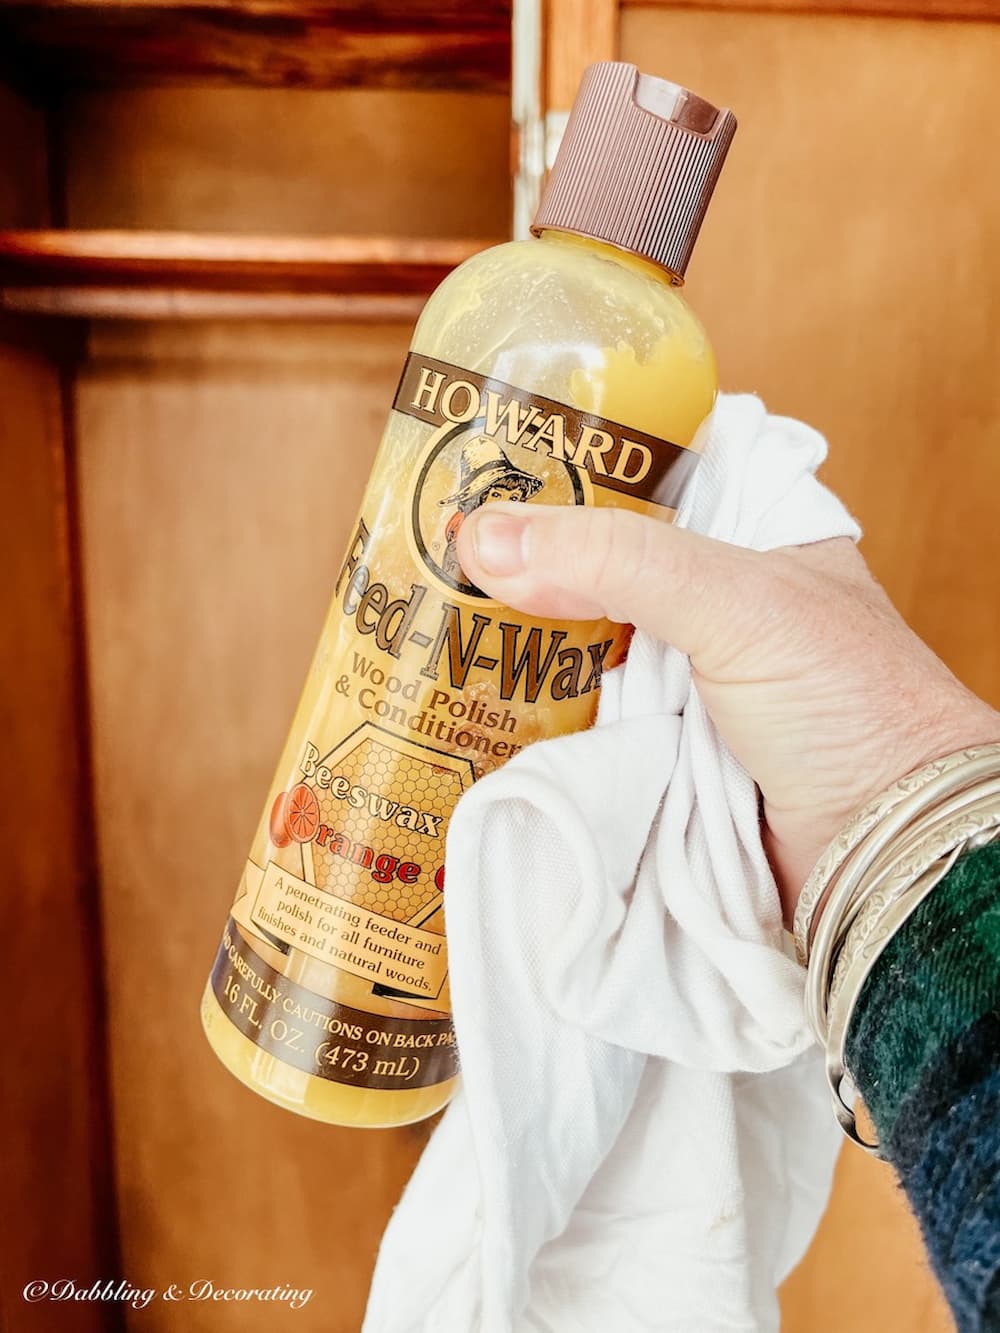
Below is the inside of the wardrobe closet after day 1 with two coats of Restore-A-Finish in Mahogany and one coat of Feed-N-Wax, which goes on like butter with a rag!
Notice that most of the watermarks on the veneer are gone, and the closet looks much more finished.
You may also enjoy these 15 Cool DIY Projects to Start this Summer post.
Step 3. Painting the Wardrobe Closet
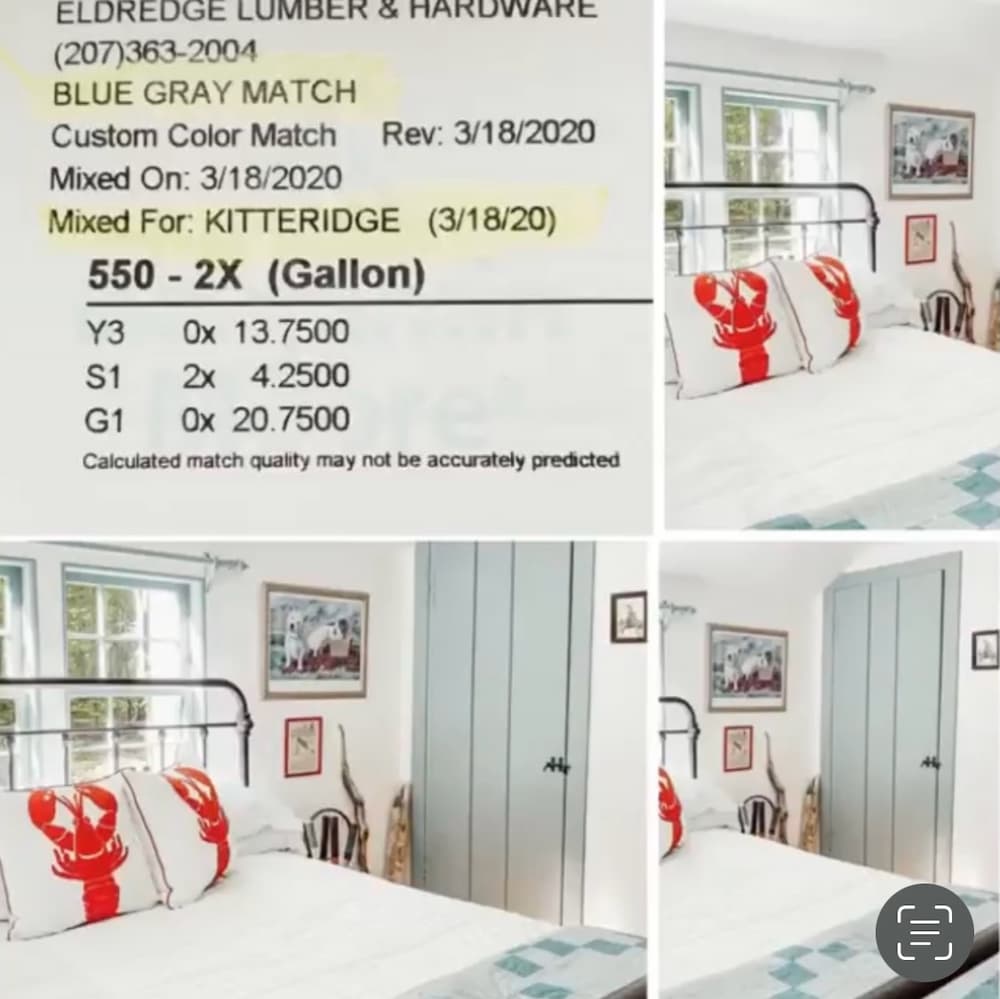
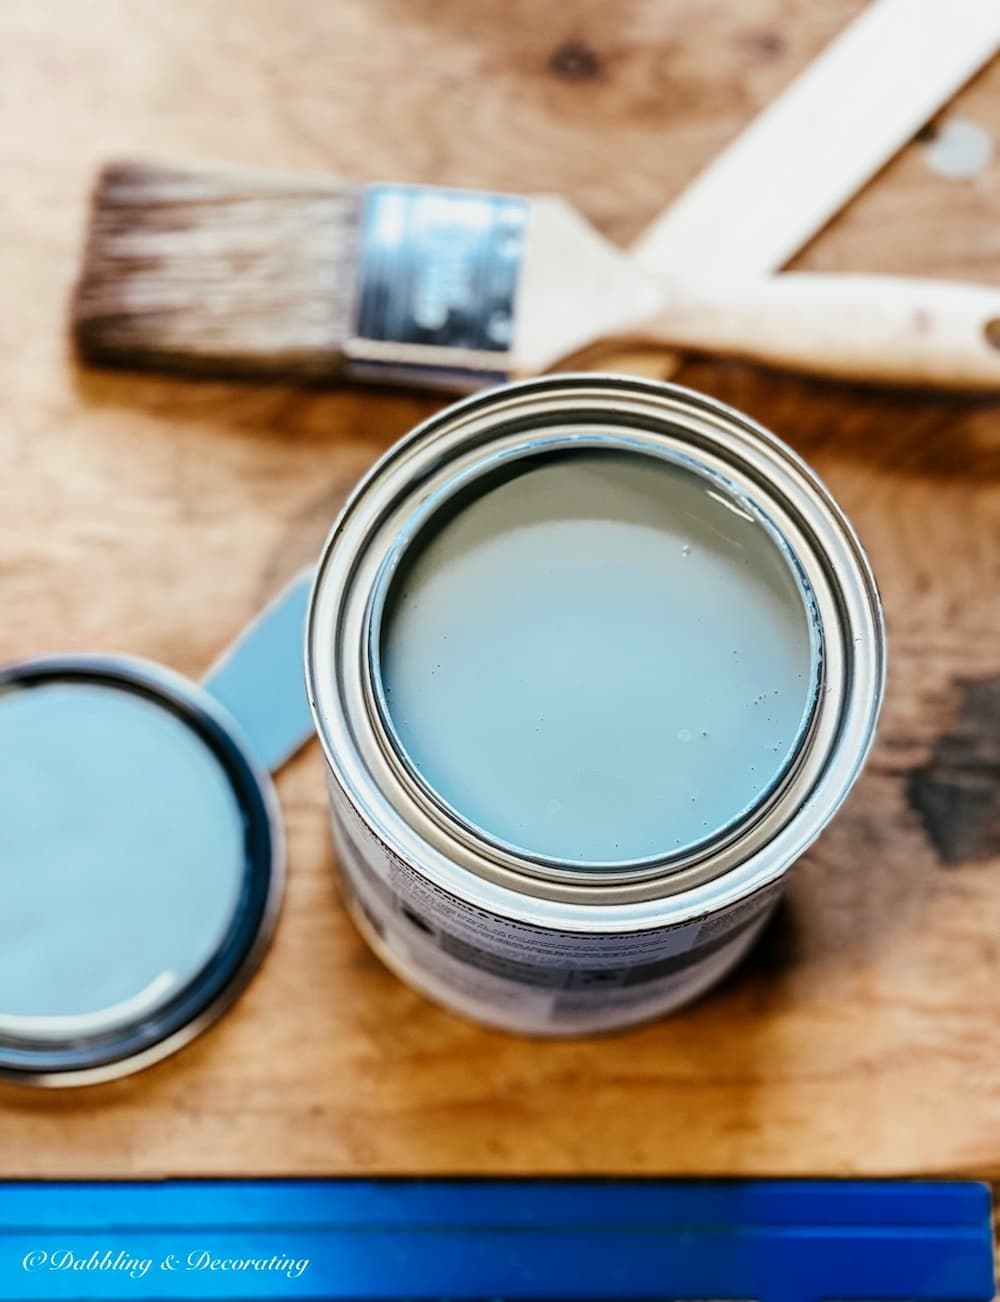
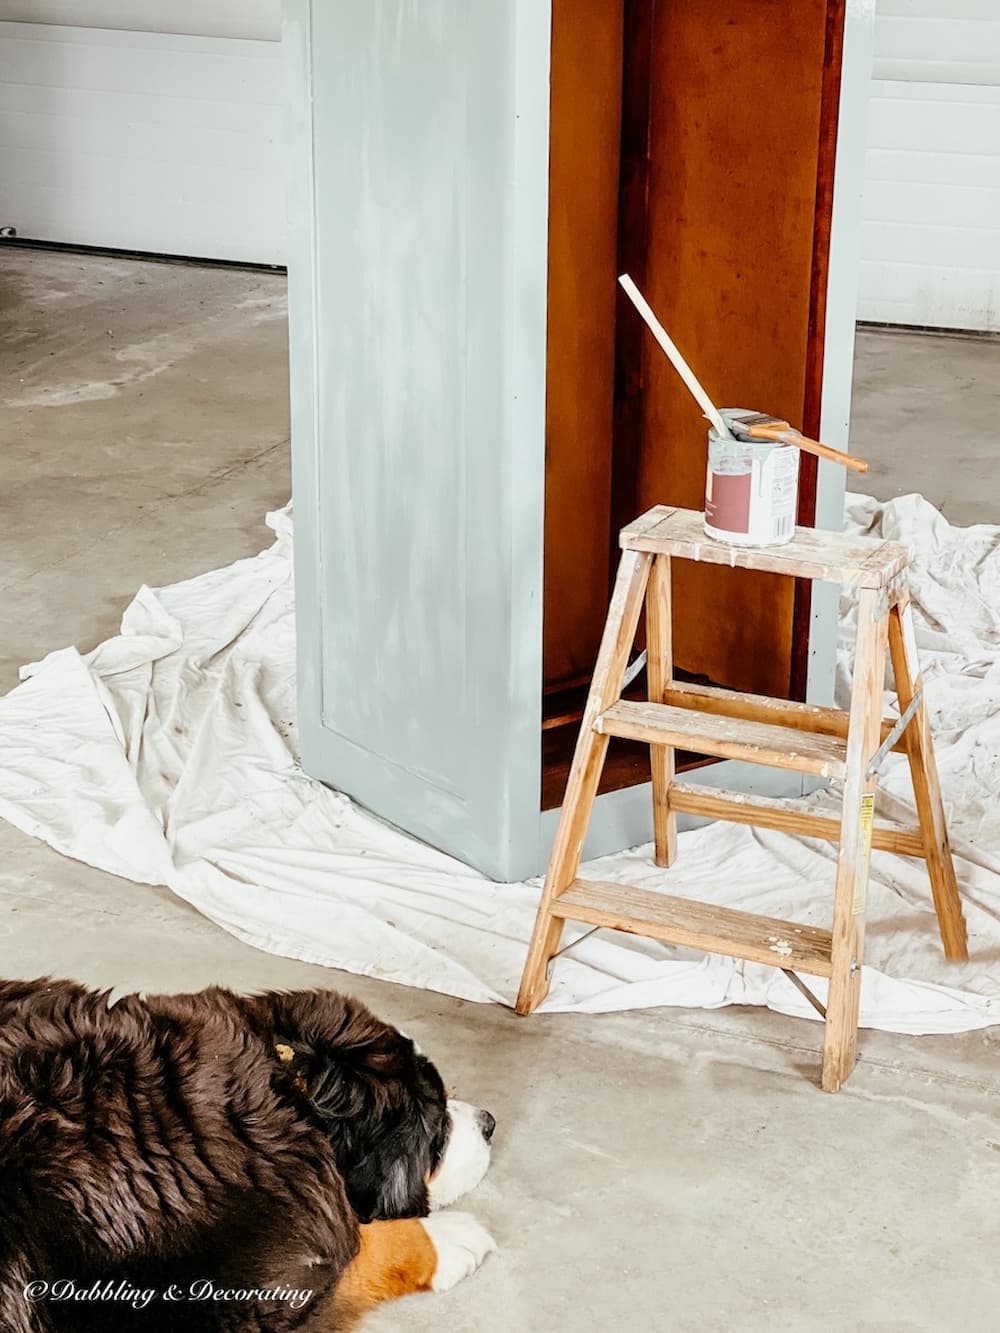
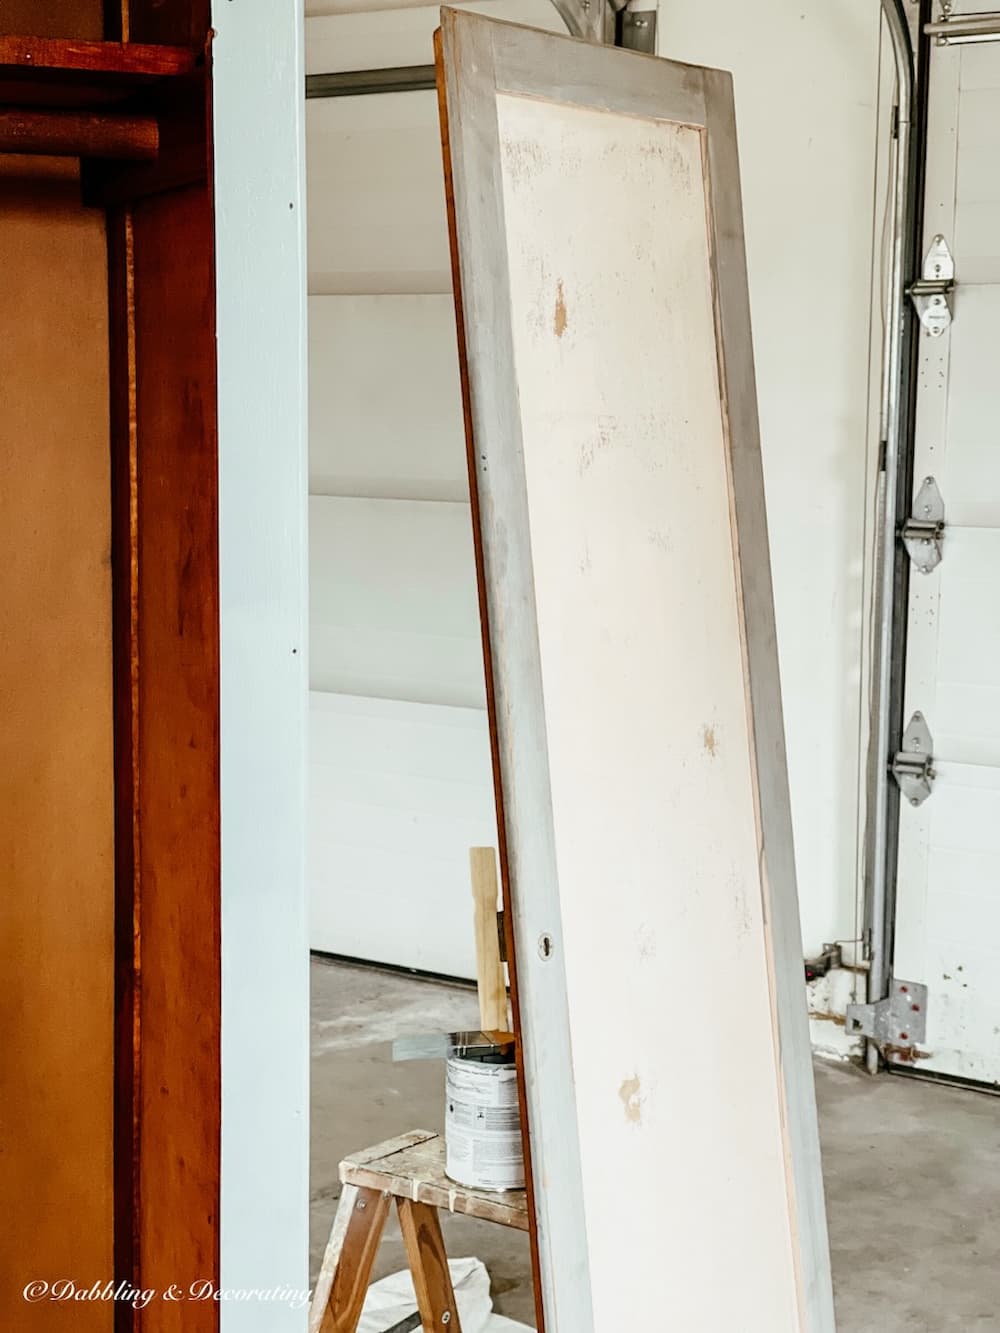
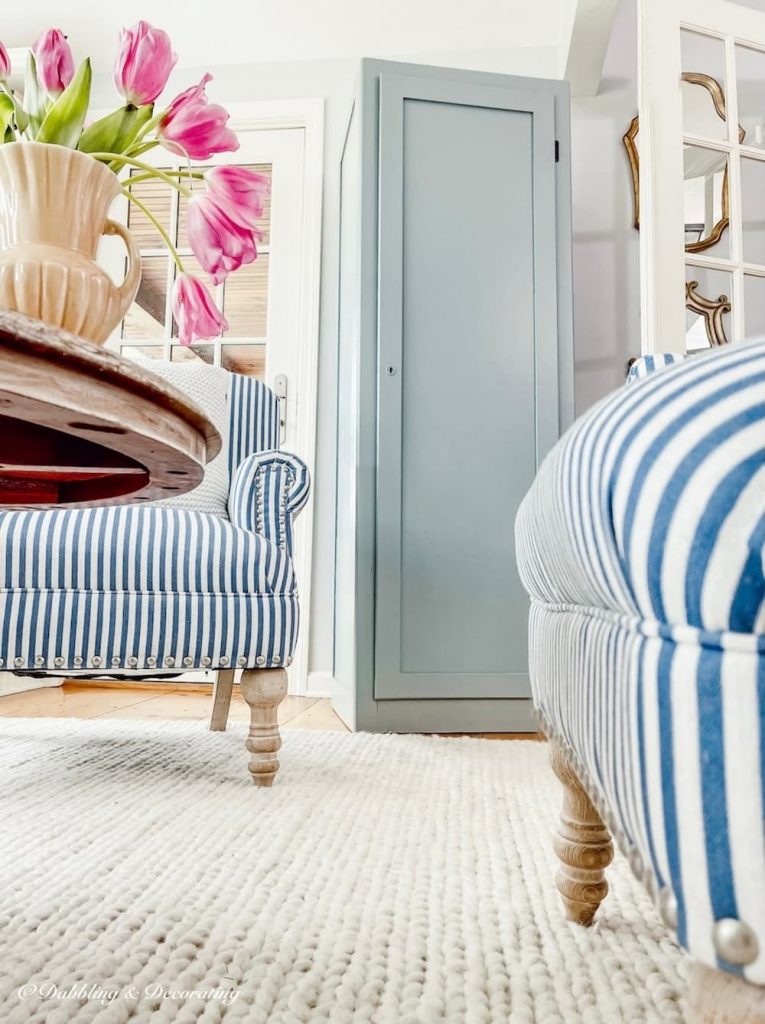
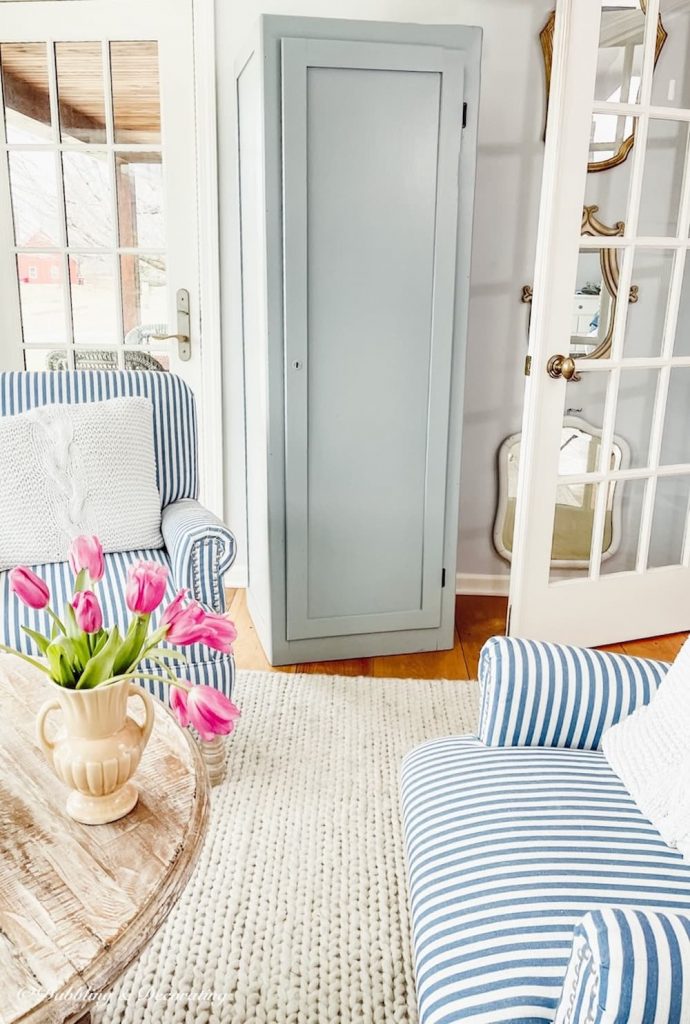
I decided to paint the exterior of the wardrobe closet blue/gray, the same color as the trim in our bedrooms at our home in Maine.
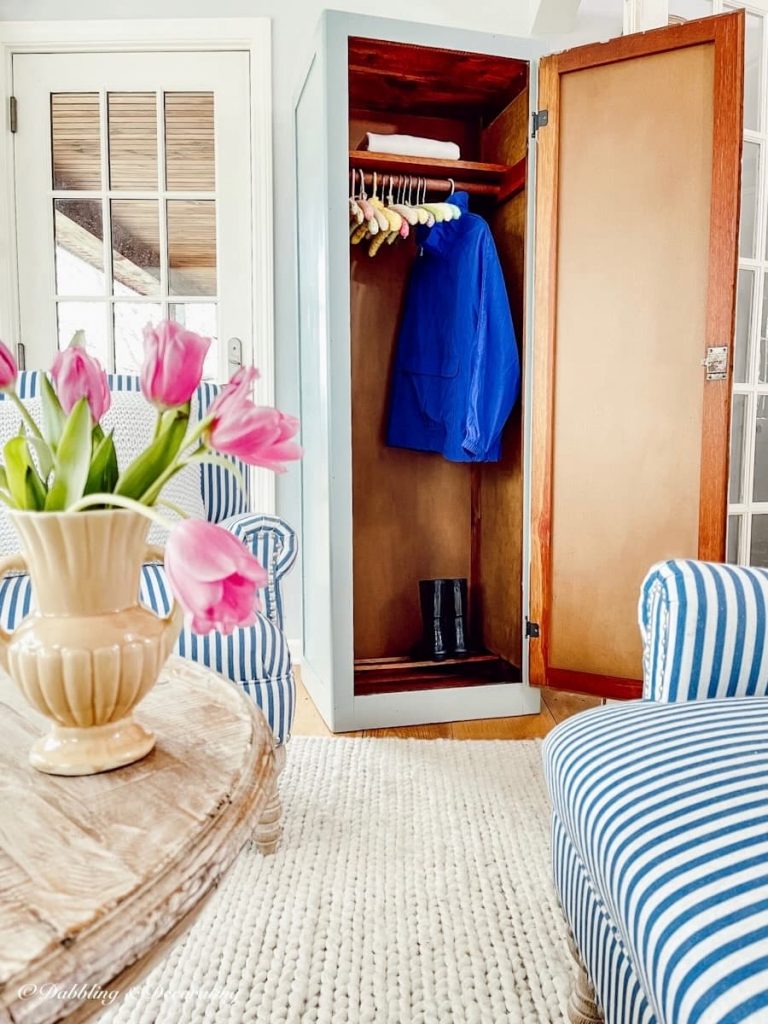
It’s a beautiful vintage look, and once contrasted with the interior stain, it will look fabulous when finished.
Step 4. Wardrobe Closet Hardware
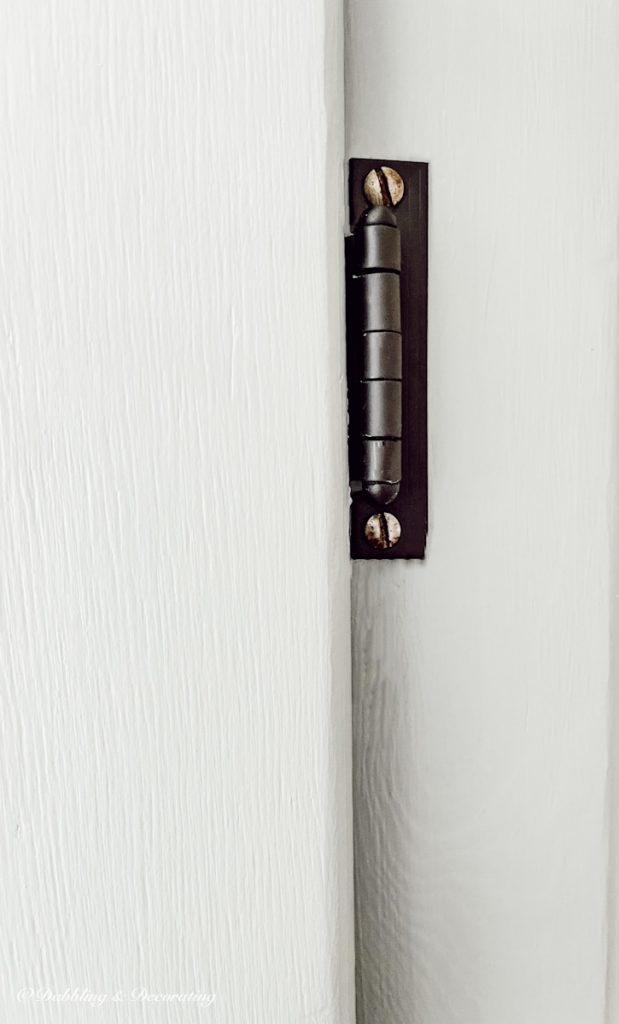
I removed the closet door for painting when I decided that the outdated closet hardware needed to be replaced, too.
But after a trip to the hardware store, I quickly realized that replacing these old hinges wasn’t going to be easy.
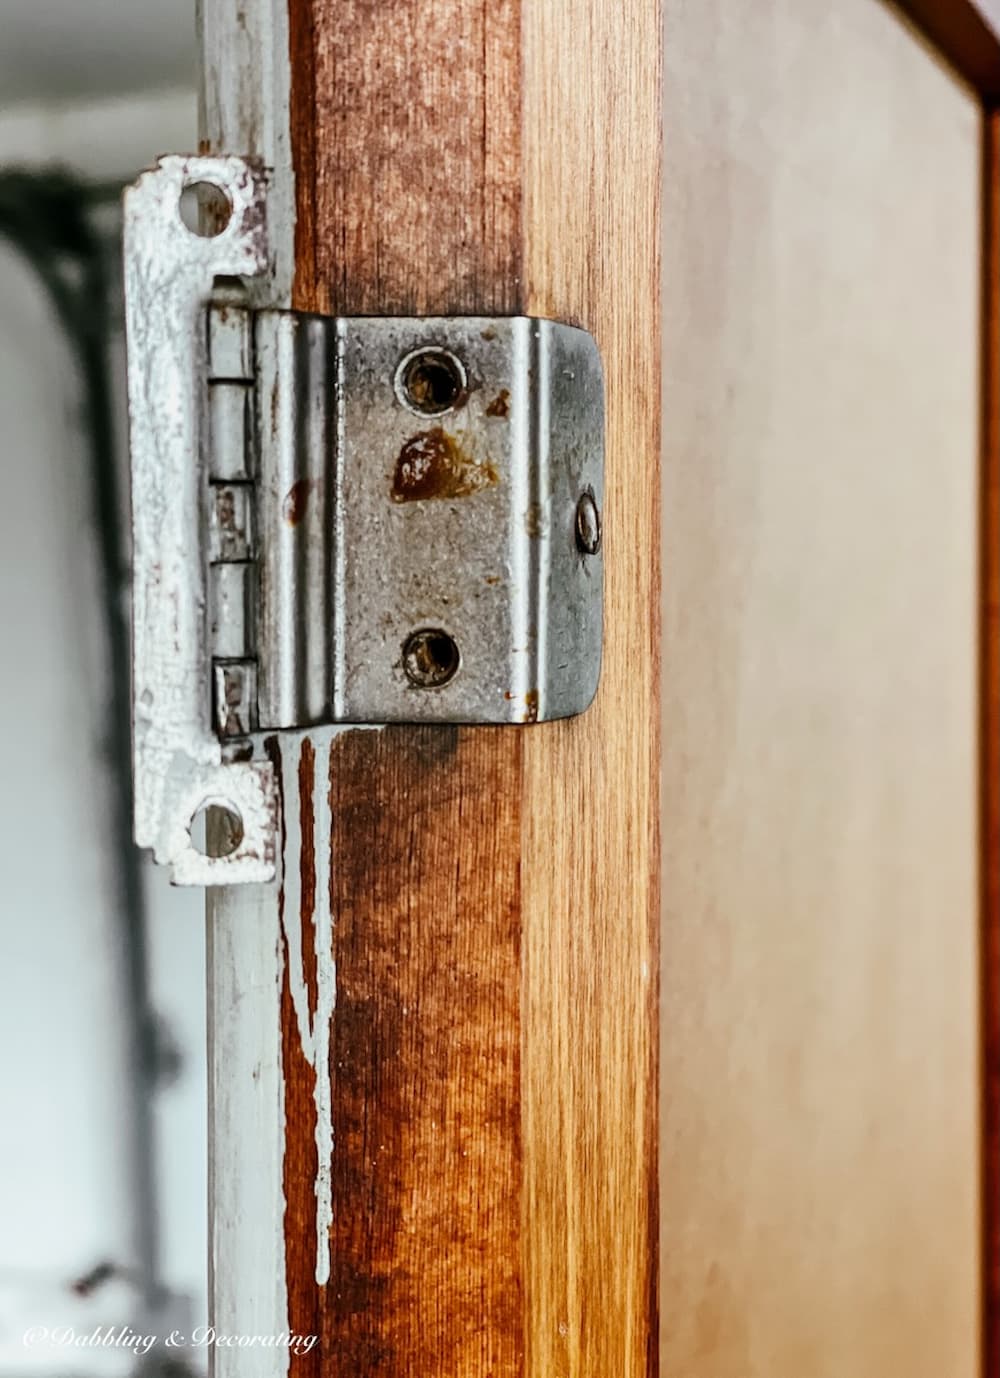
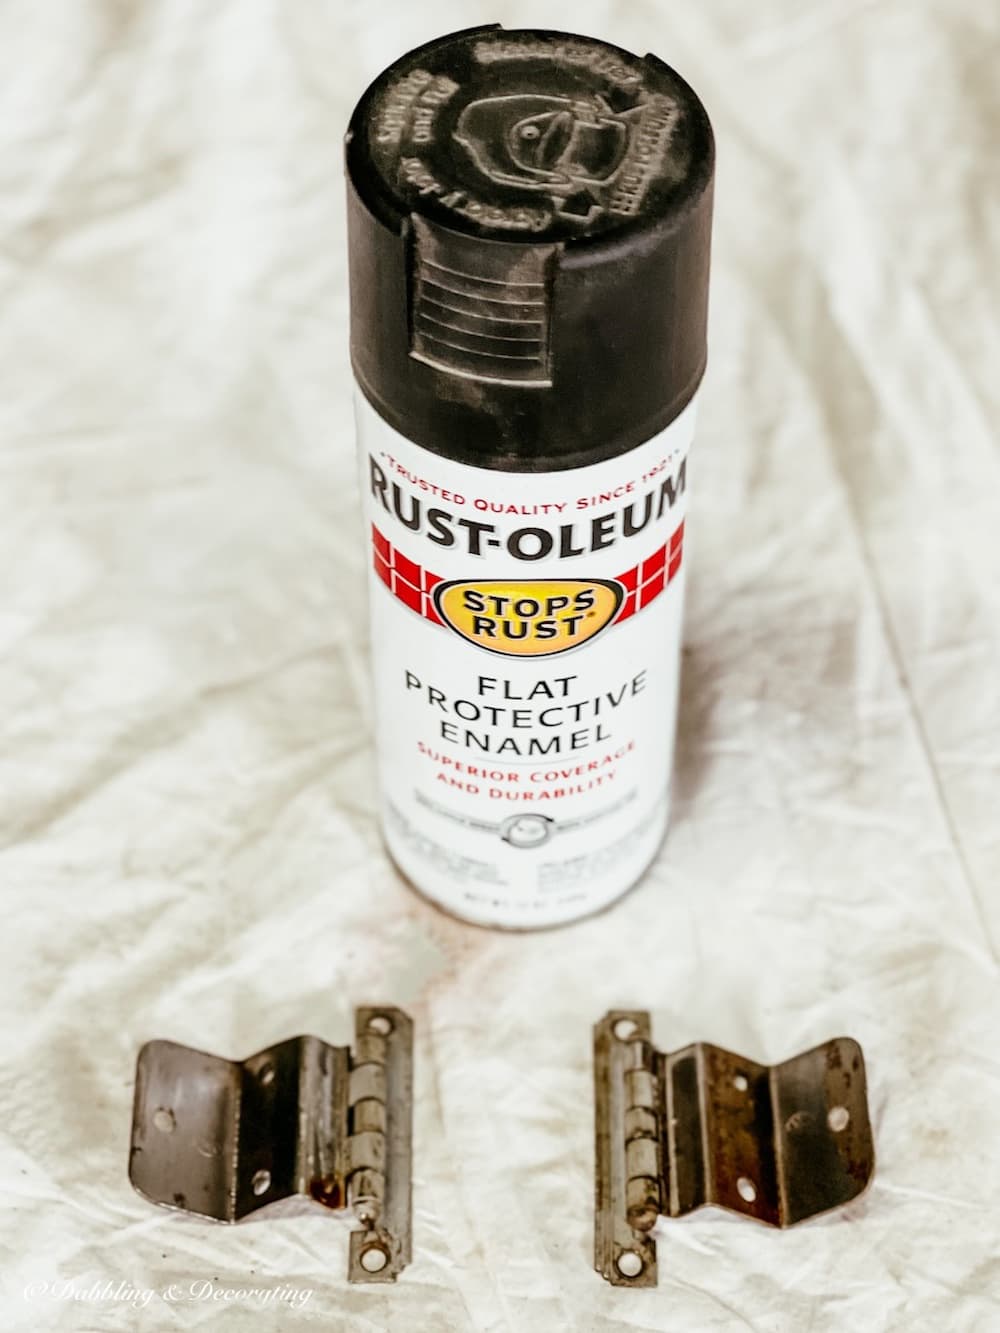
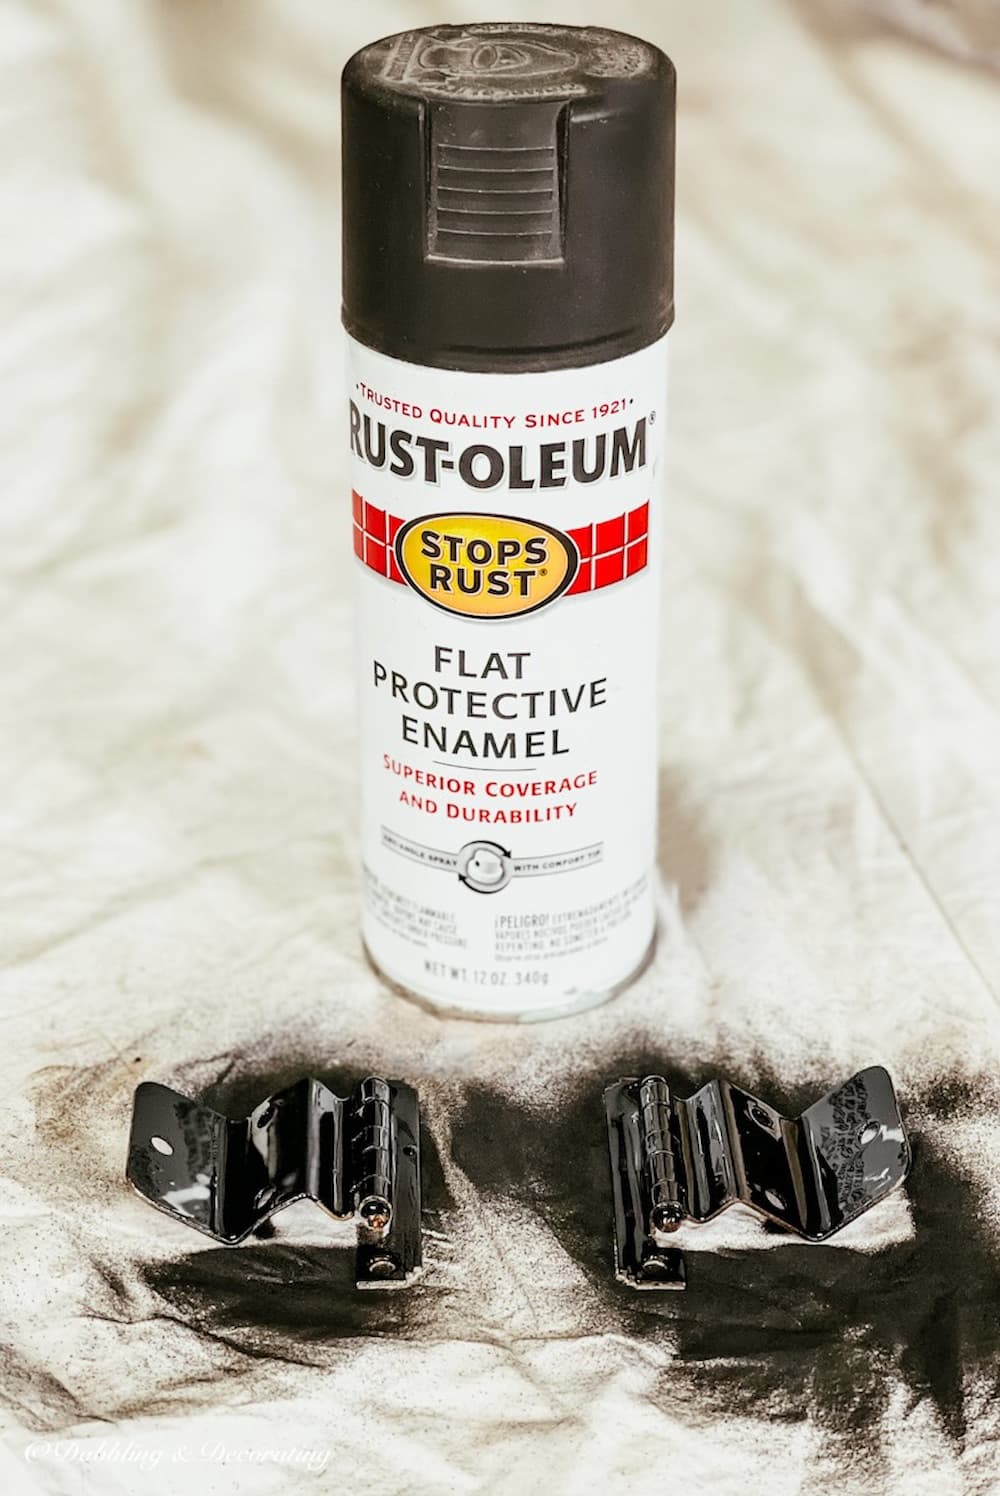
So I decided to simply paint the hinges black with a can of spray paint that I had hanging around the garage.
I just didn’t have the time for a custom order online, and our local hardware store didn’t have what I needed.
Step 5. Vintage Crochet Clothes Hangers
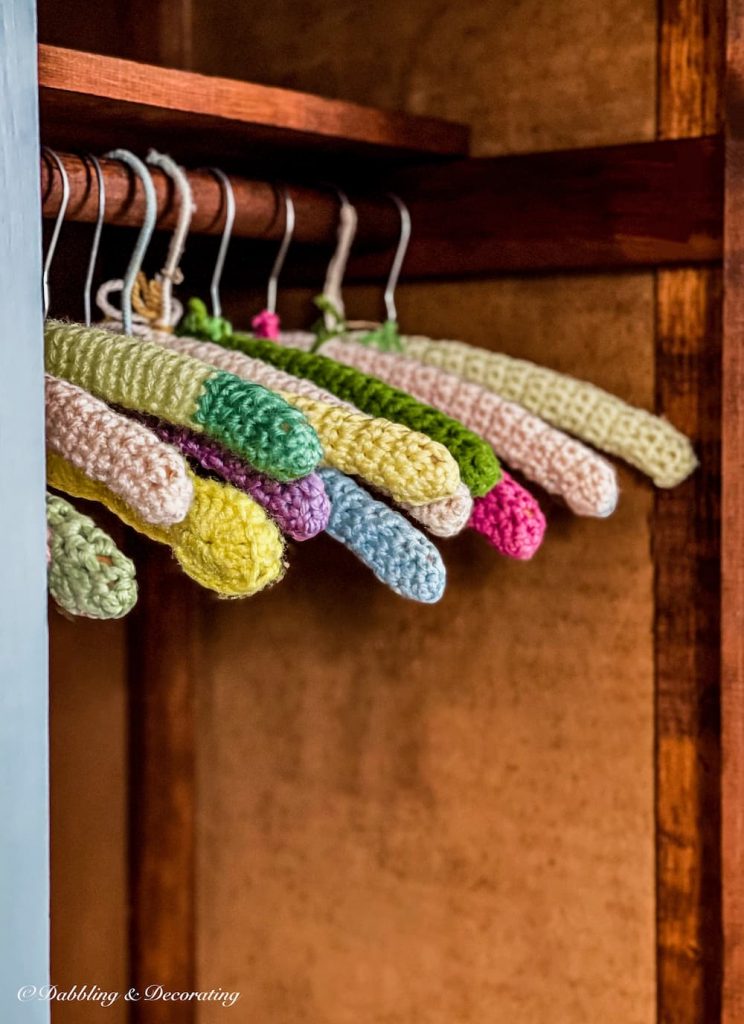
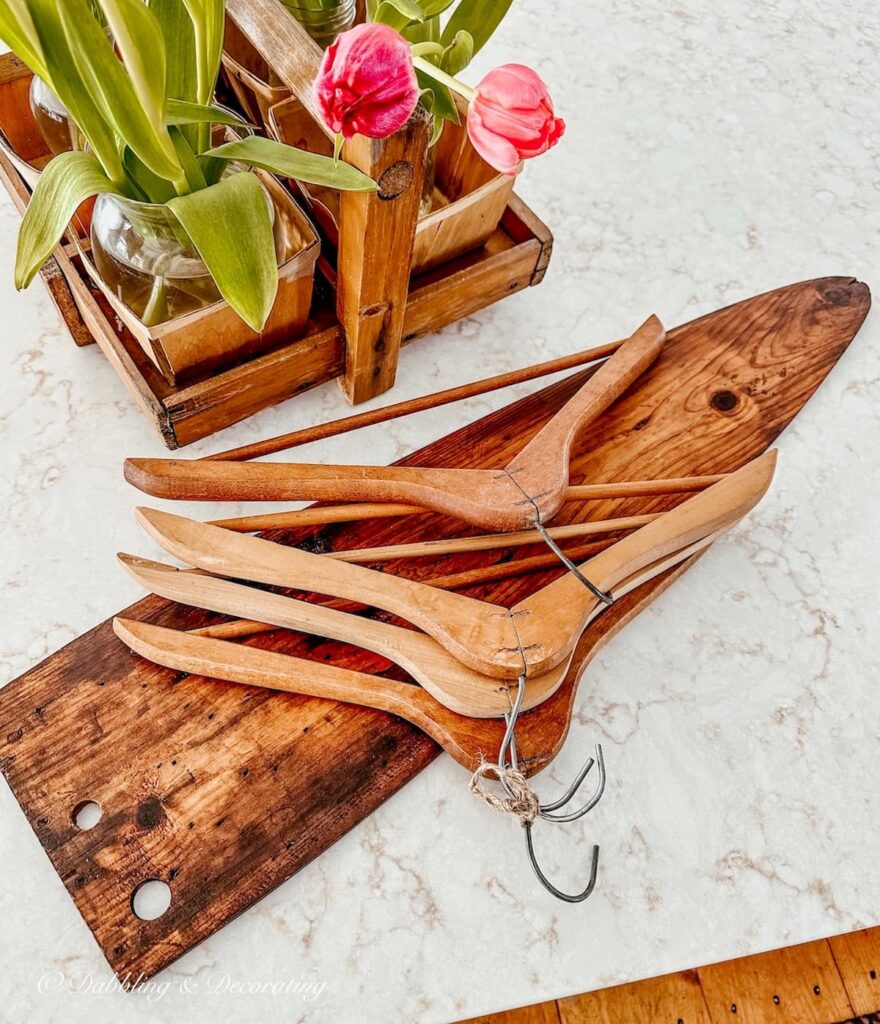
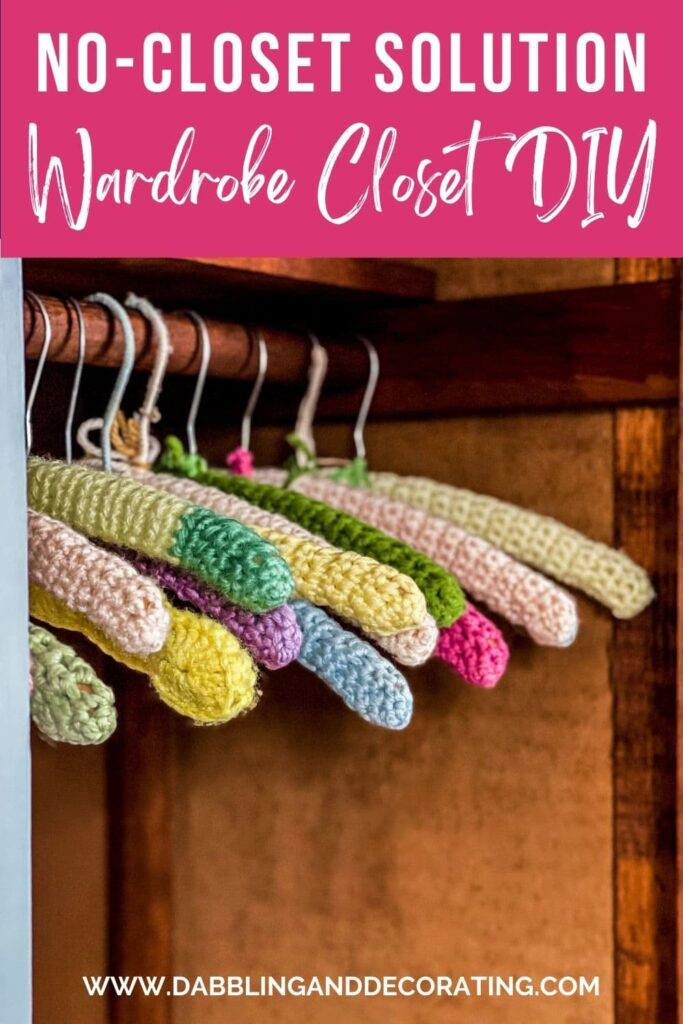
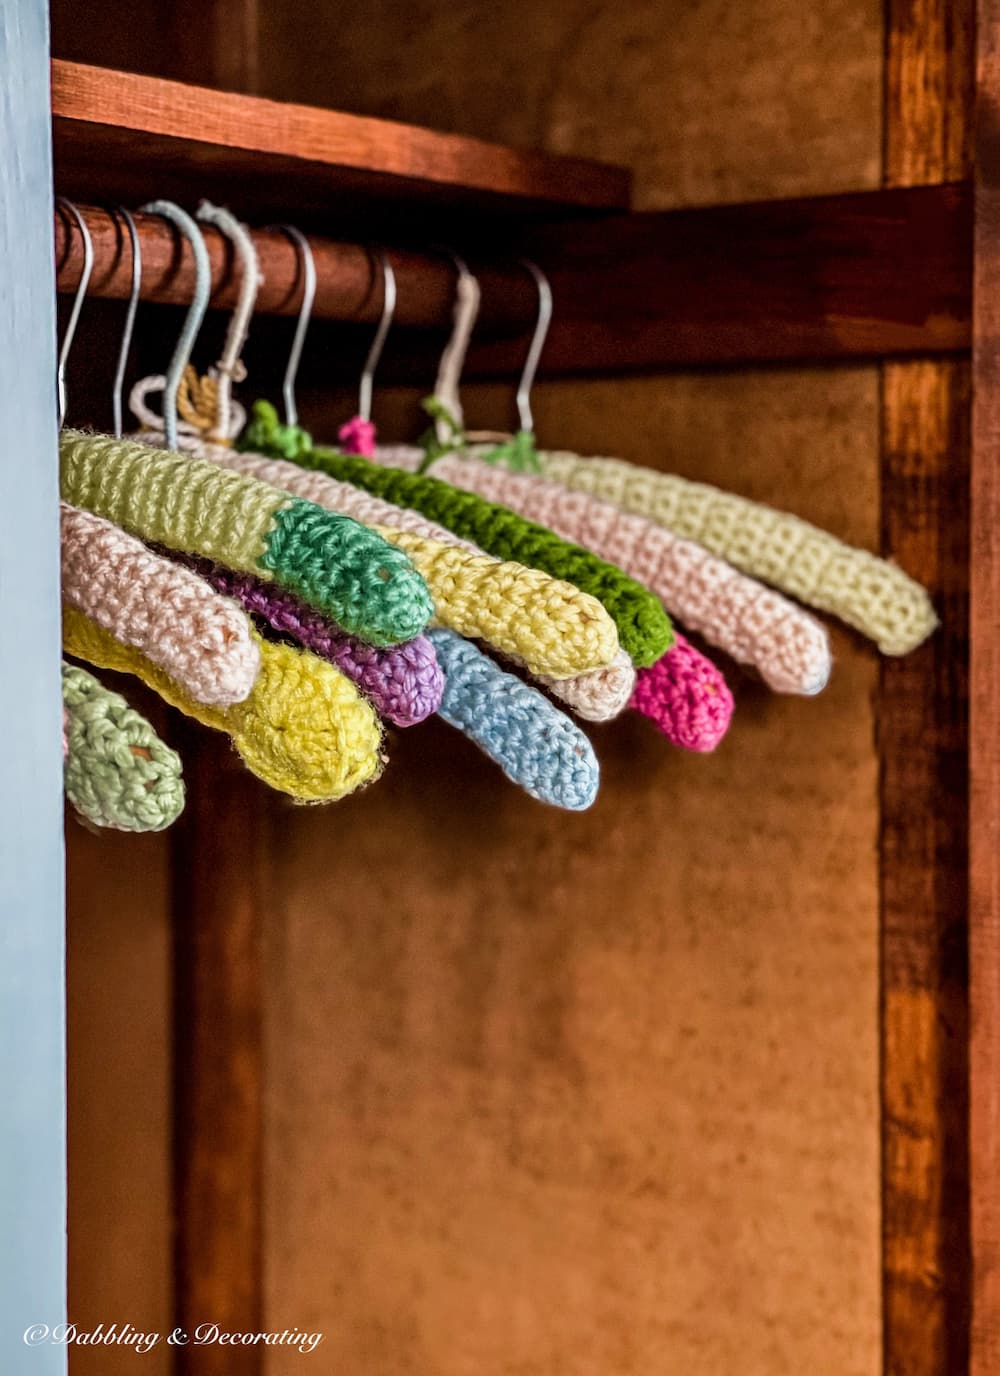
And while waiting for the paint to dry, I found these vintage crochet wooden hangers on Etsy.
How charming are these clothes hangers in this old DIY closet from A Green Cottage Shop?
Pro Tip
You may find more inspiration in this Your Guide to a Rustic DIY Coat Rack with Antique Finds post.
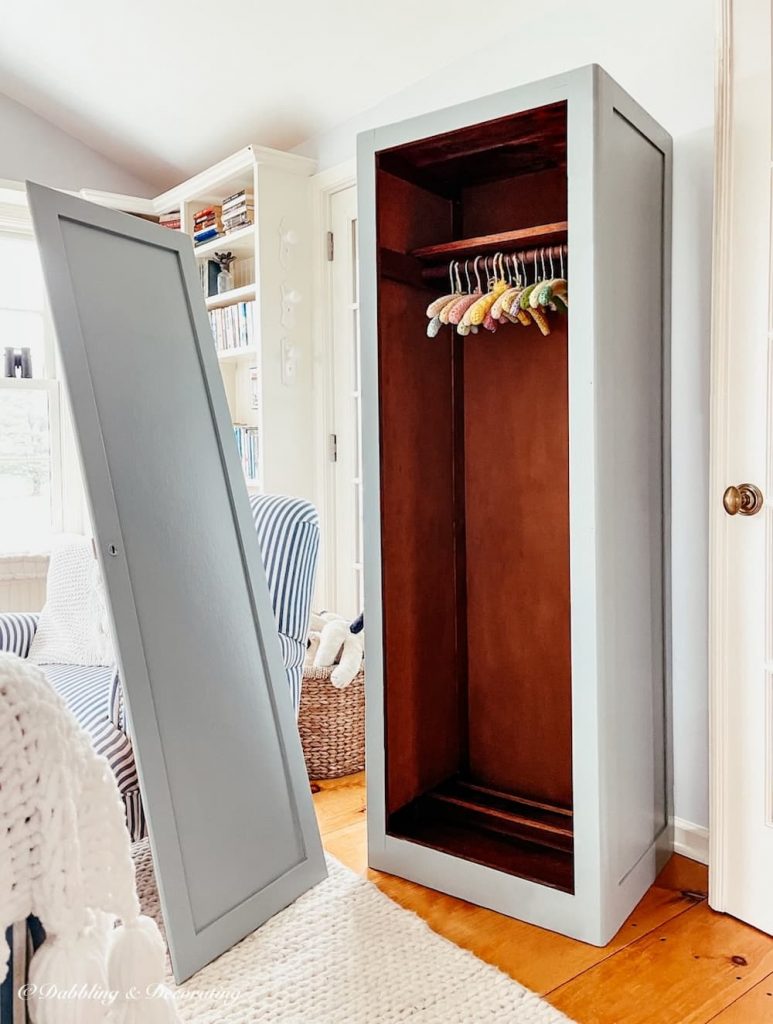
Finished Wardrobe Closet DIY
I love how this wardrobe closet turned out.
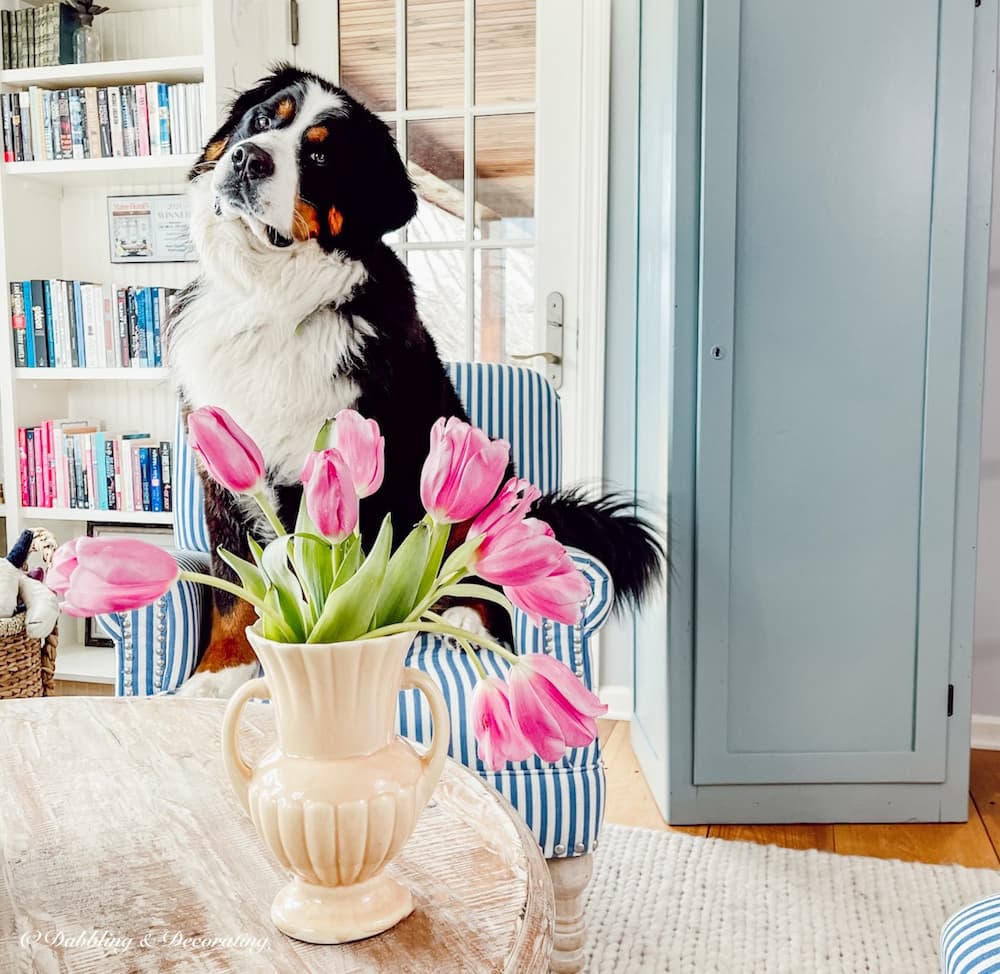
I brought it into our sunroom to put the door back on it with the newly painted hinges. Now I’m thinking I may just keep it around for a while.
Where can I buy antique wardrobes and armoires?
A wide assortment of wardrobes and armoires are available on both Etsy and eBay.
Here are a few of my favorites that I rounded up for you here:
Scroll and Click on Image to Shop
What are the different types of wood for wardrobes?
This wardrobe was made from Pine and Veneer.
This wardrobe closet DIY has inspired us to now custom-make a freestanding closet for our no-closet bedrooms in Maine.
And we will use Pine wood for that wardrobe closet DIY.
A free-standing wardrobe closet offers a convenient and flexible storage solution for your clothing and accessories. With careful consideration of your storage needs, available space, and design preferences, you can choose and set up a wardrobe closet that suits your style and enhances the functionality of your home. Enjoy the organization and convenience that a free-standing wardrobe closet provides!
On this freestanding closet’s flooring, the previous owner put in two wood railings for shoes, which I just love.
The railings even have a slant to them. Such a fun detail to have.
You may also enjoy Riding out the Rain with These Fabulous Umbrellas and Rain Boots post.
And 75+ Blue and White Vintage Gift Ideas for Women post.
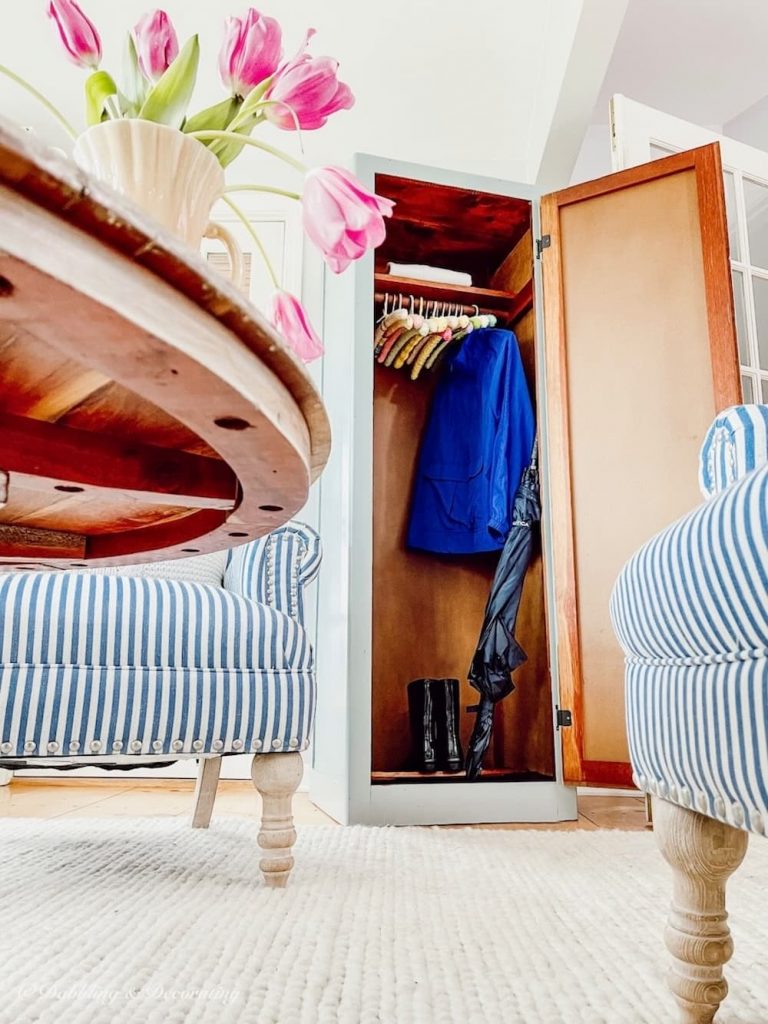
Now, I just need to transport this portable wardrobe closet to our home in Maine and install it in one of the two attic bedrooms.
Join Dabbling & Decorating on YouTube
Your Guide to an Eclectic Style~
I’d love to hear from you! If you have thoughts, questions, or just want to pop in and say hello, feel free to leave a comment below. And if you have a vintage-loving friend, don’t forget to share this post—they might find a little inspiration here too.
Do you have a flair for all things vintage, too? I would love to see and feature you in our Reader’s Showcase Series. A place for you to share and be recognized for your talents and passion for all things thrifting, vintage, and antique decor-related inspired by your time here with Dabbling & Decorating. Email me at [email protected]
Pin forLater!

Shop This Post
This post may contain affiliate links, which won’t change your price but will share some commission.

I love what you did with this piece Ann. The color is beautiful.
I’m so glad you like it Kim😘
It Is an old piece and love old pieces. You did a wonderful job, it is so pretty now.
Thanks so much Marlene. I’m so glad you like it💙💙
Ann your wardrobe looks fabulous and I love the dreamy paint color! Those vintage hangers bring back wonderful childhood memories! Well done!
I’m so glad you like it Michelle. It was a fun project🤗