Discover the easy way to create a stylish DIY basket woven with a leather belt! This step-by-step guide is perfect for crafting a unique DIY gift basket that stands out. Enhance your home decor with this top of the basket project!
DIY Basket Woven With Leather Belt
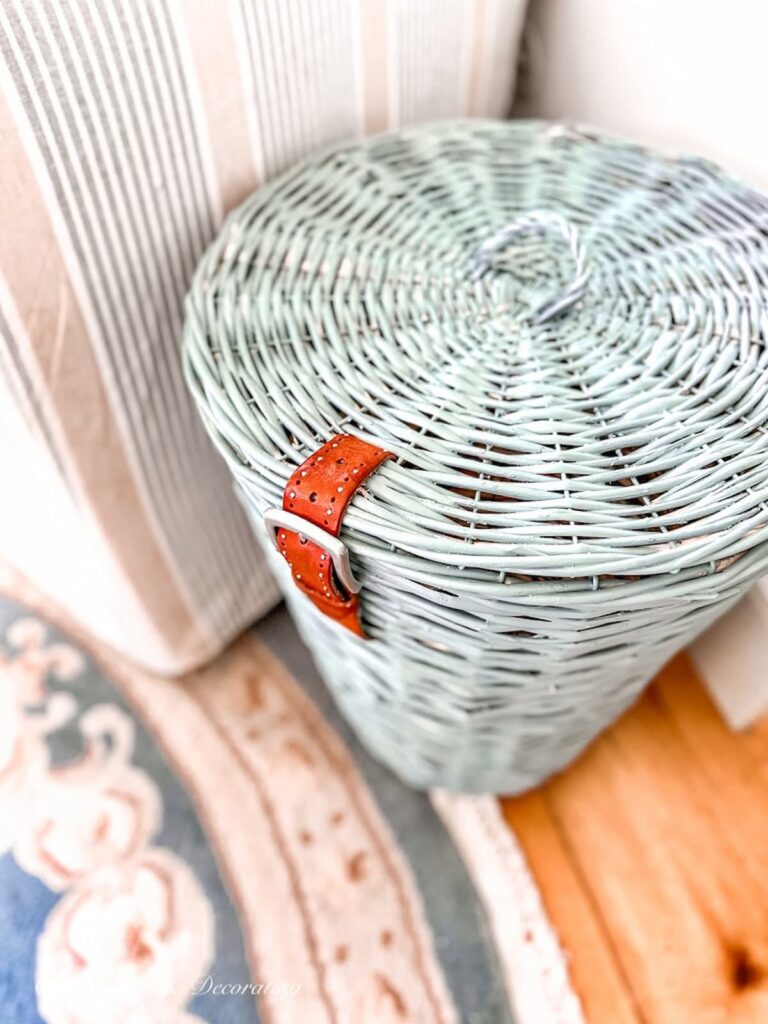
Inspired by my friend Nancy of Simply Styled Inspo basket DIY, this simple project packs a decor punch. A perfect project for a hot summer day that I knew I needed to try and share with you.
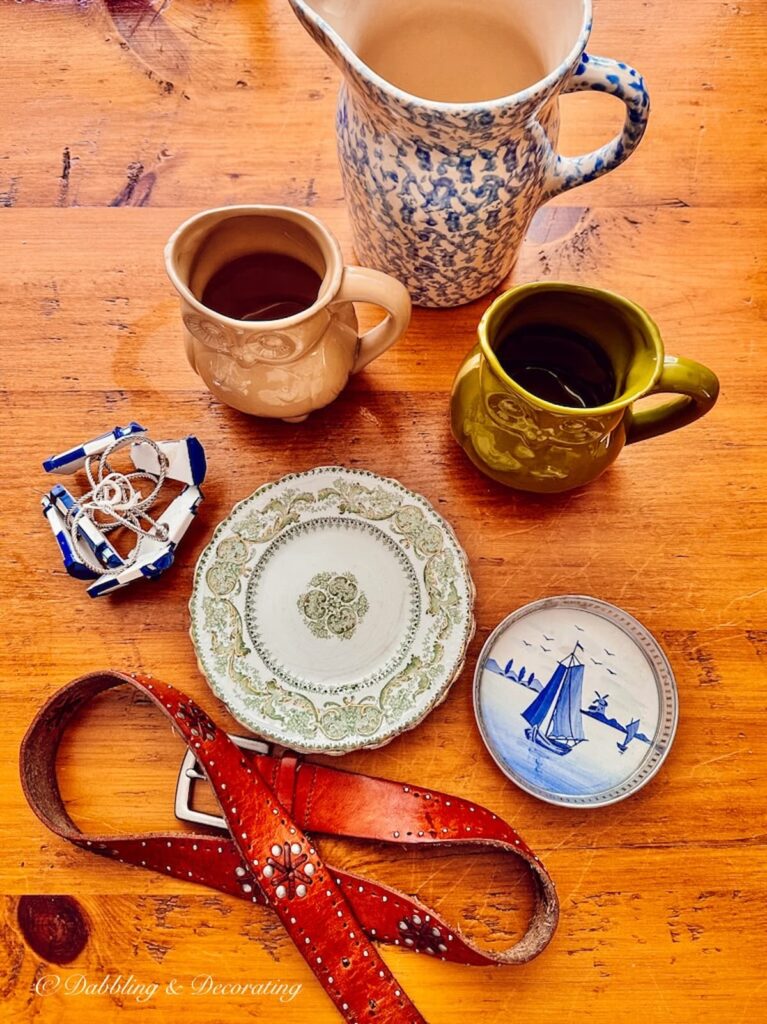
Leather belt
I thrifted this leather belt while Thrifting with the Gals at Sage Farm Antiques last week. It will be my personal touch on this basket DIY. Now, I just needed to find a basket with a lid.
Basket
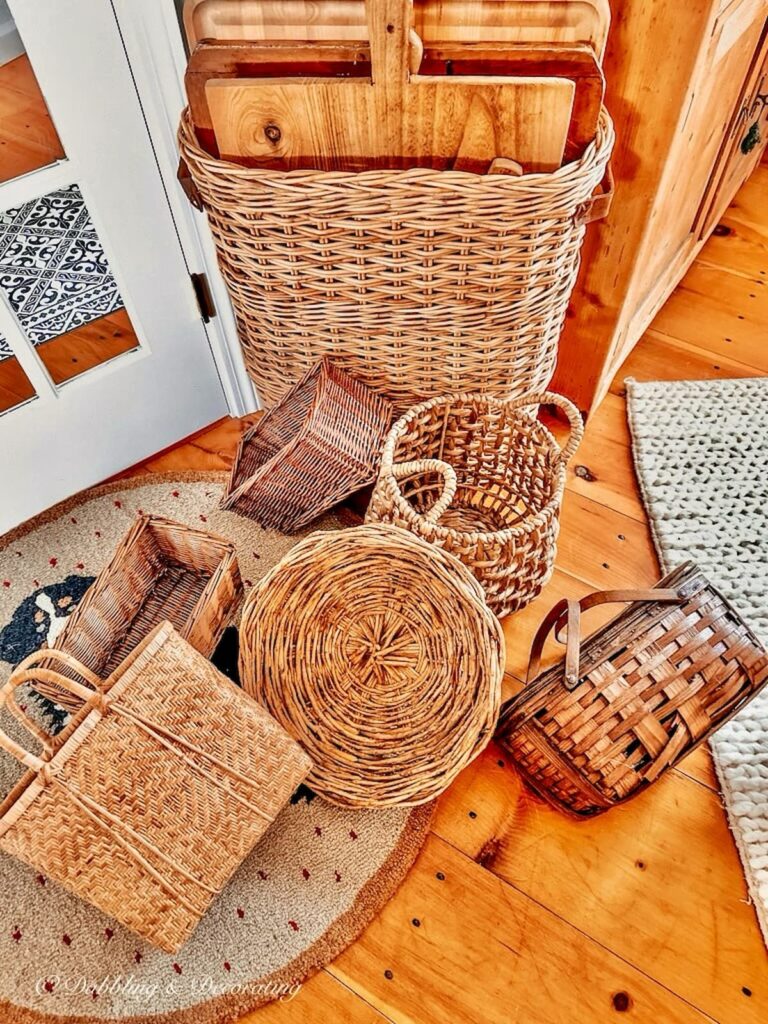
Next, I found my own basket at Home Goods. Finding a basket in good condition with a lid was a tad challenging. But if you have the time and patience, I’m sure you could find an inexpensive one at a local thrift shop or flea market for under $10.
You’ll also want a basket that has a weave on it, similar to this one so that the belt can easily be woven into the top and side of the basket.
Paint Color
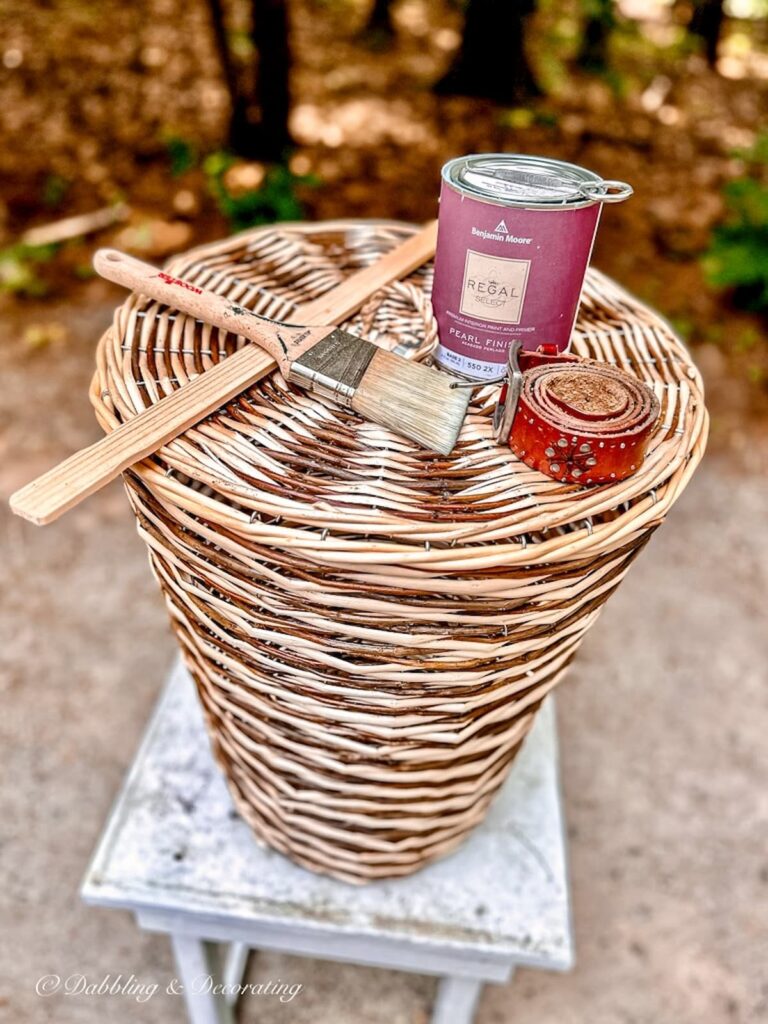
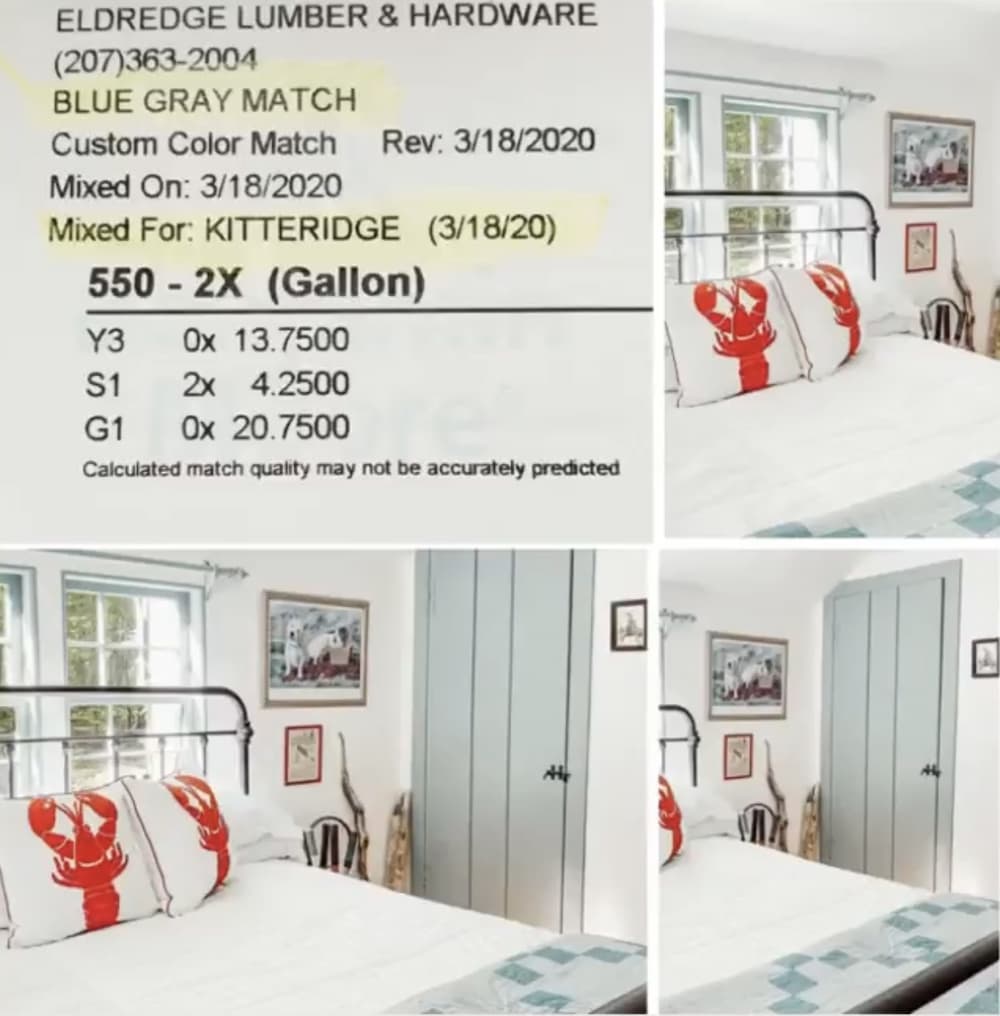
And lastly, I needed to choose a paint color to match our home decor. My favorite go-to DIY paint color is this blue formula used in our bedrooms. It’s a nice vintage-style blue-gray paint color. It is not a named paint color but a formula, which I will share here.
Basket DIY Supplies Needed
This post may contain affiliate links, which won’t change your price but will share some commission.
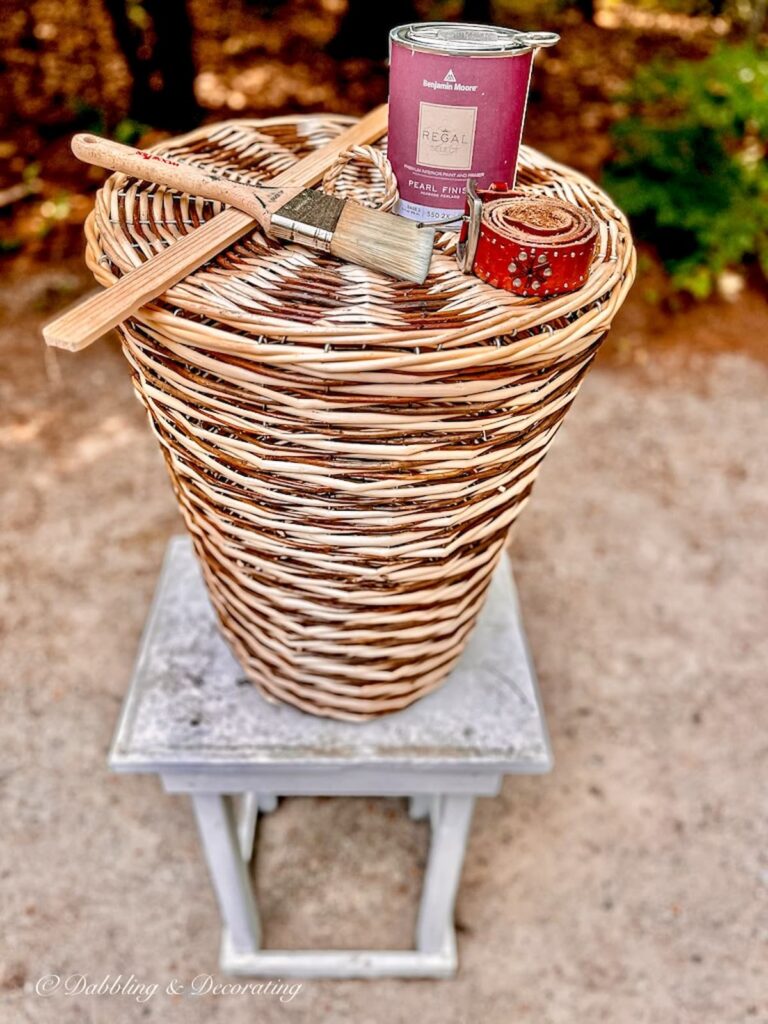
*Not painting this basket is also an option because this little belt detail will work well with many variations.
Step-By-Step DIY Basket Tutorial with Woven Belt
Step 1
Paint the top and side of the basket either with a brush or spray paint.
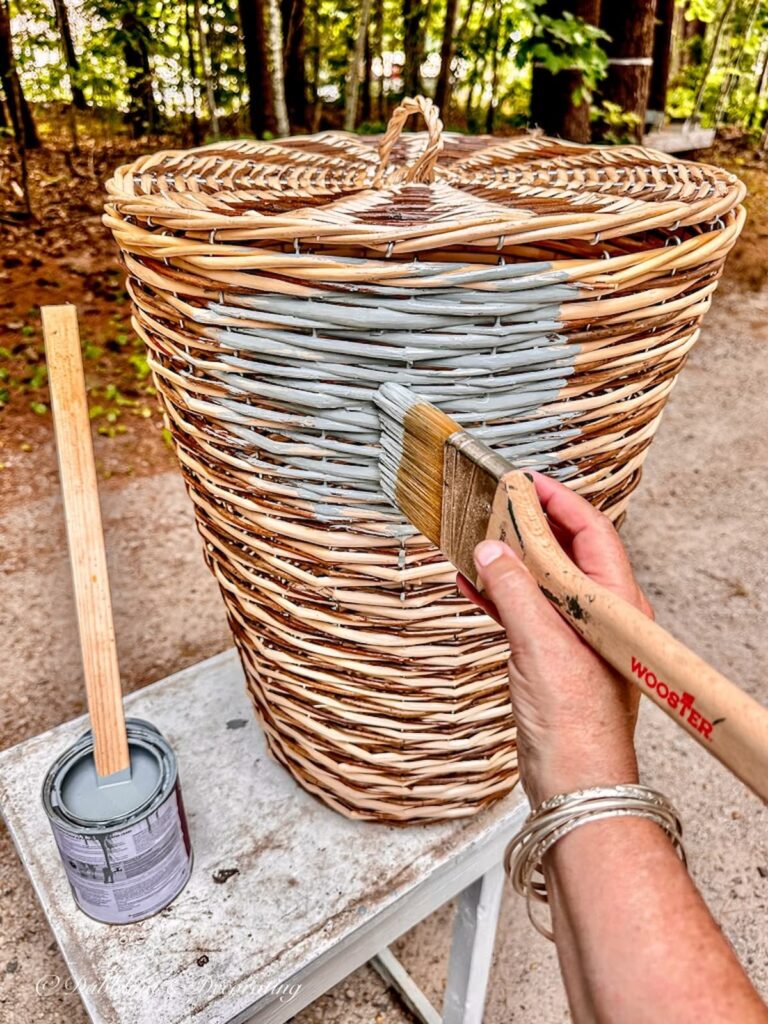
Basket DIY with Paint Brush:
Painting a basket with a paintbrush is a straightforward and enjoyable project.
I find that using a paintbrush allows me to be more creative when painting baskets. It’s just as easy as spray paint, but you can fine-stitch the brush against the wicker grain more efficiently, leaving color patterns visible through the paint.
If you paint a dark basket a light color or if the basket is made of a material that might resist paint, you may want to apply a coat of primer for a better end result. Let it dry completely.
If you want to protect the paint and make the basket more durable, it’s a good idea to add a clear protective sealant once the paint is dry, which is a great option. Let it dry according to the manufacturer’s instructions.
Basket DIY with Spray Paint:
Painting a basket with spray paint is a quick and efficient way to give it a fresh look.
I prefer spray painting when looking to quickly and easily wholly cover a basket.
Hold the can about 12-18 inches away from the basket.
Apply the paint in light, even coats, moving the can back and forth to avoid drips and ensure even coverage. Be sure to cover all the nooks and crannies.
You may need to adjust the angle to reach tight spots. Allow the first coat to dry completely, usually about 20-30 minutes.
Apply a second coat if necessary for a more vibrant color and better coverage. Let it dry completely. This Paint Wicker Furniture: Step-by-Step Guide post has more spray painting tips and tricks.
Now, your spray-painted basket is ready for its final details.
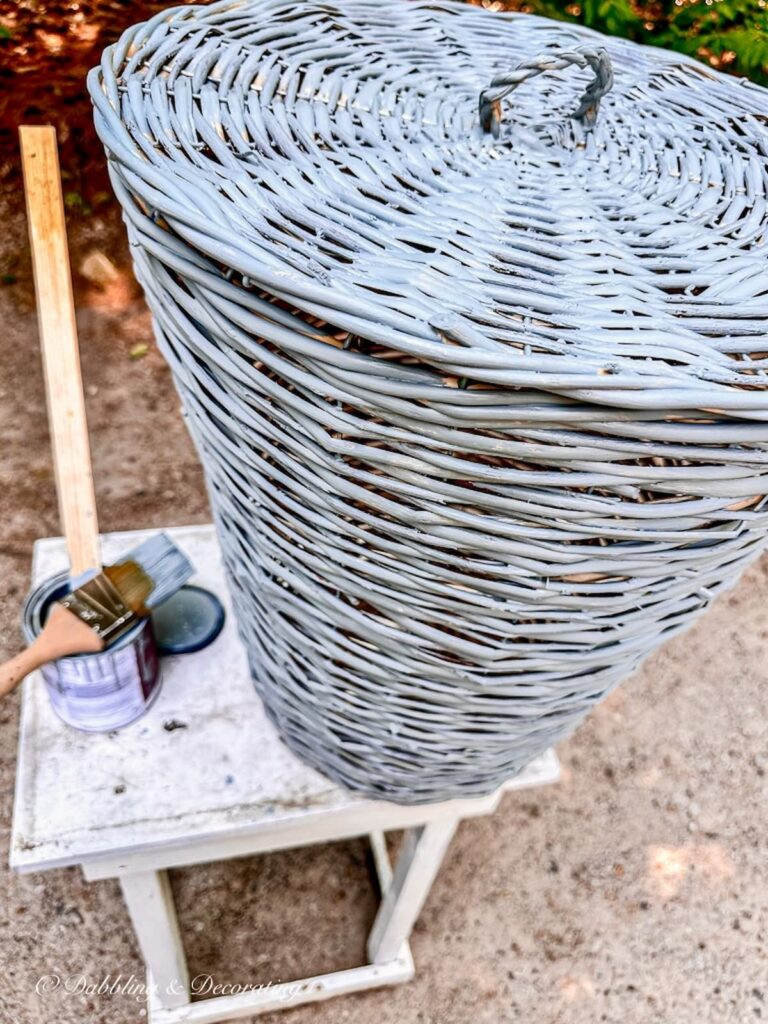
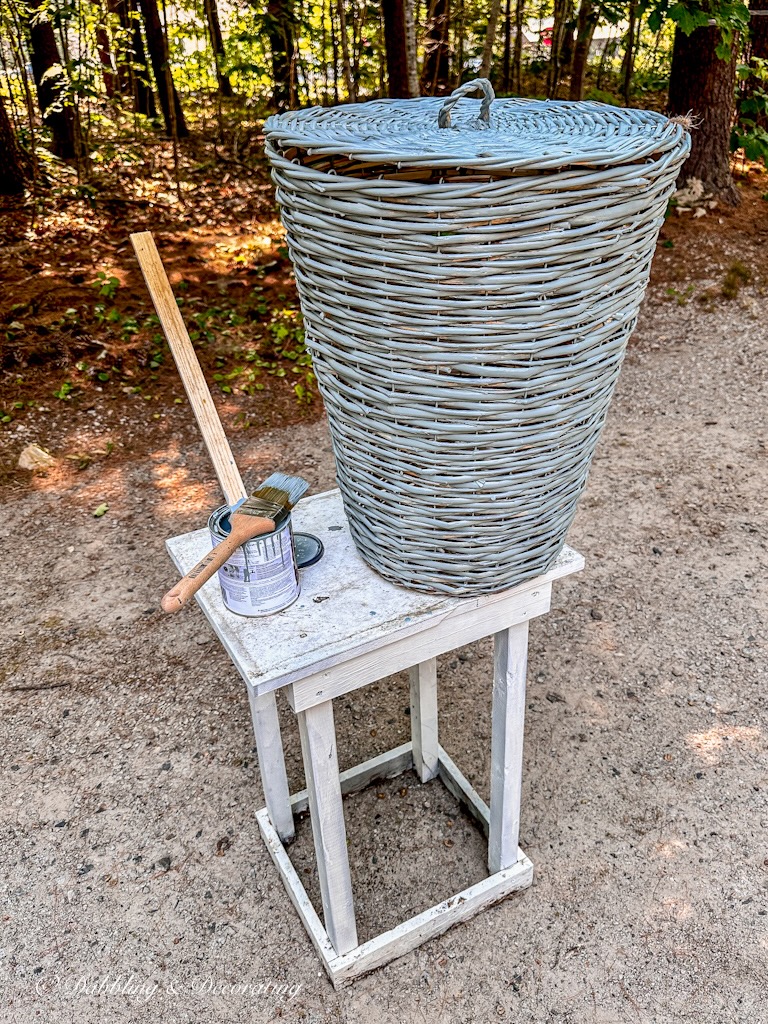
This was my basket after one coat of paint. I didn’t care for the coverage, so I continued with a second coat of paint covering the entire wicker basket.
Step 2
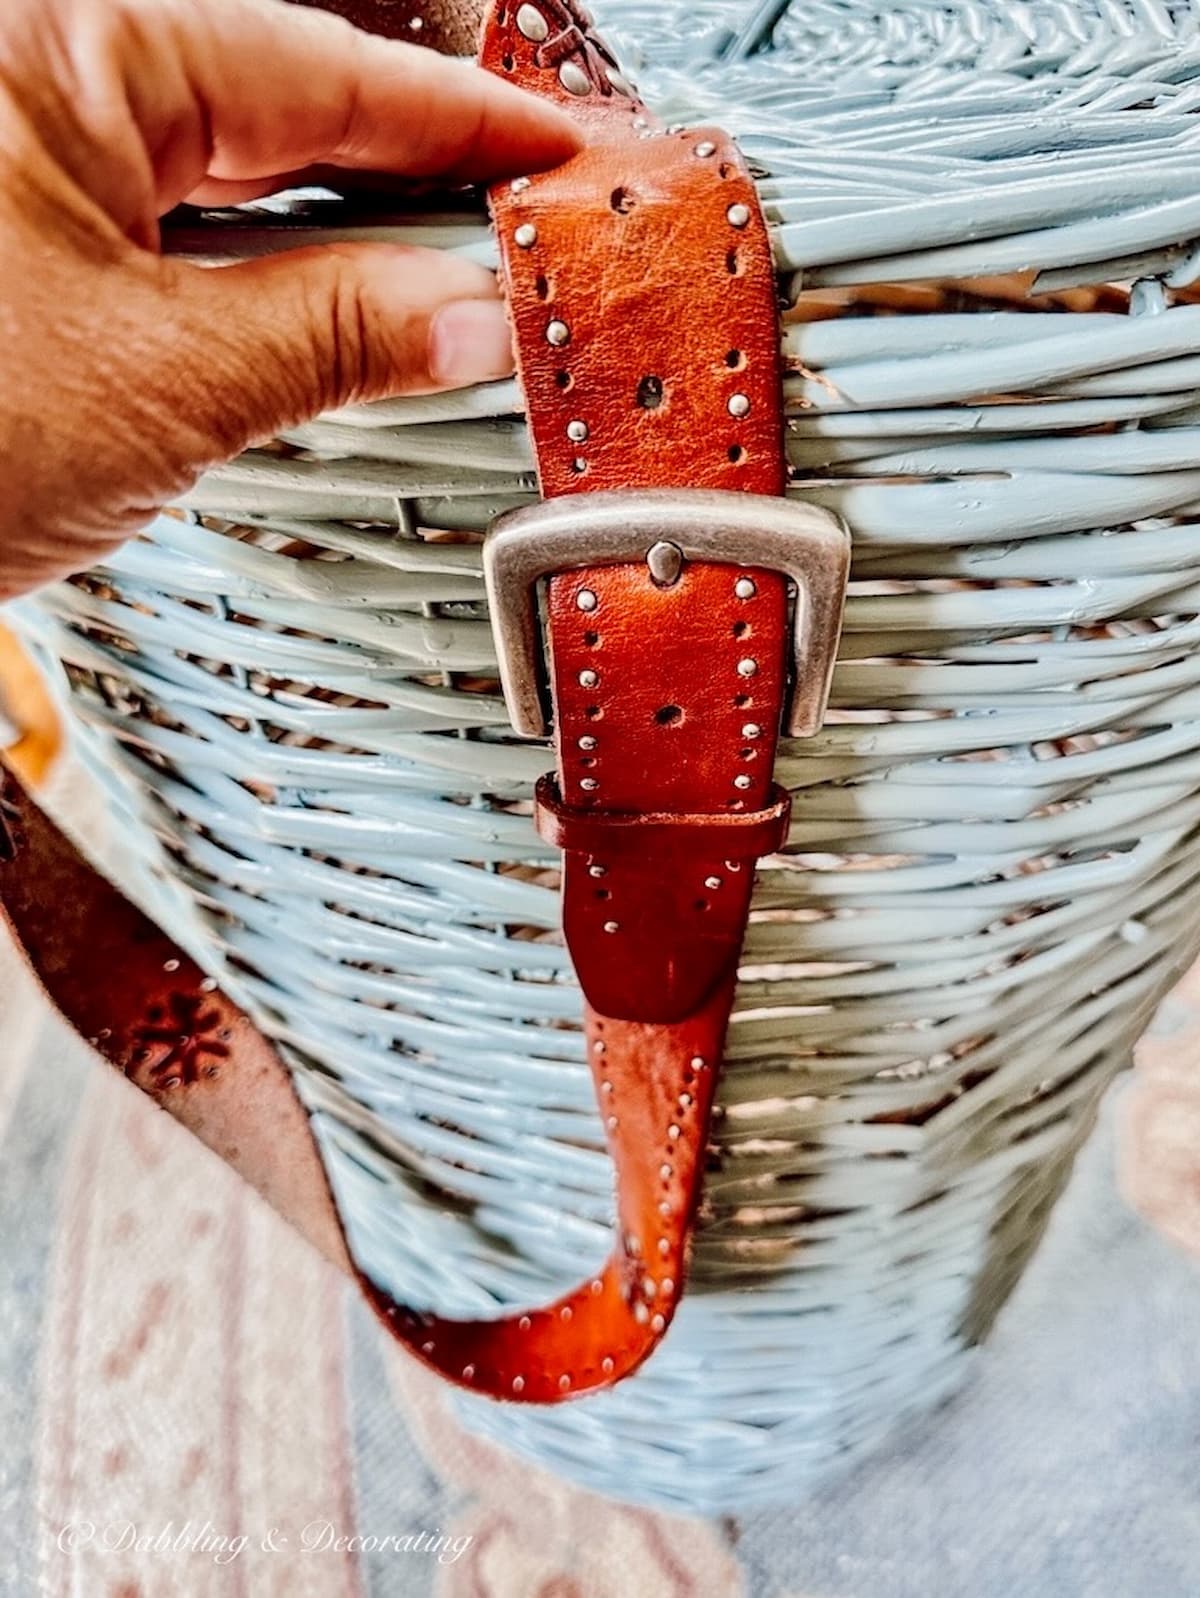
Weave the leather belt into the top and side of the basket for a beautiful buckle appeal.
Align the belt
First, before cutting the belt, align your chosen belt to where you would like to place it on your basket like this:
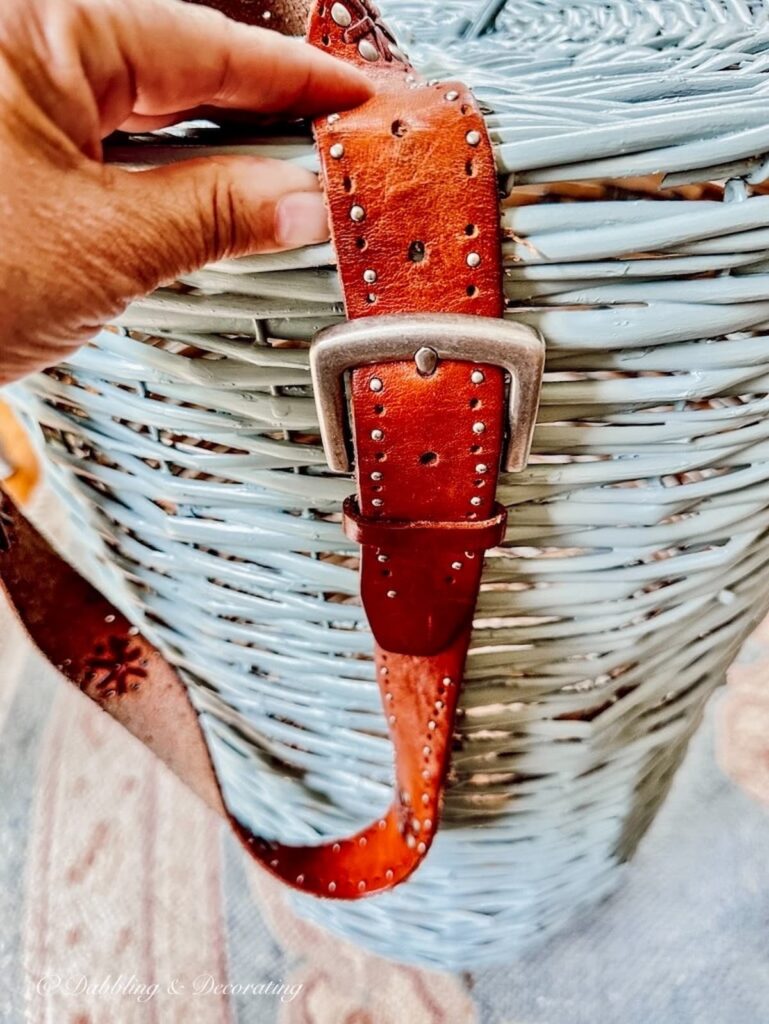
How to Cut the Belt
Second, we’re going to cut the belt into two pieces and weave the two belted sections into the side and top of the basket.
Leave plenty of room to push the belt into the wicker. Once you have done this, you can always cut it shorter.
You will want to use a pair of good scissors, like these Professional Heavy Duty Tailor Fabric Scissors, which I’m using here today.
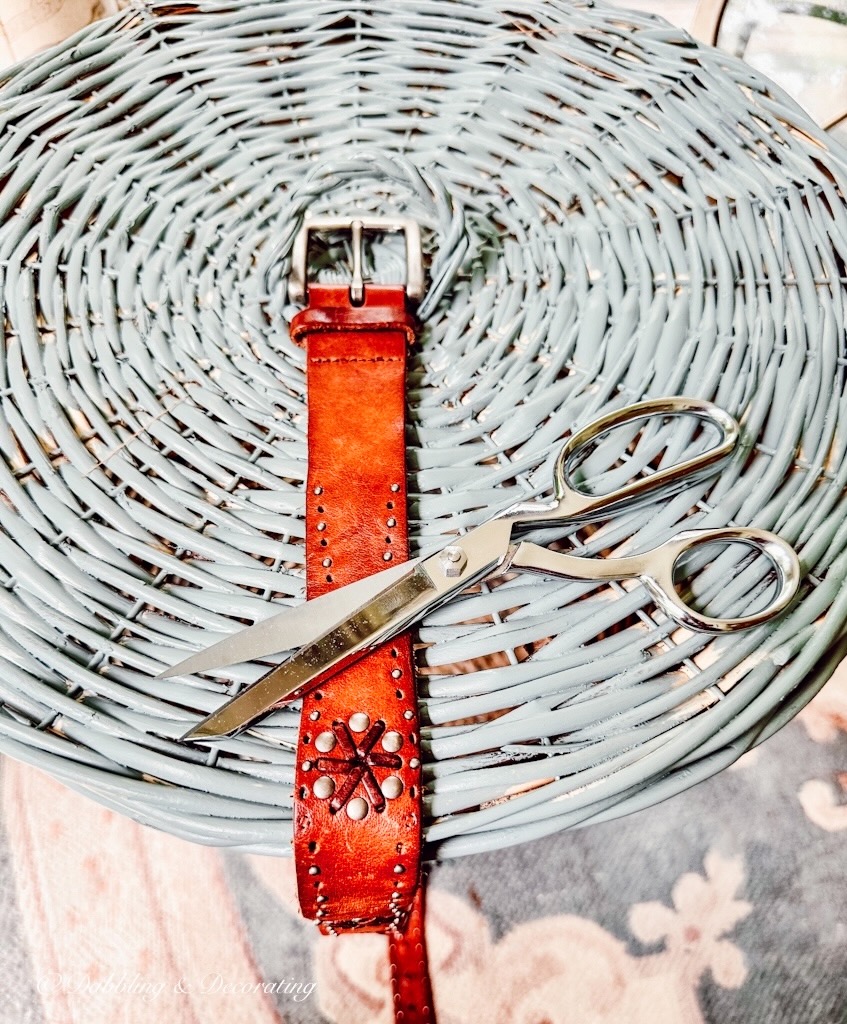
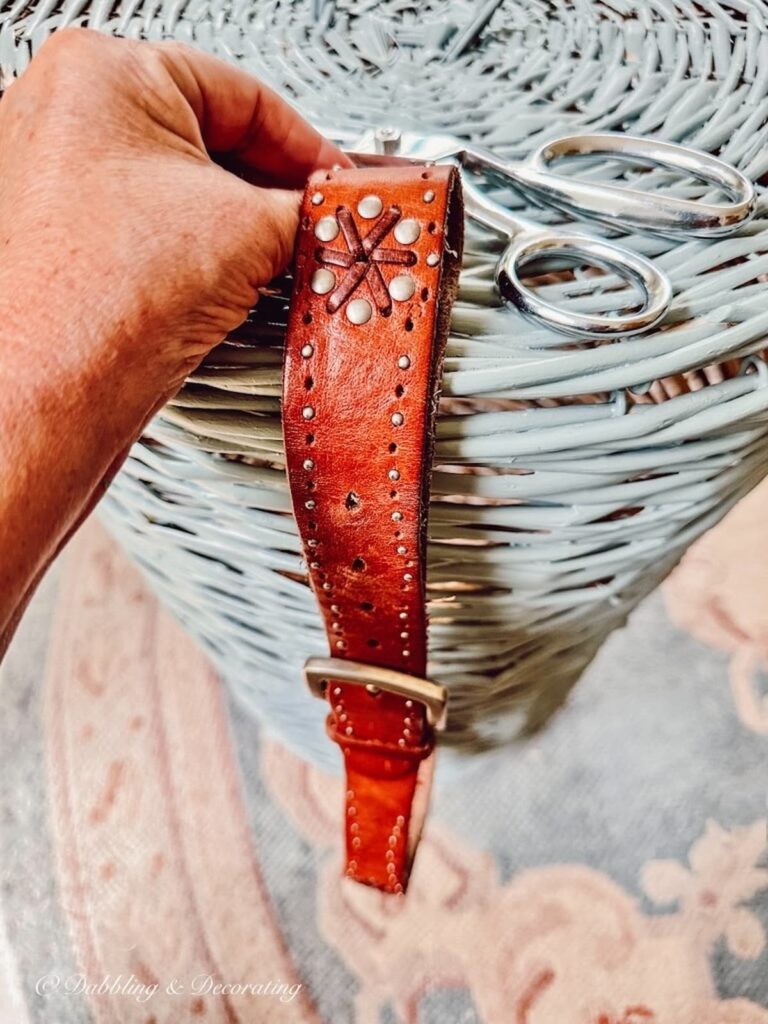
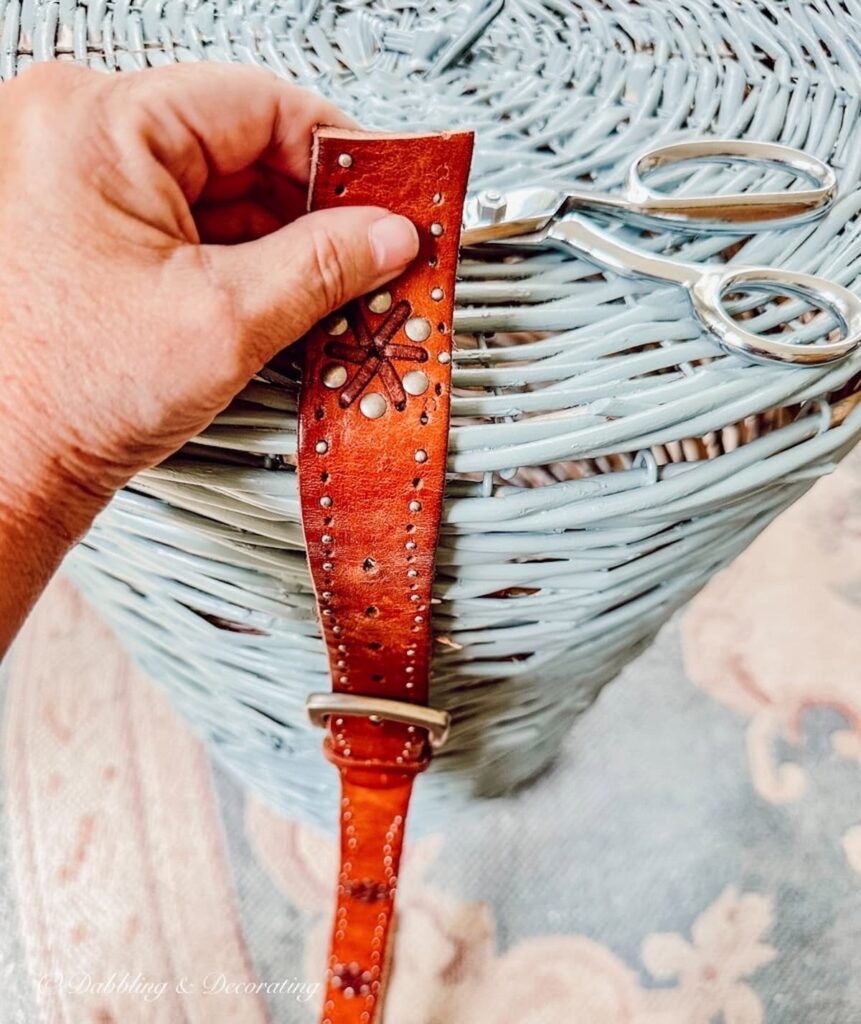
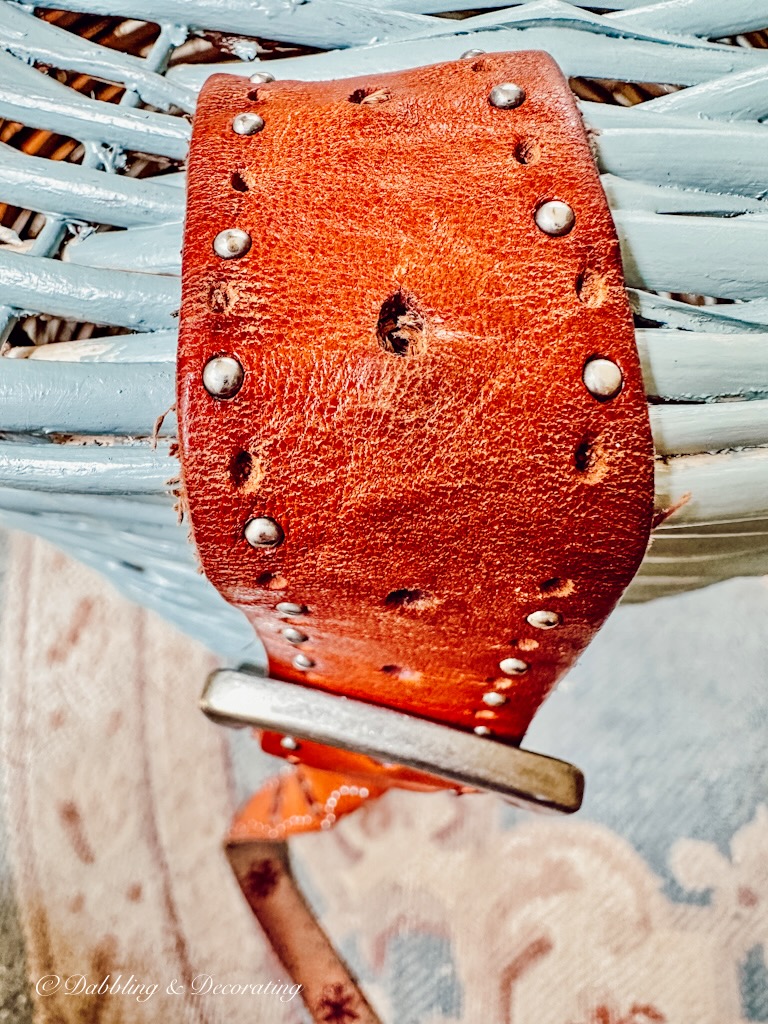
How to Weave in the Belt
The buckle itself will go on the side of the basket, while the leather section with holes will go on the top of the basket. Follow the step-by-step sequences in these photographs.
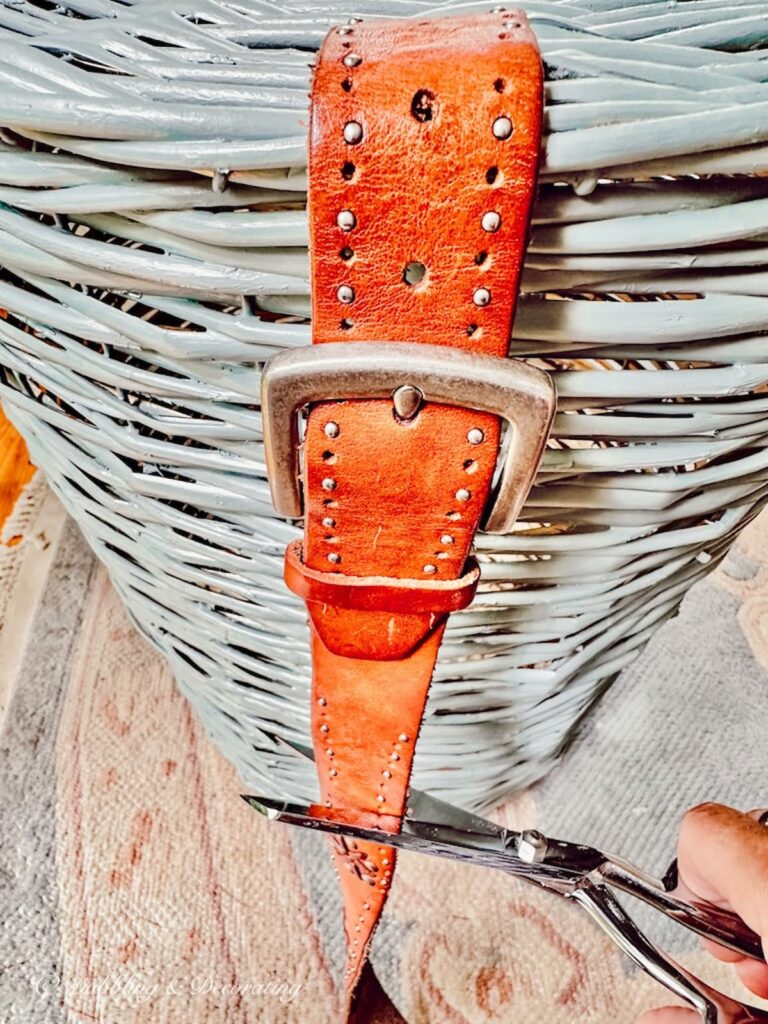
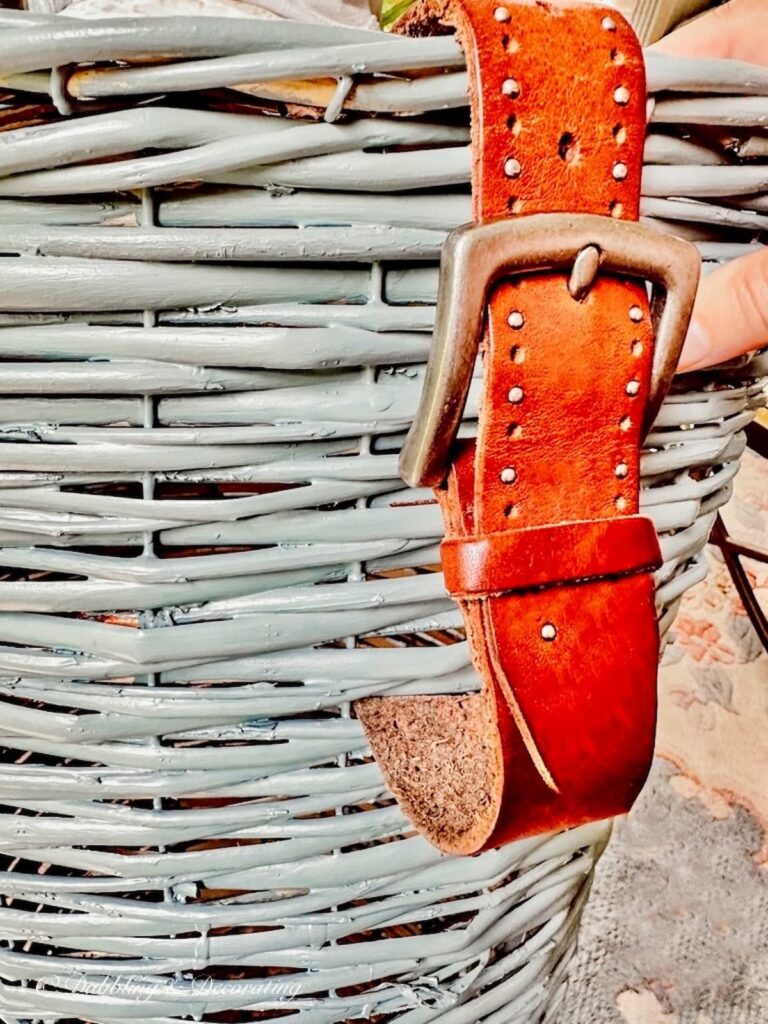
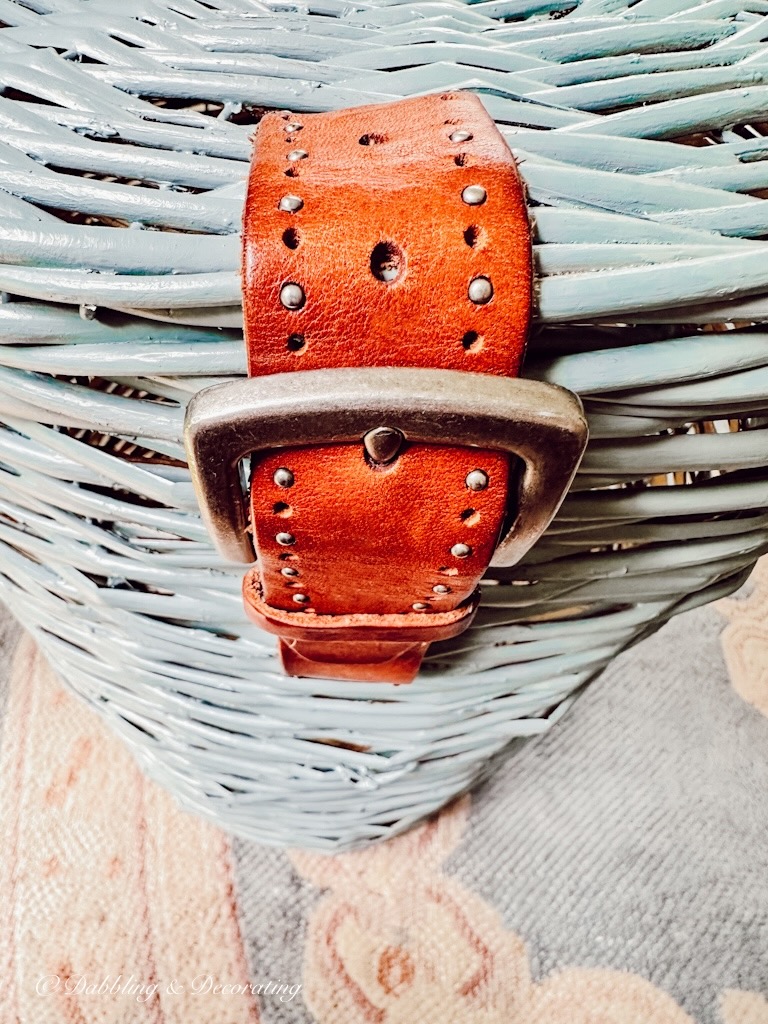
Pull the belt tight inside and cut off any remaining leather. The basket’s wicking is tight enough to pinch the belt tight for decorative purposes.
You can change your belt for the various seasons. A red belt would be beautiful over the holidays, and maybe a navy blue belt for the patriotic holidays.
Jute Twine
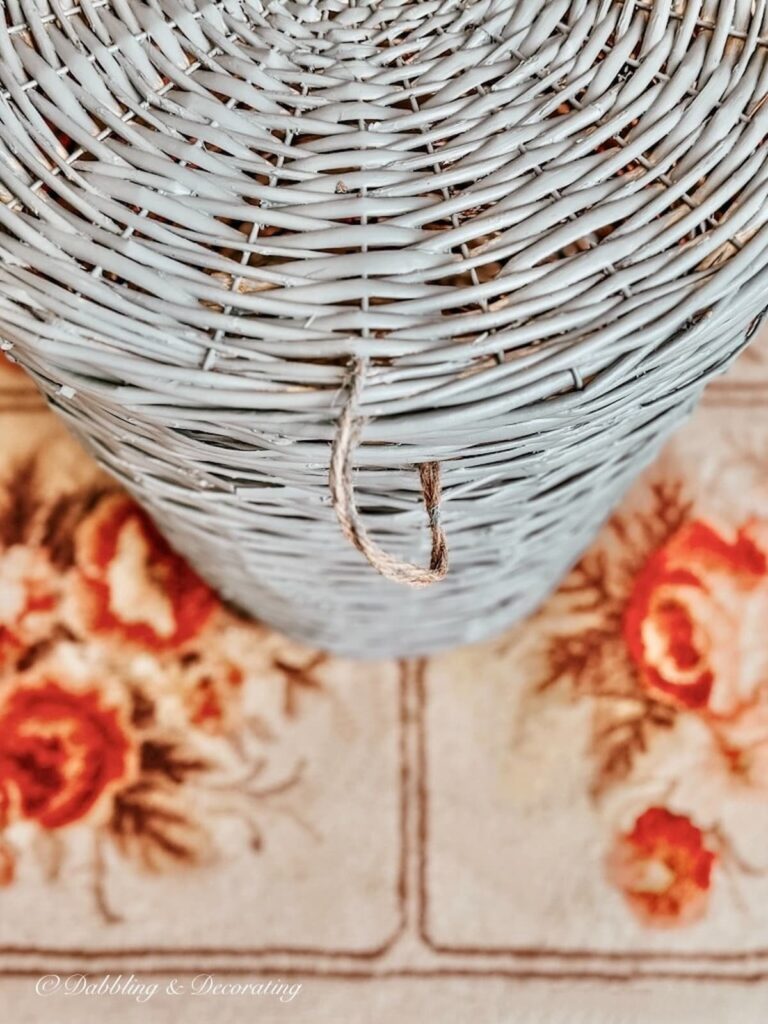
My basket top is also attached in the back with jute twine, which I think is also a cute idea and a nice contrast with the now-painted basket and belt.
Basket DIY in Home Decor
I love how this simple basket DIY adds so much charm and character to almost any basket. It’s fun and so versatile. Here are a few ways that I have styled my belted basket DIY.
Basket DIY in the Sunroom
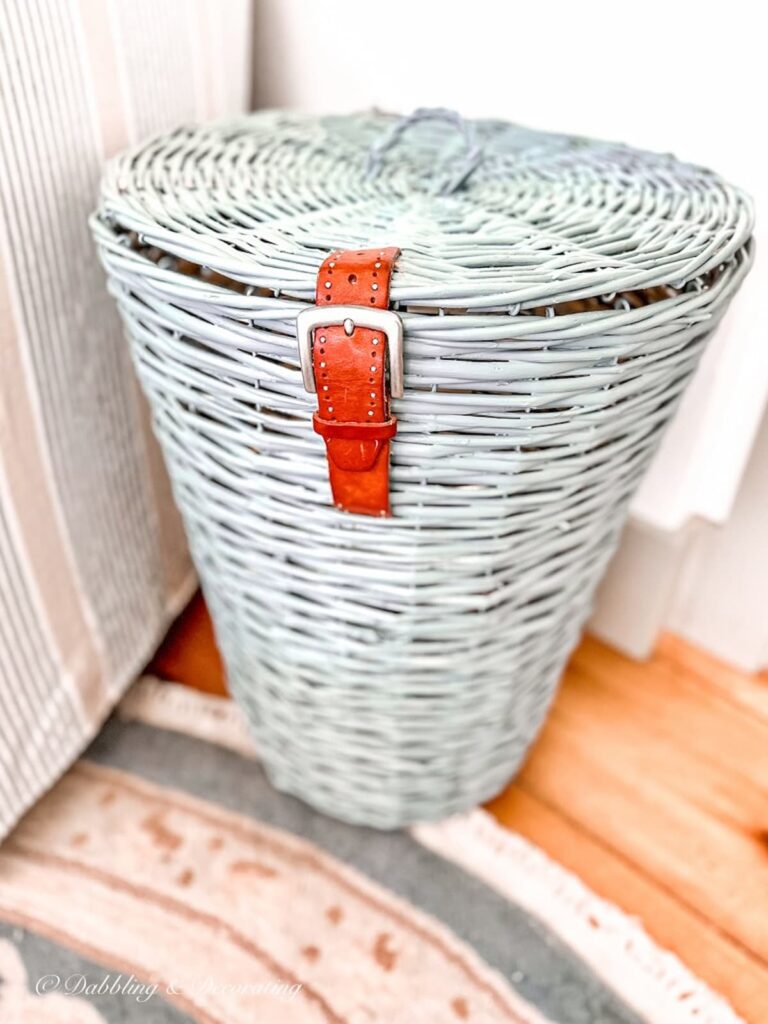
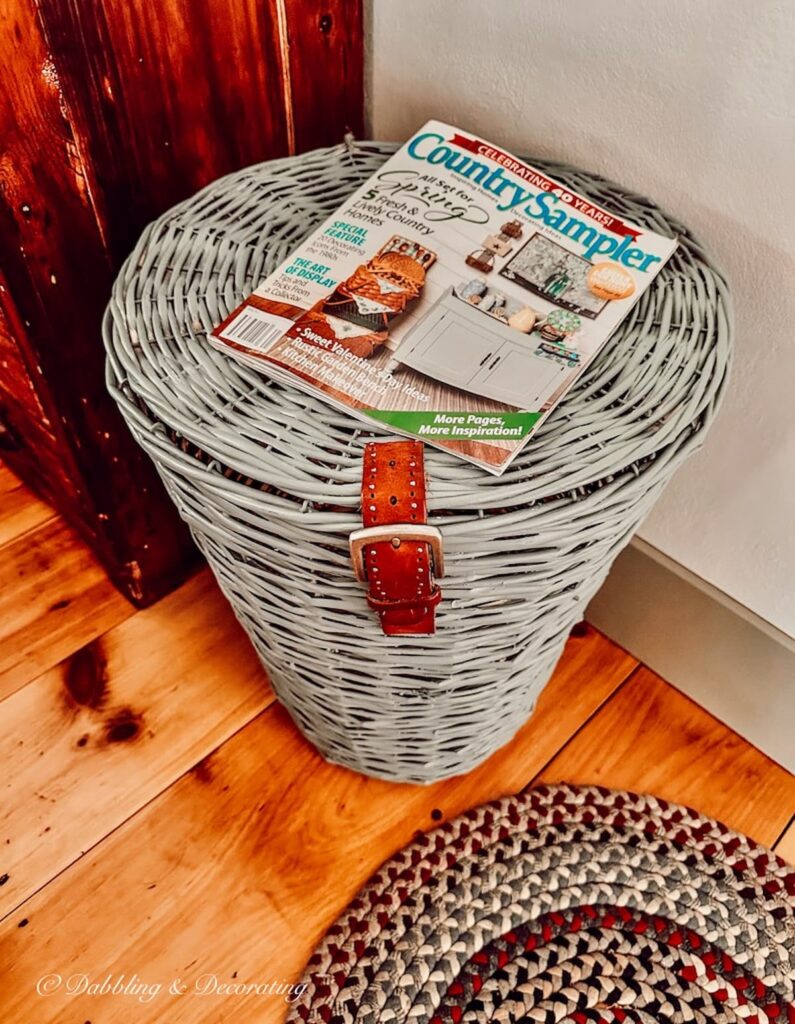
Add a pop of color to your sunroom with a blue DIY basket featuring an eye-catching leather belt detail. Placed in a corner, this stylish basket enhances the room’s cozy ambiance while providing a charming storage solution.
Pro Tip
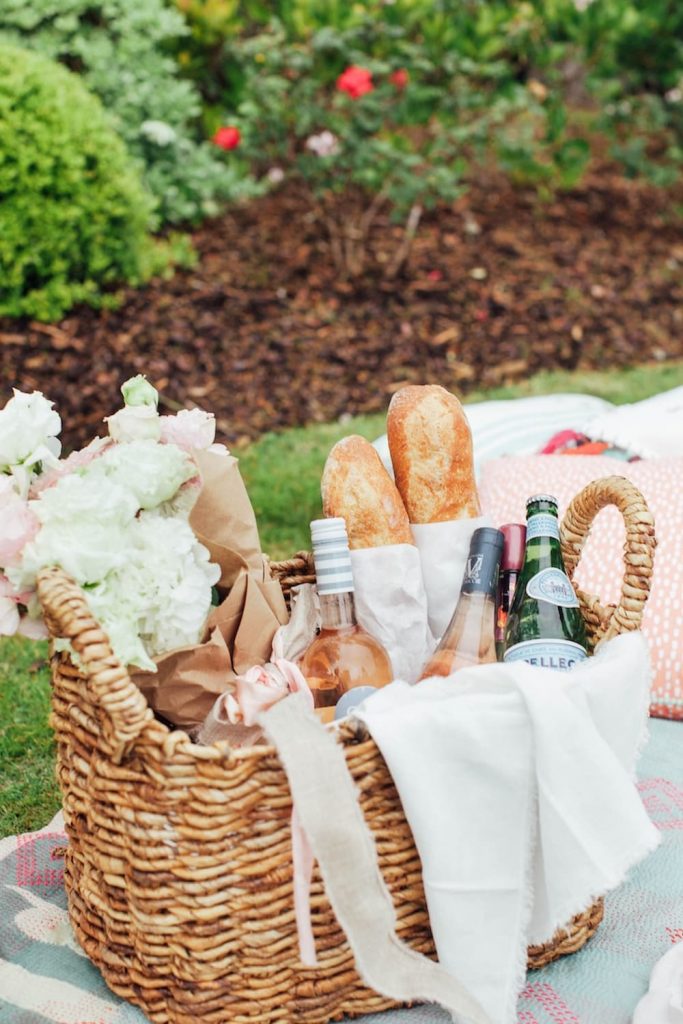
You may also find inspiration in this Vintage Picnic Baskets: Beyond the Picnic post.
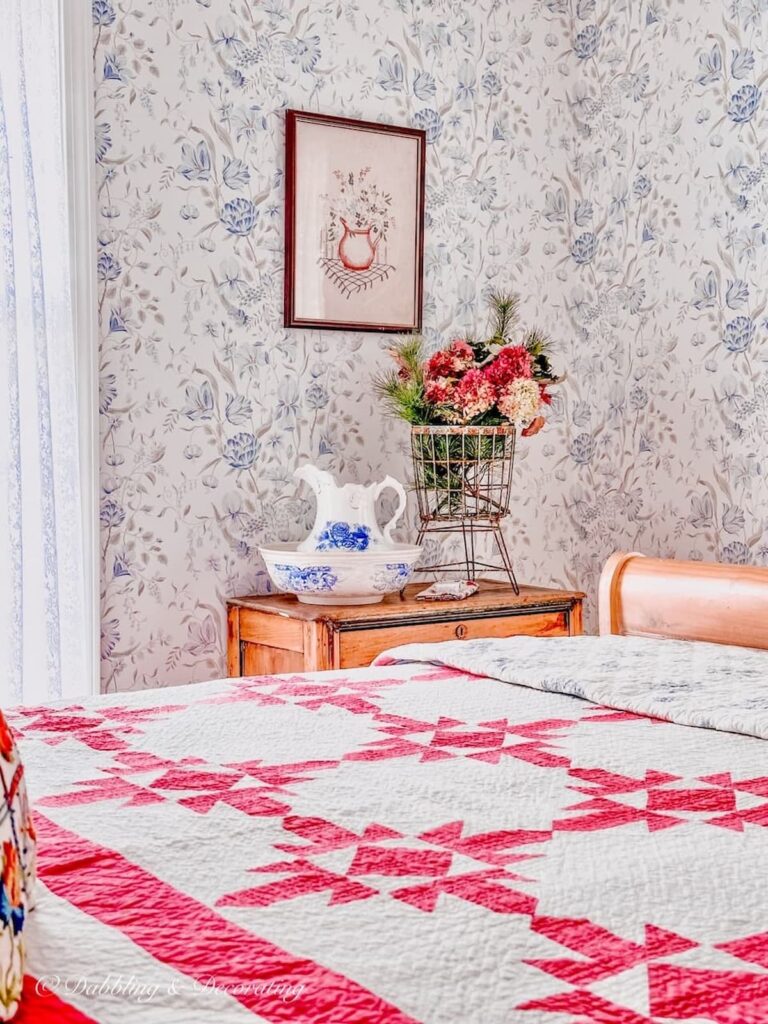
Basket in Corner Dining Room Nook
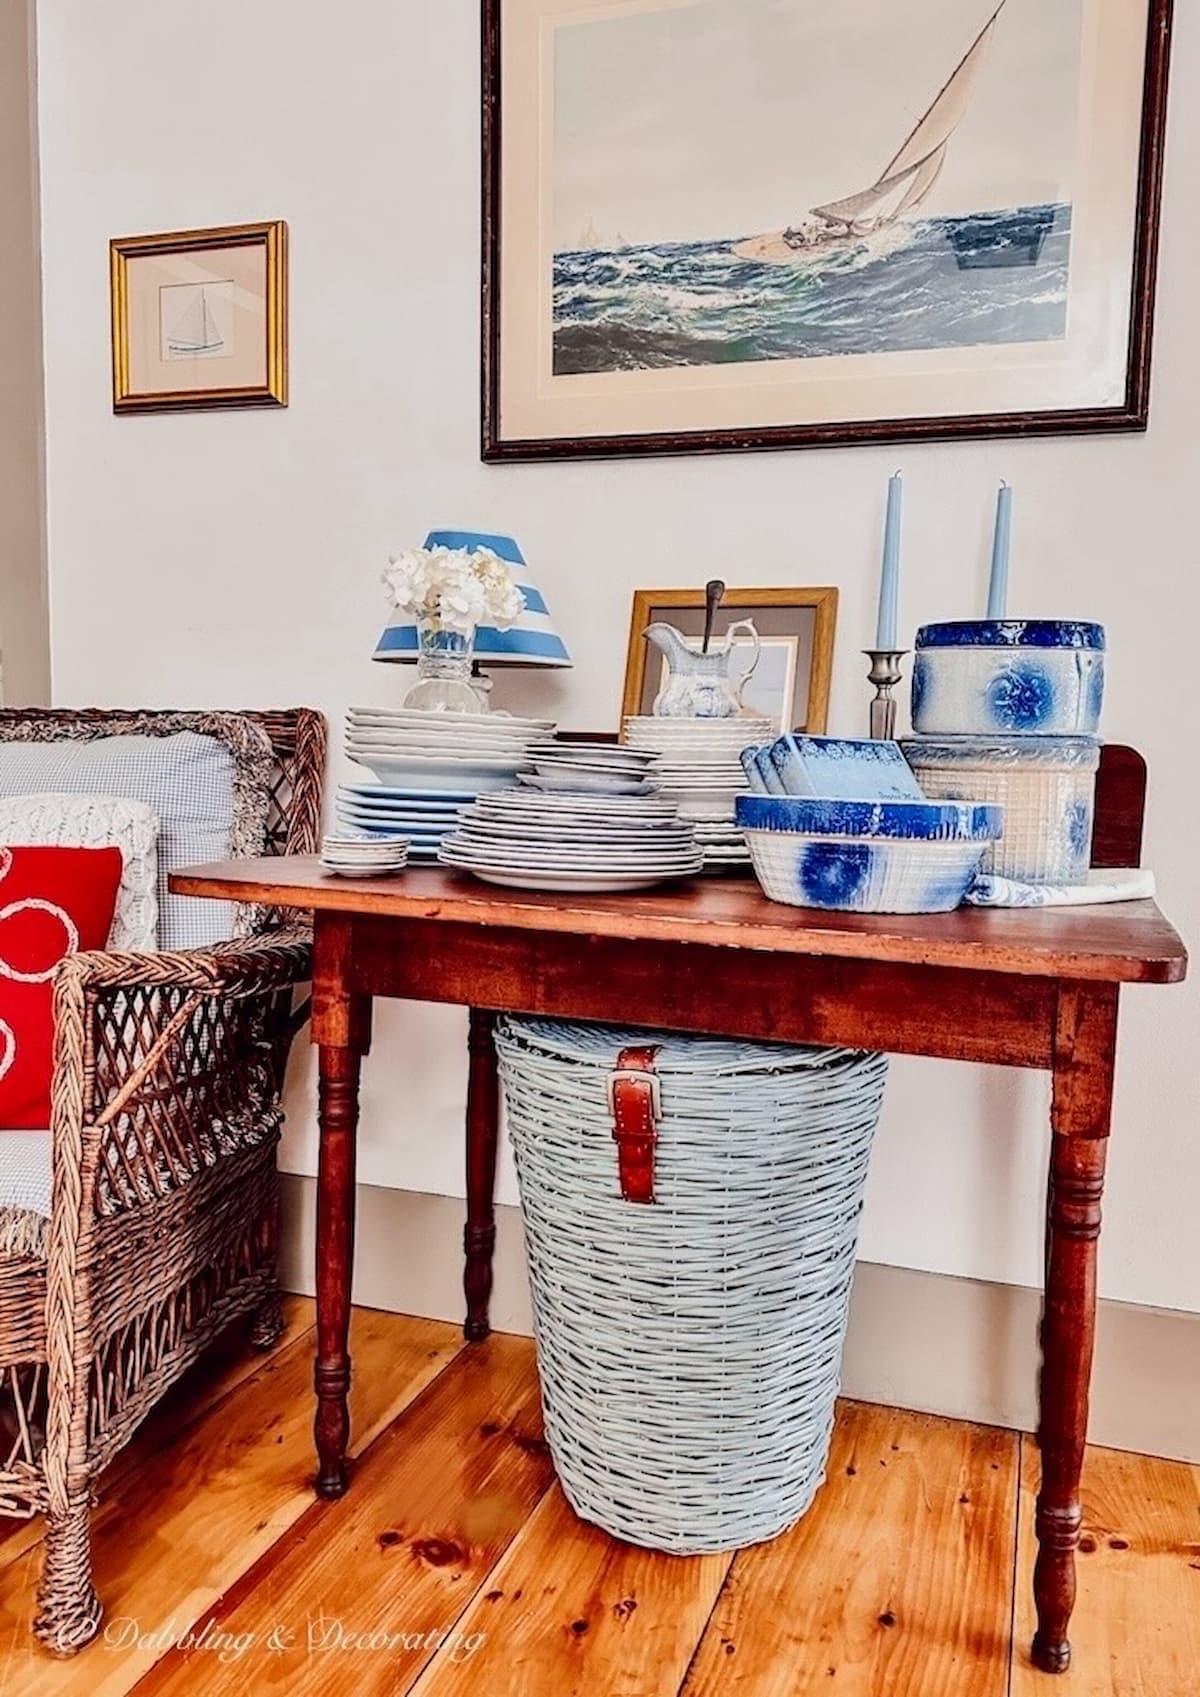
Here, I created a striking focal point in our dining room with this blue DIY basket accented by a leather belt detail, nestled beneath an antique table.
Paired with a collection of blue and white dishes, this handmade piece adds a touch of vintage elegance and complements the classic decor beautifully.
Pro Tip
Find fall inspiration in this 6 Forage Basket Arrangements for the Off-Season post.
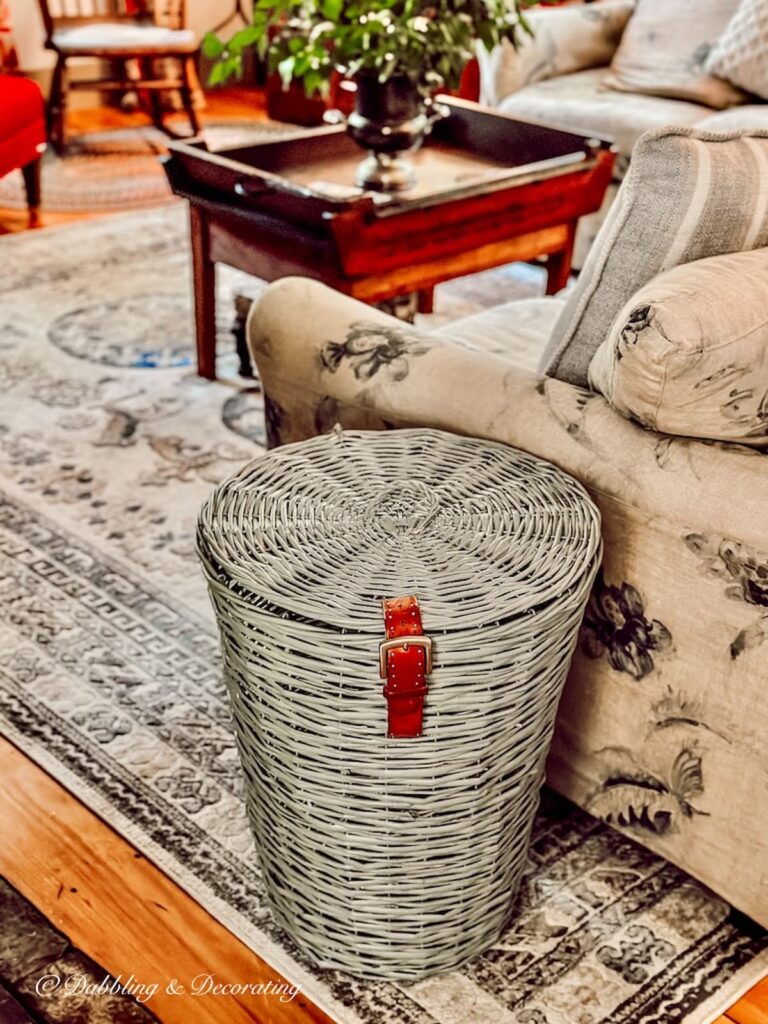
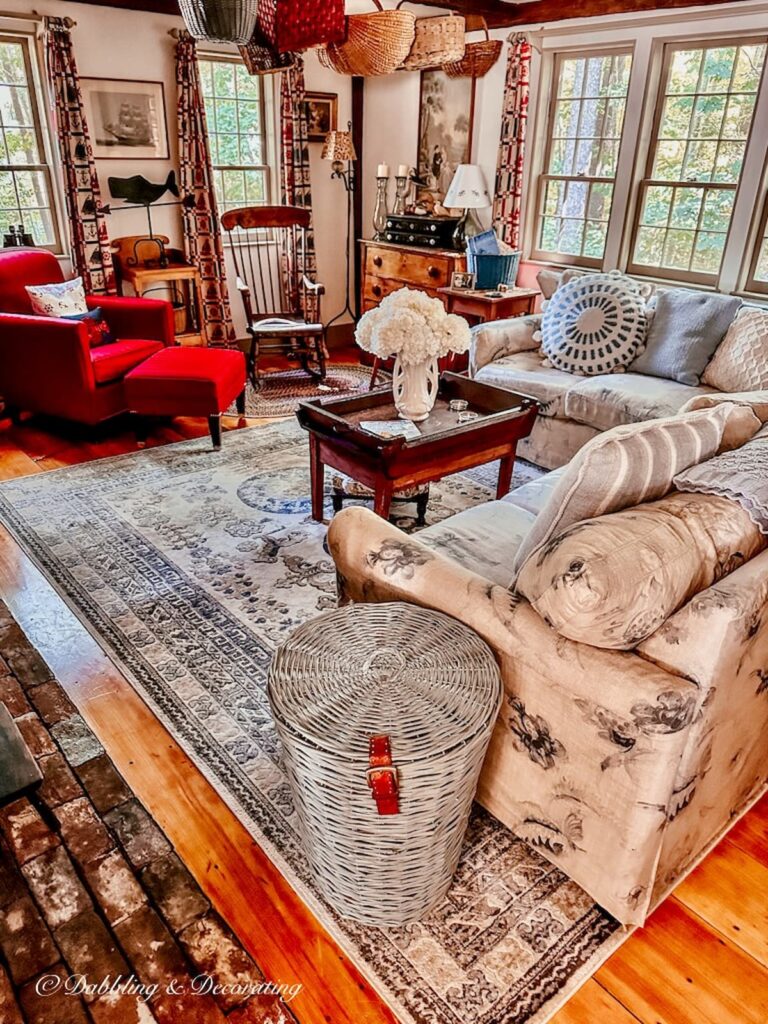
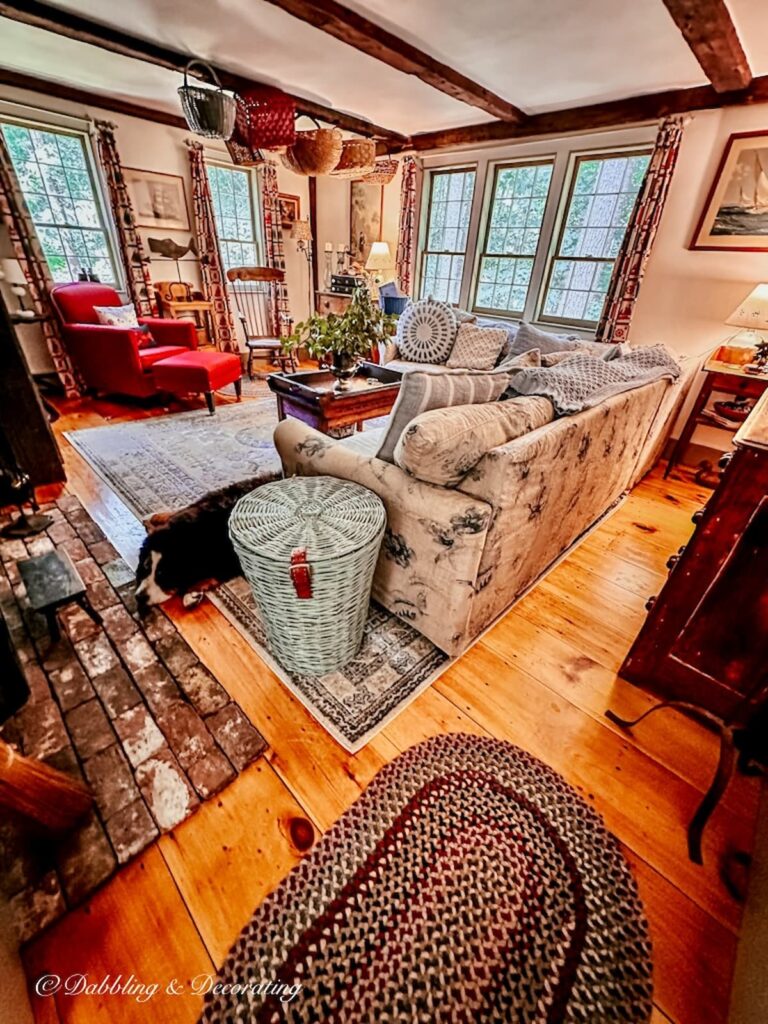
Living Room Basket
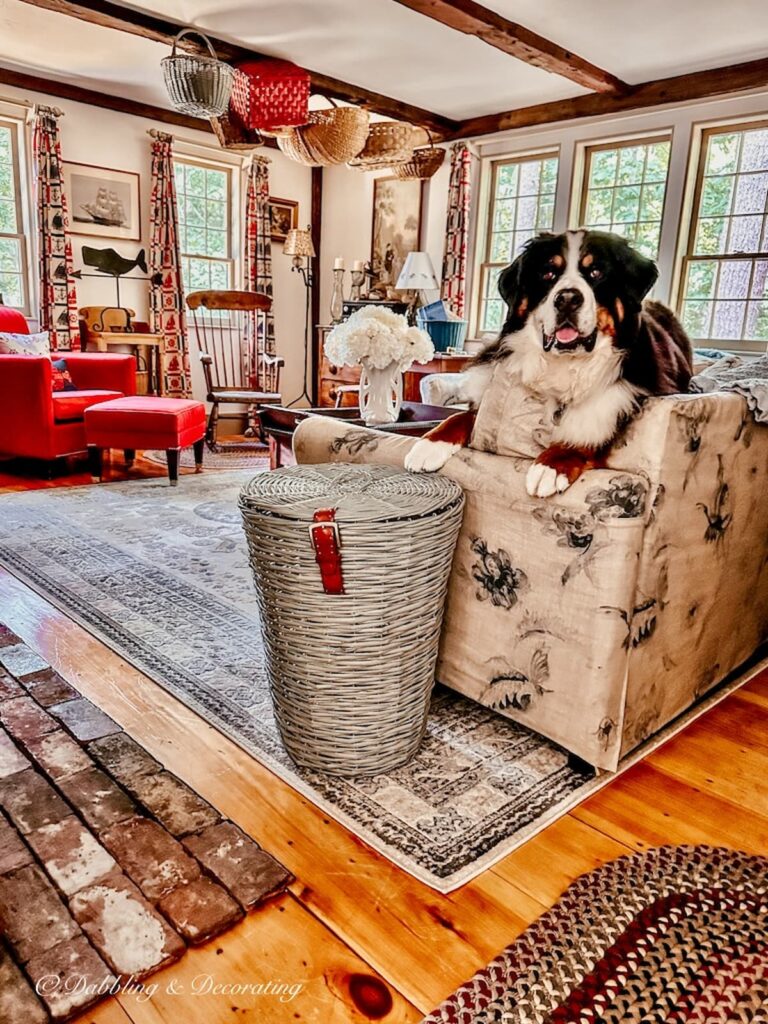
This basket DIY adds a touch of rustic charm to the living room, perfectly complementing the beautiful vintage blue decor. This unique DIY piece not only adds character but also serves as a chic side display table, making it a stylish and functional addition to the space.
Don’t you think a basket like this would make for a beautiful gift, too?
It’s such a fun and easy way to jazz up a thrift store basket and turn it into a thoughtful gift basket.
DIY Gift Basket Lot of Ideas
Here are several perfect gift basket ideas sure to inspire you:
Pro Tip
Find more antique basket decorating ideas in this Antique Baskets Vintage Decor Ideas post.
Pro Tip
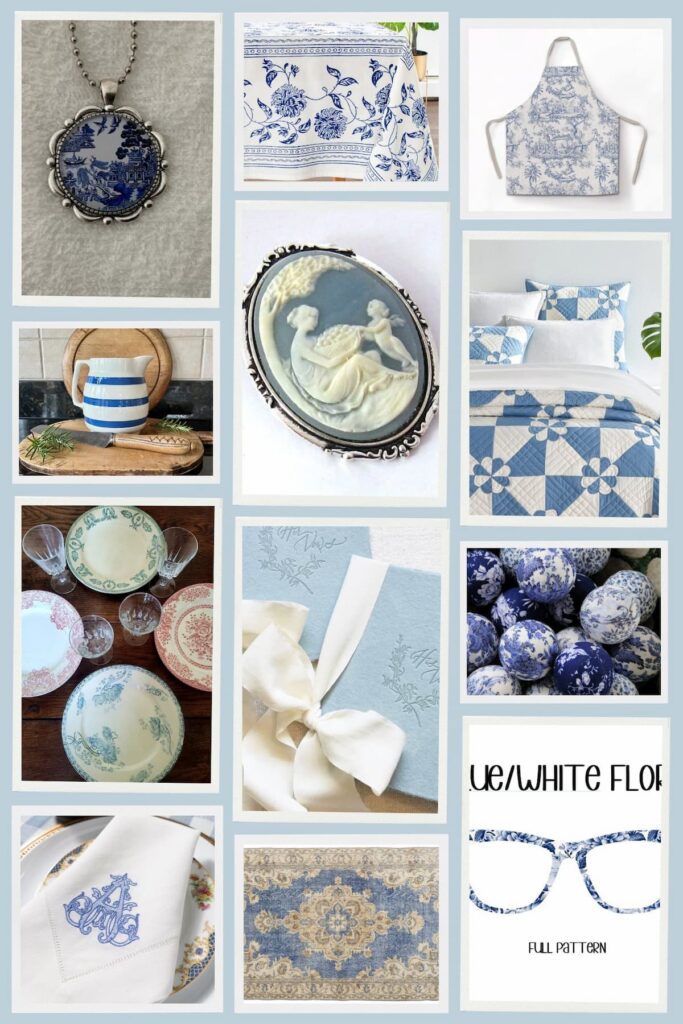
ou may also find inspiration in this 75+ Women’s Day Gift Vintage Blue and White Ideas post.
Happy Thrifting and Gifting!
More Painting DIY Projects
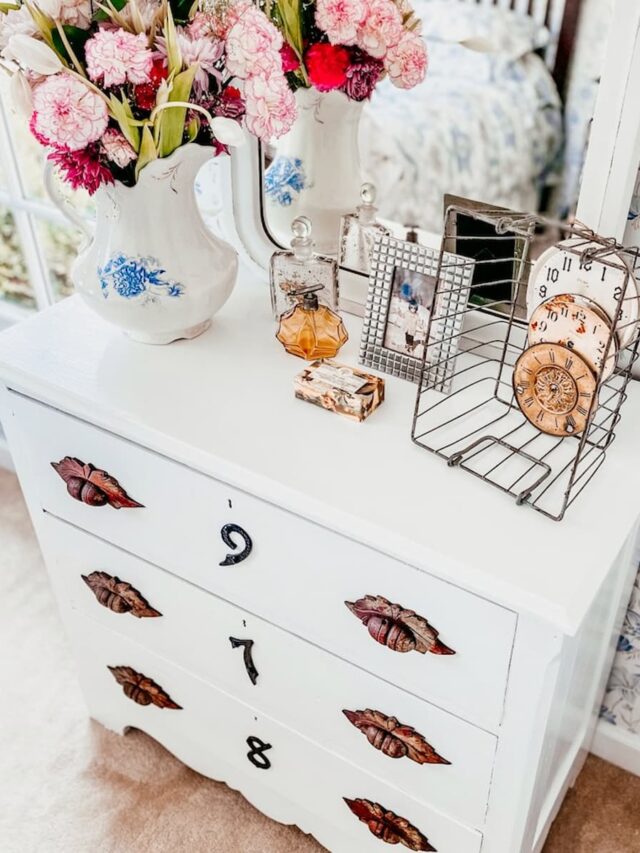
Painted Dresser Ideas Before and After
With a coat of paint, your painted dresser can be glamorously upgraded. Learn how to add a touch of bling with this easy refashion project.

Paint Wicker Furniture: Step-by-Step Guide
Stop spending hundreds of dollars on new wicker furniture! Learn how to paint wicker furniture with a few simple steps and make it shabby chic.
Wardrobe Closet DIY: No Closet Solution
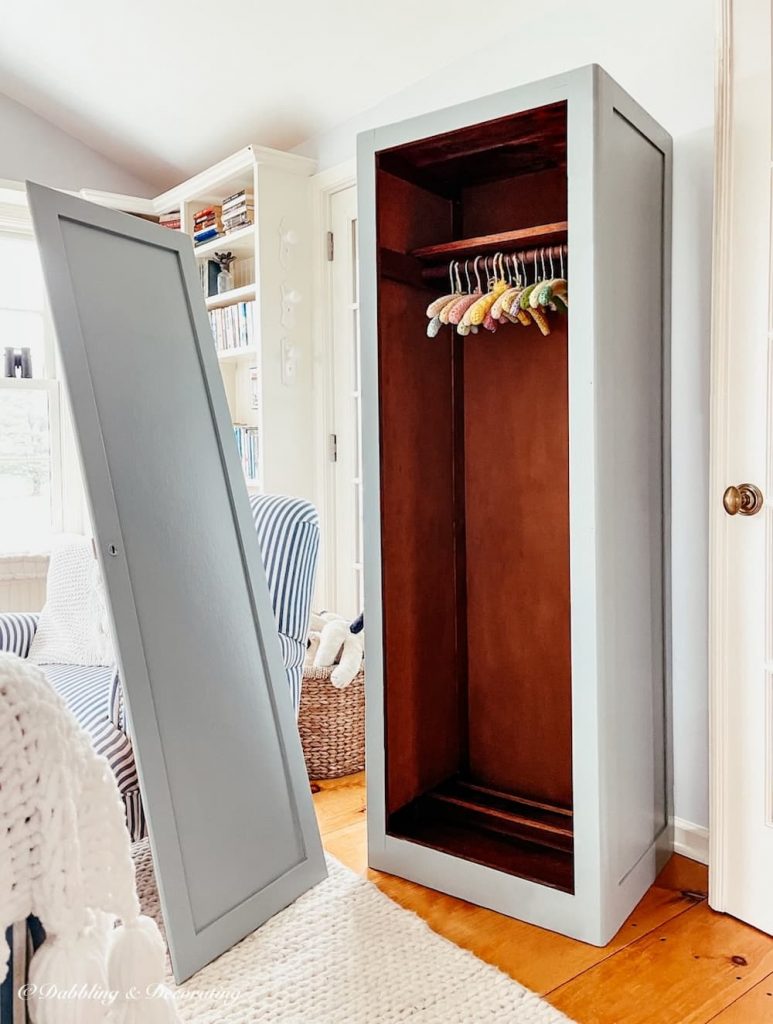
Discover creative closet space ideas with this wardrobe closet DIY for rooms without closets. Learn how to refinish a thrifted wardrobe for extra storage.
Your Guide to an Eclectic Style~
If you have any thoughts, comments, or suggestions, I’d love to hear from you. Please share in the comments below. And be sure to share this blog post link with your friends who are also vintage enthusiasts.
Do you have a flair for all things vintage, too? I would love to see and feature you in our Reader’s Showcase Series. A place for you to share and be recognized for your talents and passion for all things thrifting, vintage, and antique decor-related inspired by your time here with Dabbling & Decorating. Email me at [email protected]
Pin forLater!

Shop This Post
This post may contain affiliate links, which won’t change your price but will share some commission.


Better yet, run the belt across the top and leave loose to use for a handle
Great Idea!
I love this idea, but to me just that little bit of leather looks out of place on that big basket. I’m going to do this, but I’m going to run the belt completely across the top and use for a hinge also. And if the belt is long enough I may run it all the way to the bottom on each side. I’ll let you know. Thanks loads for the suggestion and tutorial.
That’s what it’s all about, finding inspiration to repurpose. Send me photos, I’d love to share your results on our Reader’s Showcase Series!