
Discover how to create a rustic DIY coat rack using an antique fur stretcher and vintage clothes hangers. This step-by-step guide will help you craft a unique wall-mounted coat rack with timeless charm. Perfect for adding character to any room!
We’re about to embark on a DIY adventure to transform everyday items into a fabulous wall-mounted rack.
With trusty coat hooks and the beauty of old natural wood, we’ll craft a fabulous piece that brings both functionality and flair to your space.
Say goodbye to clutter and hello to your new favorite home accessory!
Antique DIY Coat Rack Finds
Antique Trapper Fur Stretcher Boards
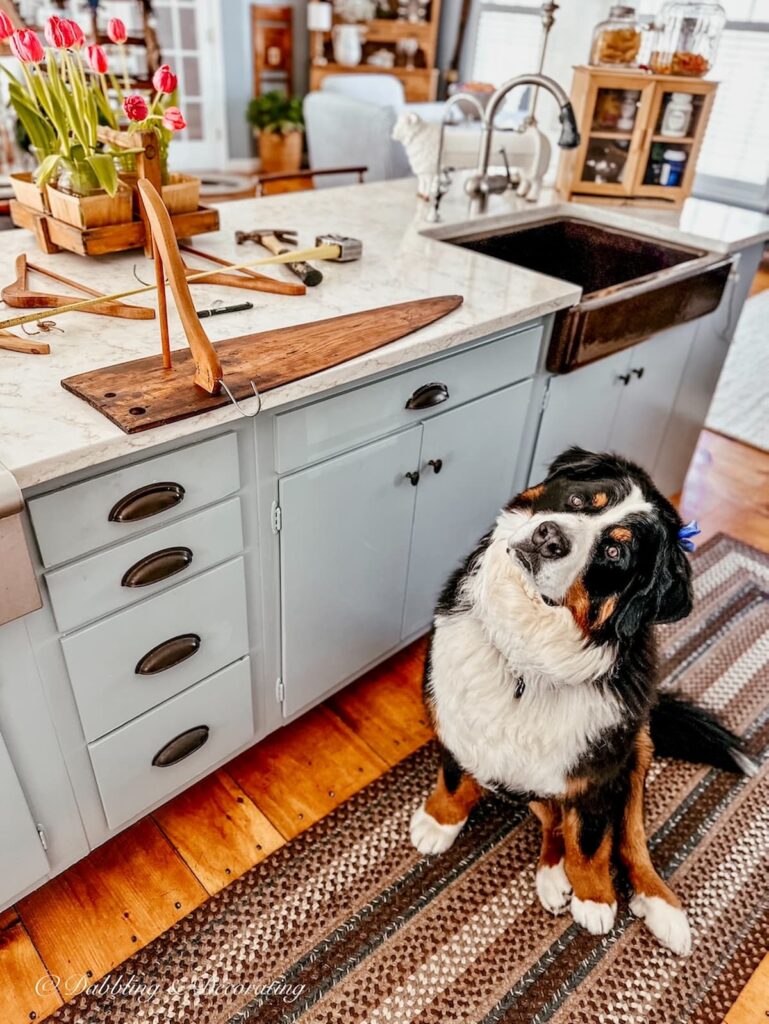
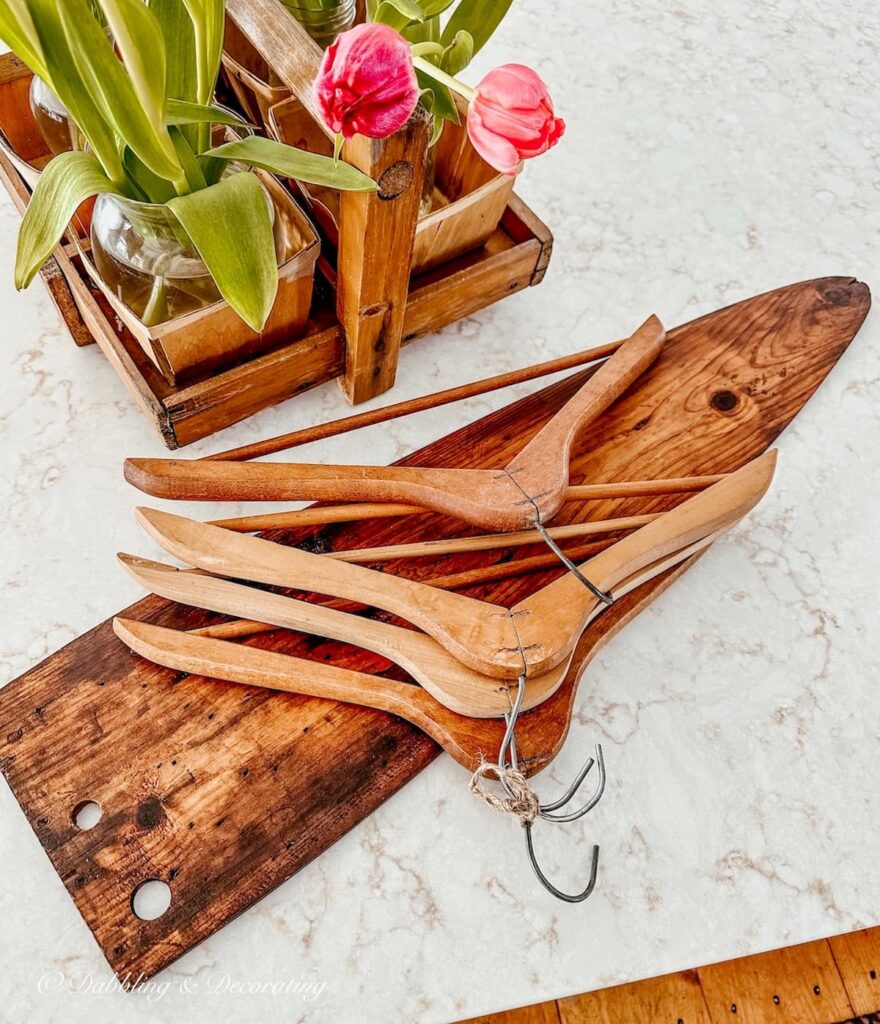
This post was inspired by six trapper fur stretcher boards I found at an antique store for $45.
I wasn’t sure what I would use them for, but the finish on these boards is so charming and rustic. I was just drawn to them and knew I would figure something out.
That’s when I came up with the idea to use one as a DIY coat rack in one of our Maine home’s attic bedrooms, which are currently under renovation with new paint and wallpaper.

Where to find fur stretching boards?
I found mine at an antique store, but you can shop for these wooden beauties on Etsy, eBay, flea markets, thrift shops, second-hand stores, Facebook Marketplace, and antique shops.
I’ve also found a few for you to shop at the bottom of this post.
6 Creative Antique Trapper Fur Stretcher Ideas
Wall Art or Gallery Display
Use them as a statement piece on a blank wall. Lean a group of stretchers in varying sizes against the wall or mount them vertically for a rustic, layered look.
Shelf Brackets
Turn two stretchers into rustic shelf brackets to support a reclaimed wood plank, creating a unique display for books, plants, or collectibles.
Outdoor Garden Decor
Use the stretchers as plant supports in your garden or as a trellis for climbing vines, blending vintage character into your outdoor space.
Photo or Memo Display
Add small clips or strings to the stretcher and use it to display photos, postcards, or notes. Hang it in a home office, living room, or kitchen for a charming, functional piece.
Vintage Table Runner
Lay a stretcher down the center of a dining table as a rustic table runner. Top it with candles, vases, or seasonal decor for a cozy, farmhouse vibe.
Key Holder
Add small hooks or nails to the stretcher and hang it near your entryway for an eye-catching key holder with a vintage twist.
Vintage Wood Clothes Hangers
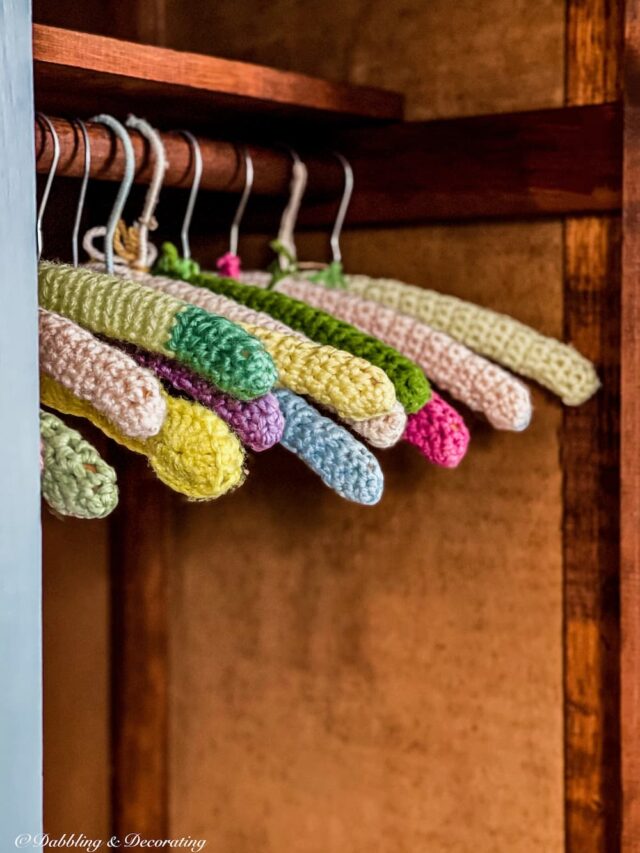
I have also always loved old wooden clothes hangers.
They make for charming decor, hanging on the back of a door, in an open wardrobe, or displaying a guest’s bathrobe.

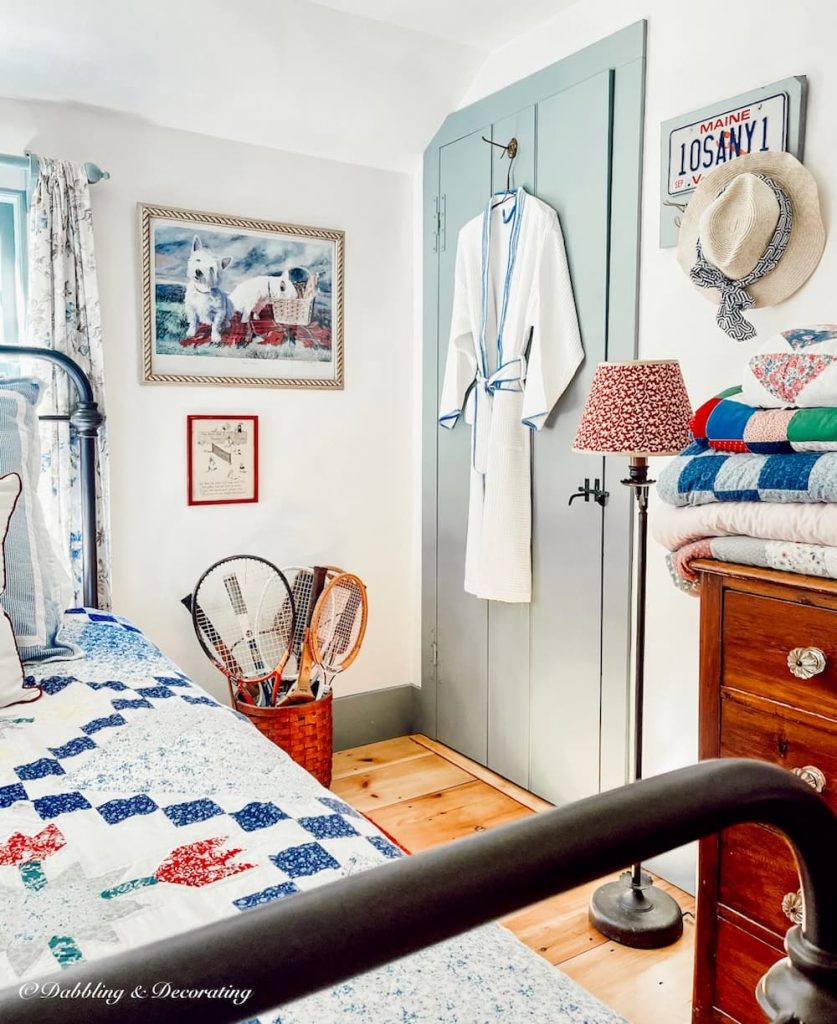
And, I thought using these vintage wooden clothes hangers as hooks on the trapper boards would be a cute idea for guests to hang their coats, clothes, and hats on while staying with us.
It’s an easy and creative way to repurpose the hangers into charming, rustic hooks.
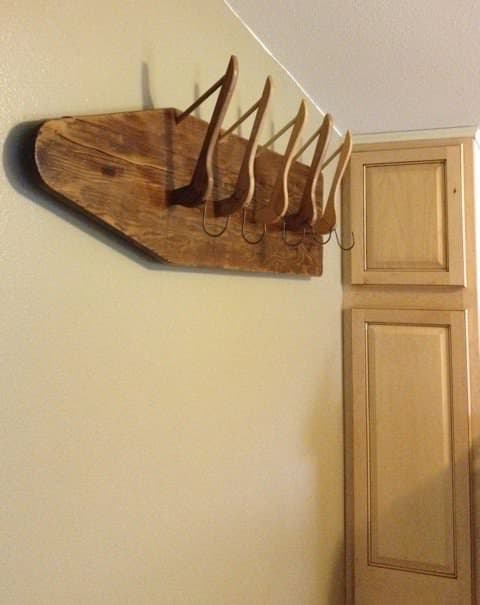
Inspired by this wall mount towel rack by Recyclart made from an old ironing board and wooden clothes hangers.
Pro Tip
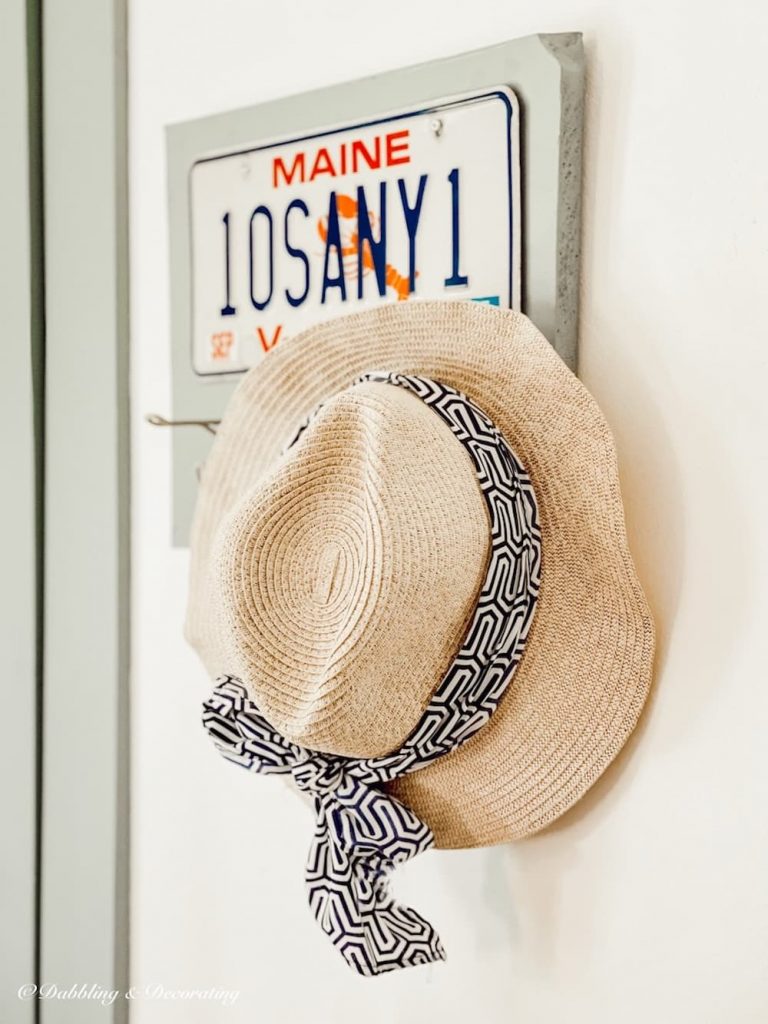
You may also find inspiration in this Simple License Plate Decor DIY Ideas post with another creative DIY wall mount rack and more.
Step-by-Step DIY Coat Rack
DIY Coat Rack Clothes Hanger Hooks
I chose vintage wooden clothes hangers for the coat hooks on this DIY coat rack because of their charming, timeless character and contrasting color wood.
Not only do they evoke a sense of organization and practicality, but they also add a unique, eclectic touch to the piece.
By cutting them in half and attaching them to the antique trapper fur stretcher board, we were able to create a functional and stylish DIY coat rack that blends perfectly with the antique aesthetic of our home.
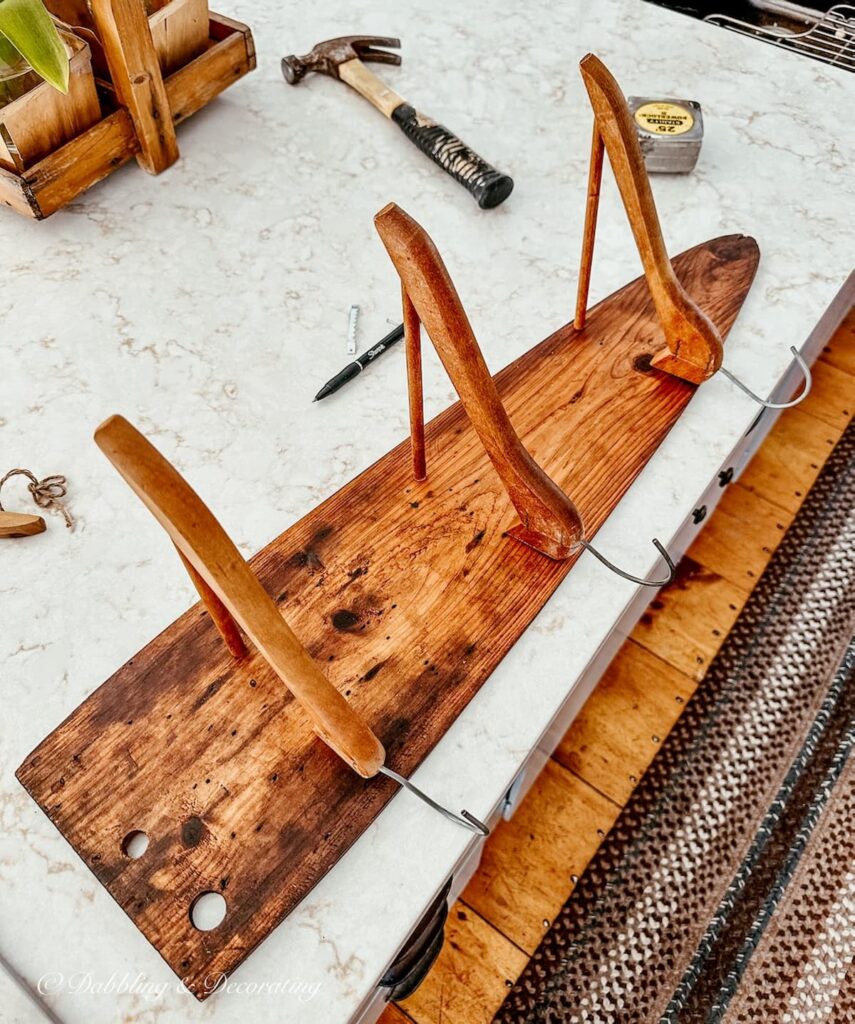
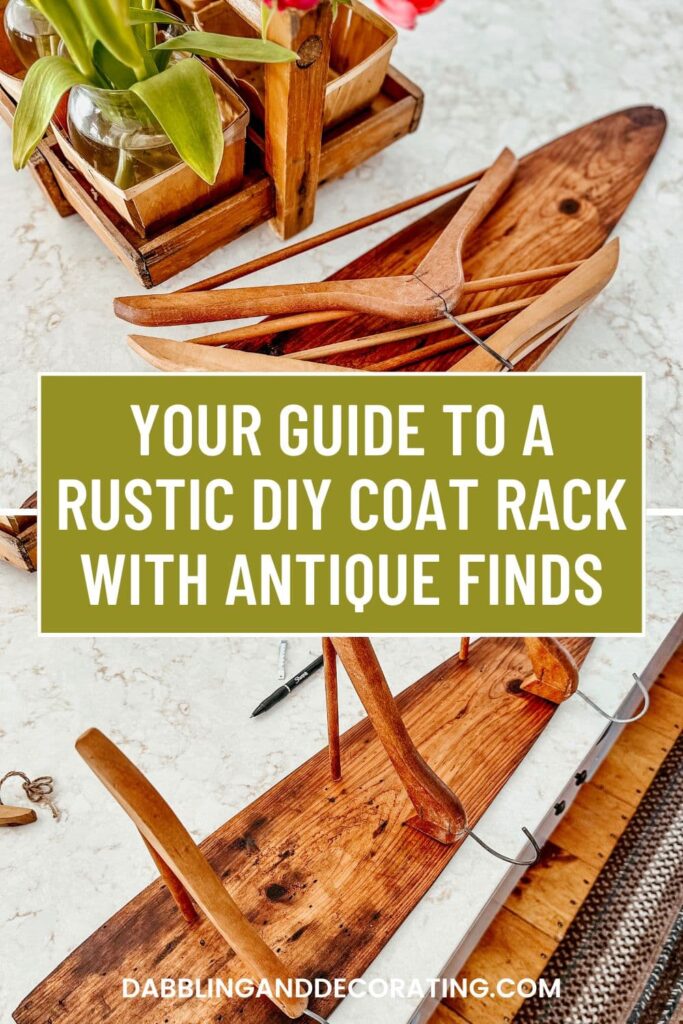
How to Cut the Wooden Clothes Hangers
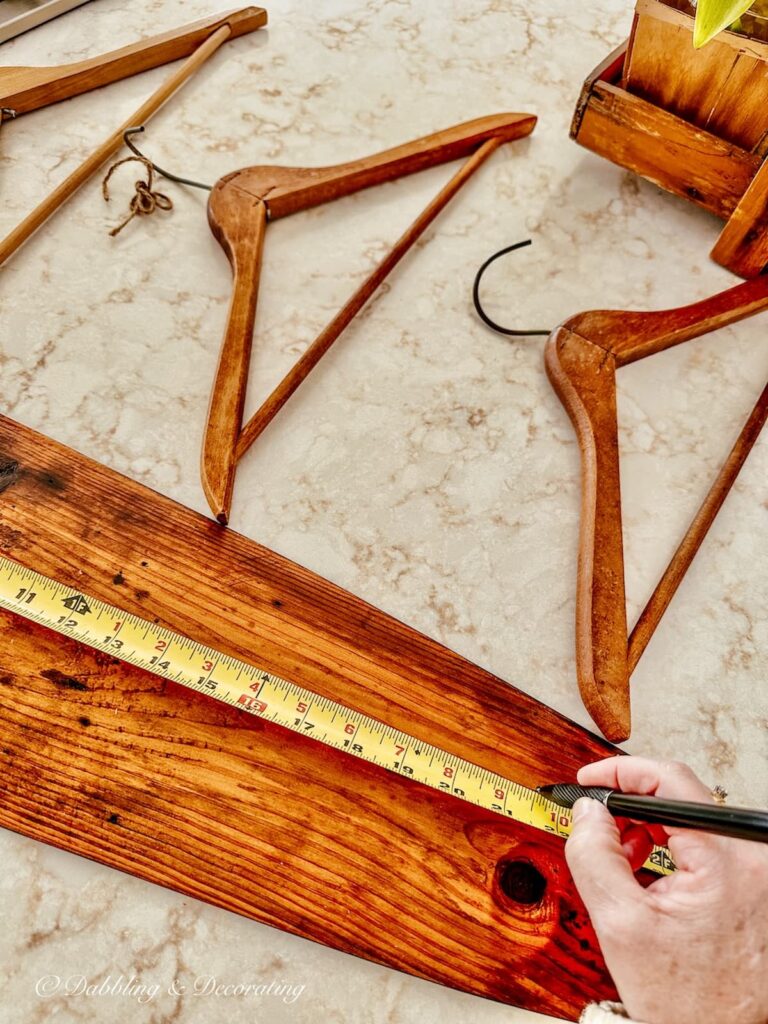
First, determine how many wooden hangers you’ll need for your DIY coat rack. My antique trapper’s board measured 30 inches long, so I opted for three wooden hangers, spacing them evenly at 7.5 inches apart for a balanced, centered look using measuring tape.
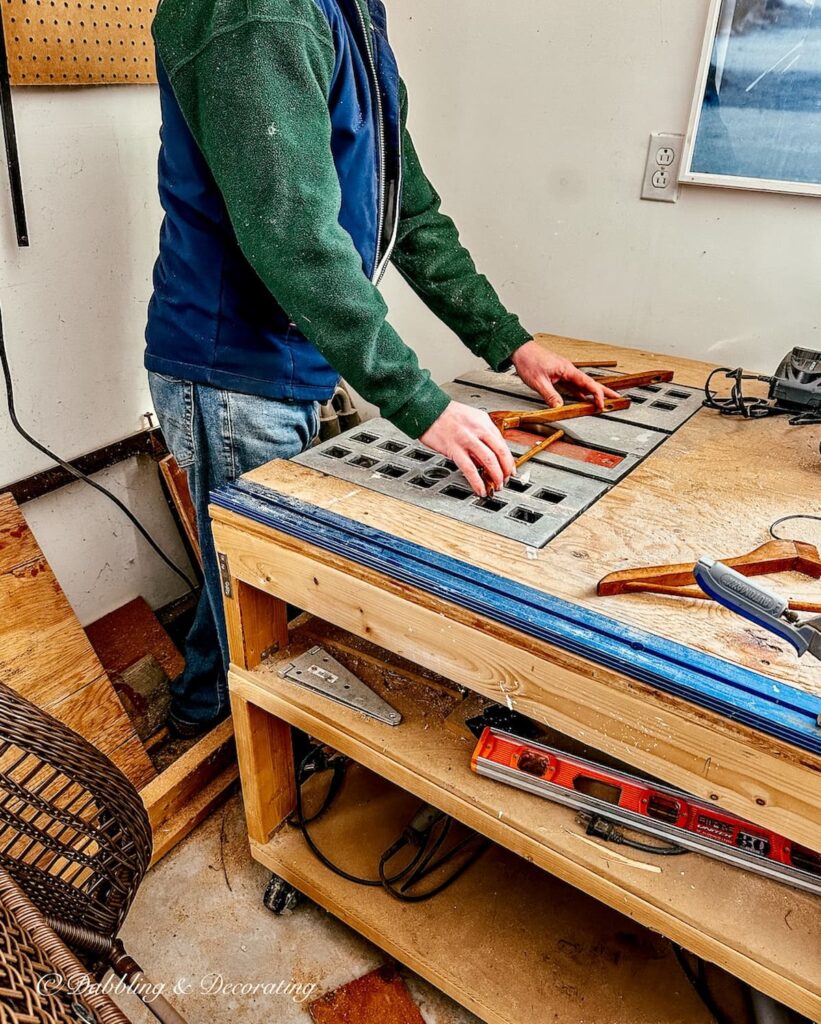
The first step is to cut your wooden hangers in half—but here’s the trick!
Use a circular saw to carefully slice a straight edge through each hanger, ensuring the hanging wire is positioned upside down.
This way, the curved wire transforms into a perfect hook, ready to hold everything from coats and hats to robes and towels once secured to your antique trapper’s board.
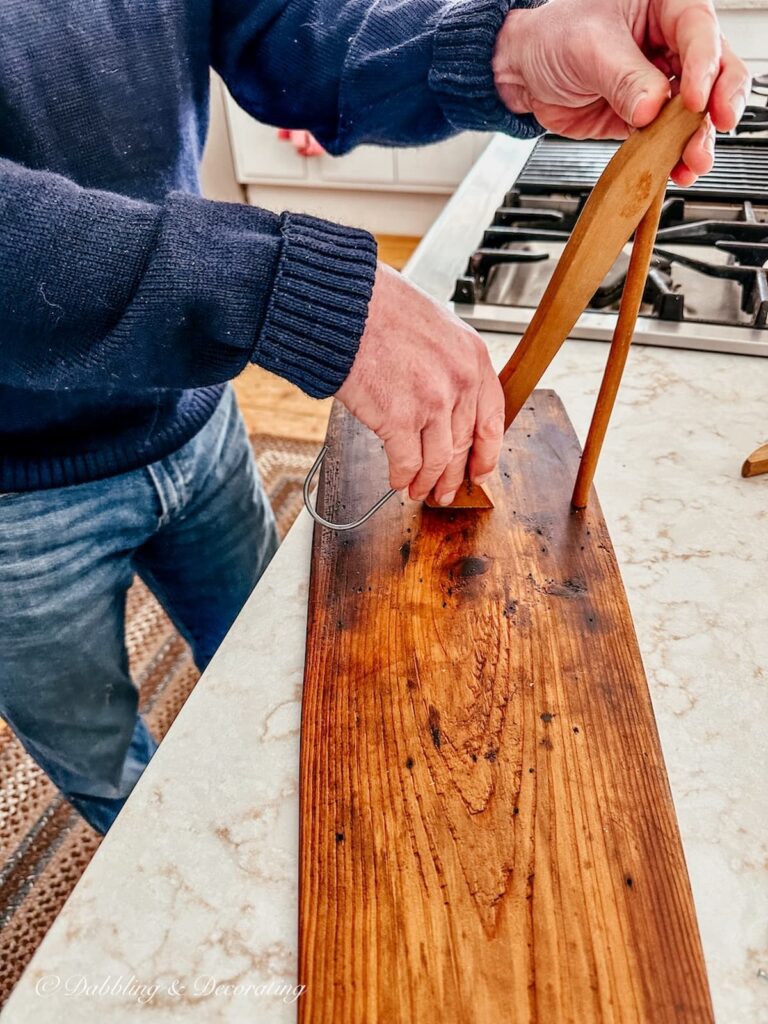
How to attach the cut wooden clothes hangers to the trapper board
Once you’ve positioned your hangers, secure the top of each one by driving a small nail or screw through the back of the board into the dowel.
Then, repeat the process on the bottom of the other side of the hanger for extra hold.
Want even more stability?
A dab of wood glue or hot glue will keep everything firmly in place, ensuring your coat rack is as sturdy as it is stylish.
Depending on the size and depth of your board, screws might be the easier option—but in our case, the board was too narrow, so nails did the trick!
If you have the right tools, a counter-sunk hole at the top would be ideal for the dowels to rest in, and secured with a little wood glue.
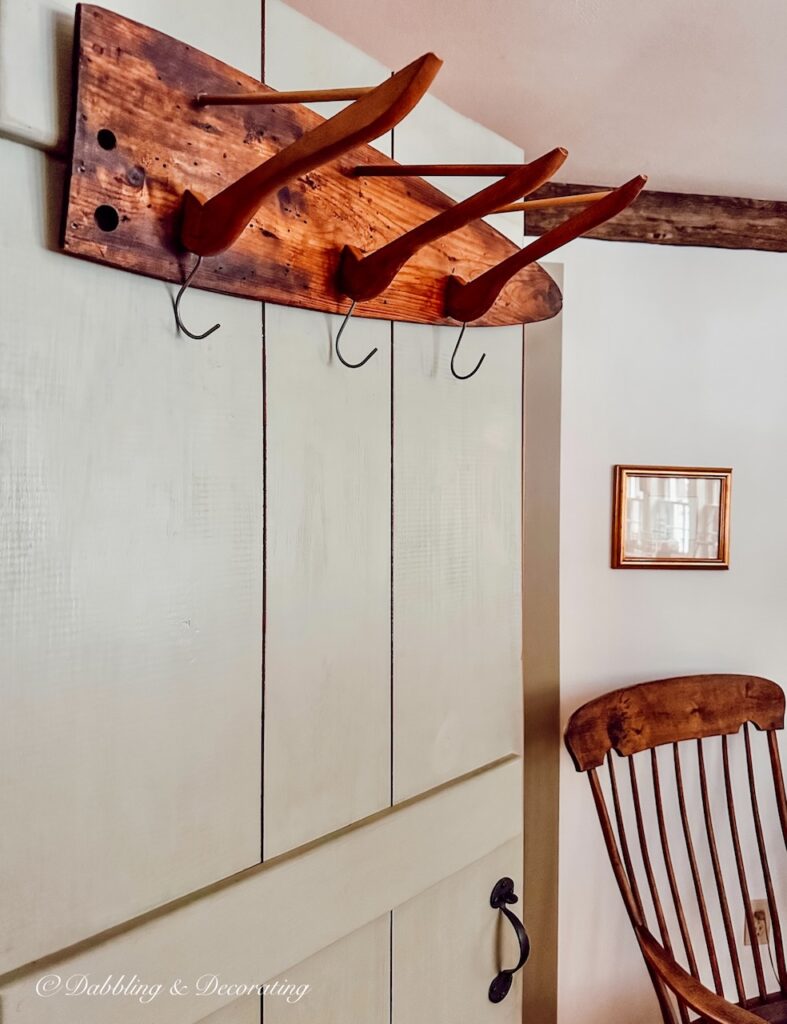
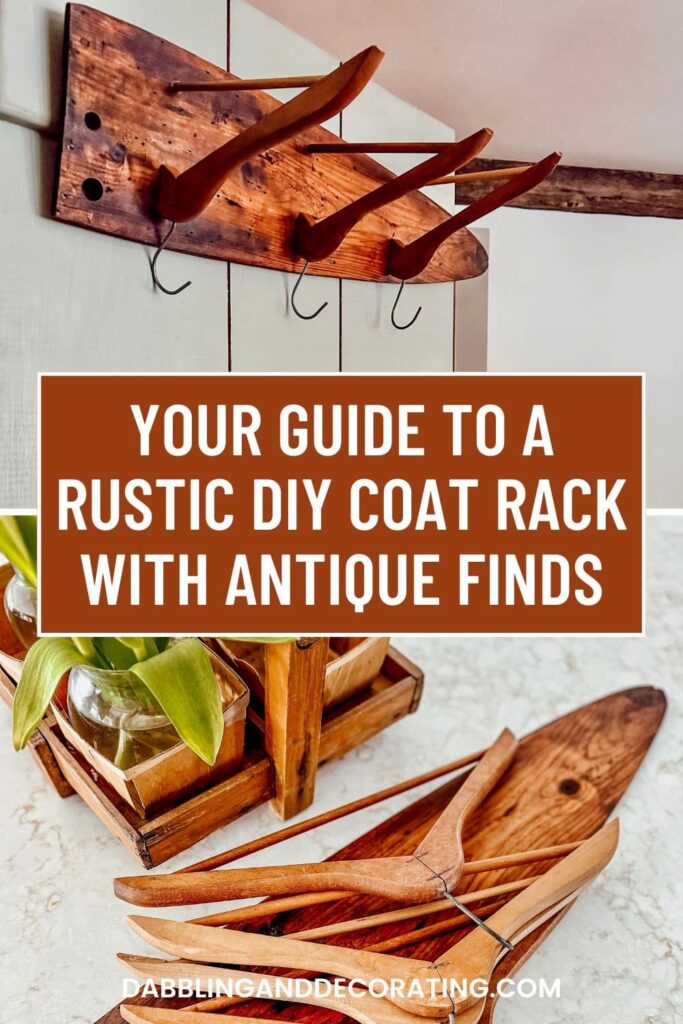
How to Hang Your New DIY Coat Rack
To hang our new DIY coat rack in this last step, I attached two saw-tooth hooks—one on each top part corner of the back of the coat rack.
This adds extra stability and gives you more flexibility when centering it on the wall.
Trust me, things can shift once you start piling on coats and hats, so this little trick helps keep everything balanced and looking just right!

Now, step back and admire your finished project—a perfect blend of antique character and everyday functionality that adds warmth and personality to any room!
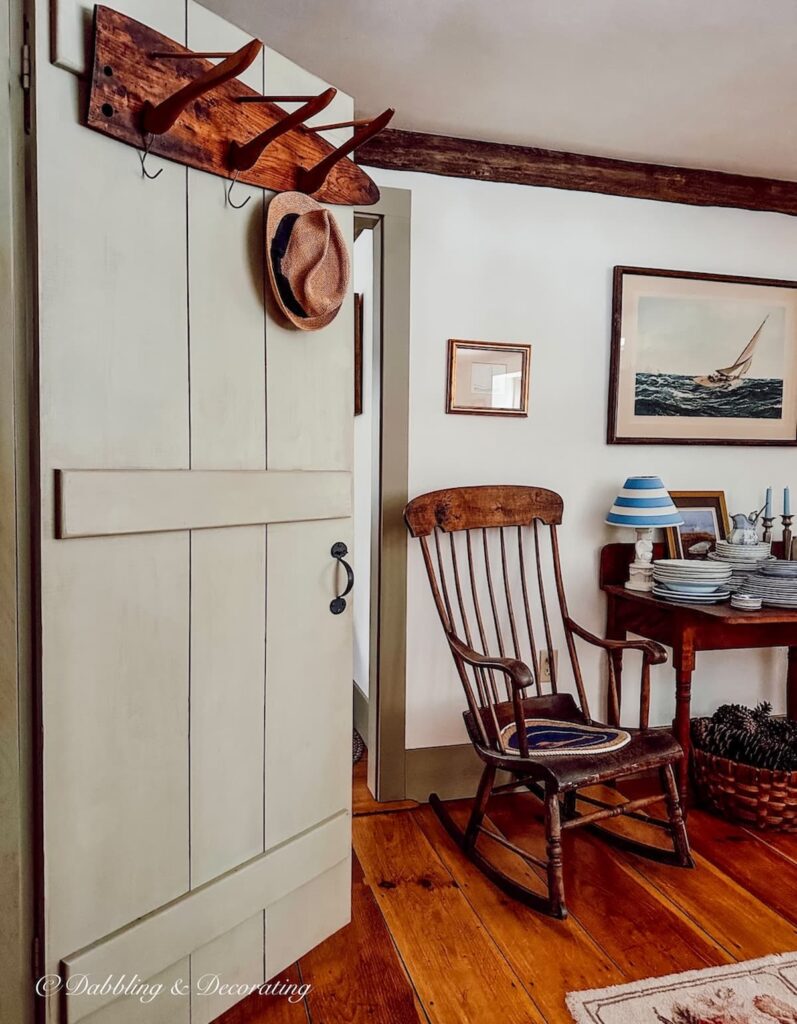
For now, our new antique DIY coat rack resides inside our pantry door off our dining room at our home in Maine.
Next, I plan to move it into our upstairs attic bedrooms, which are currently being repainted and wallpapered. It will be so cute, adorned with guest towels, hats, and a few beach accessories.
Stay tuned for the final reveal of these quaint wallpapered attic bedrooms.
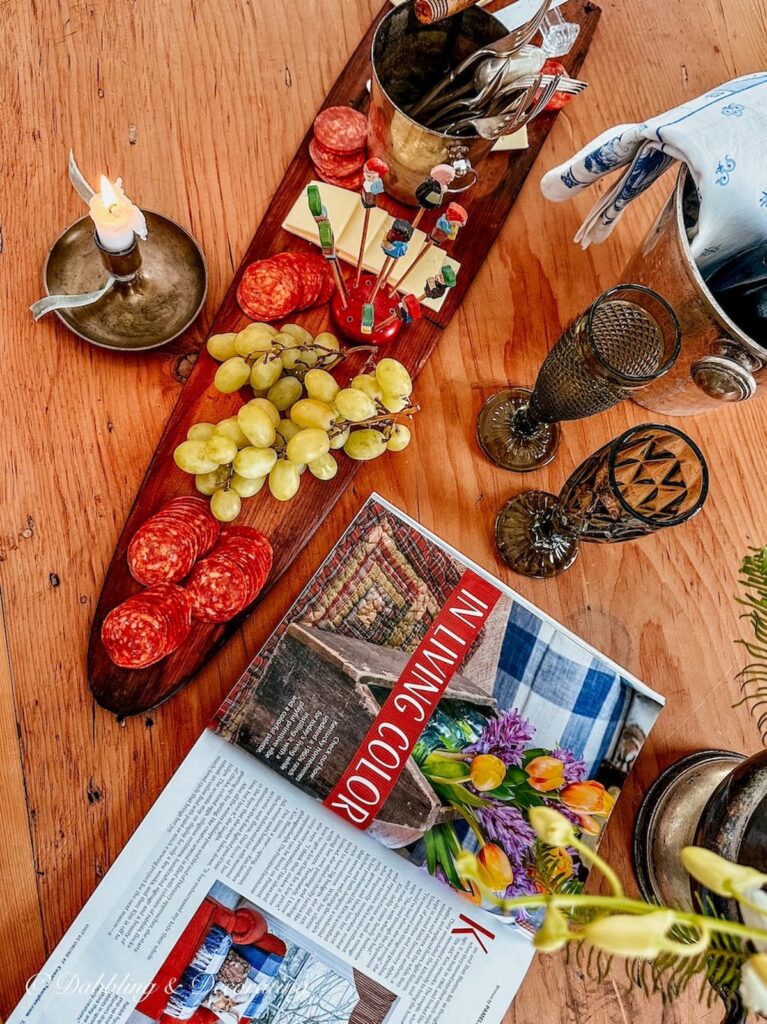
Charcuterie Board
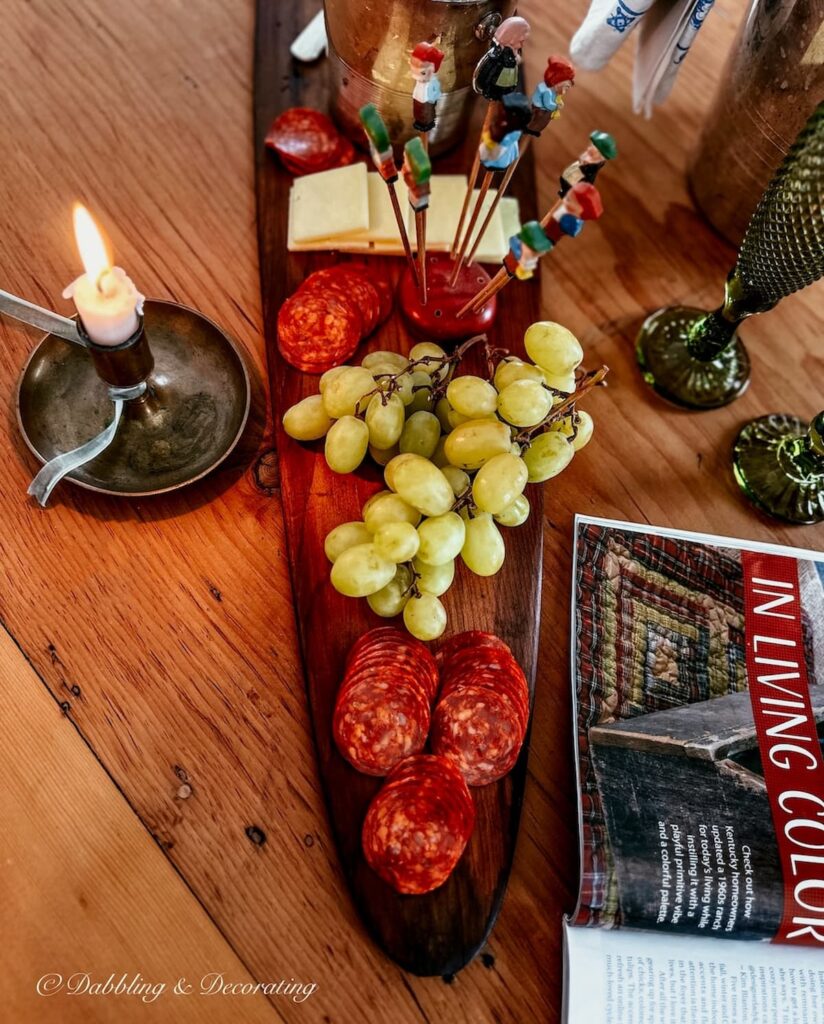
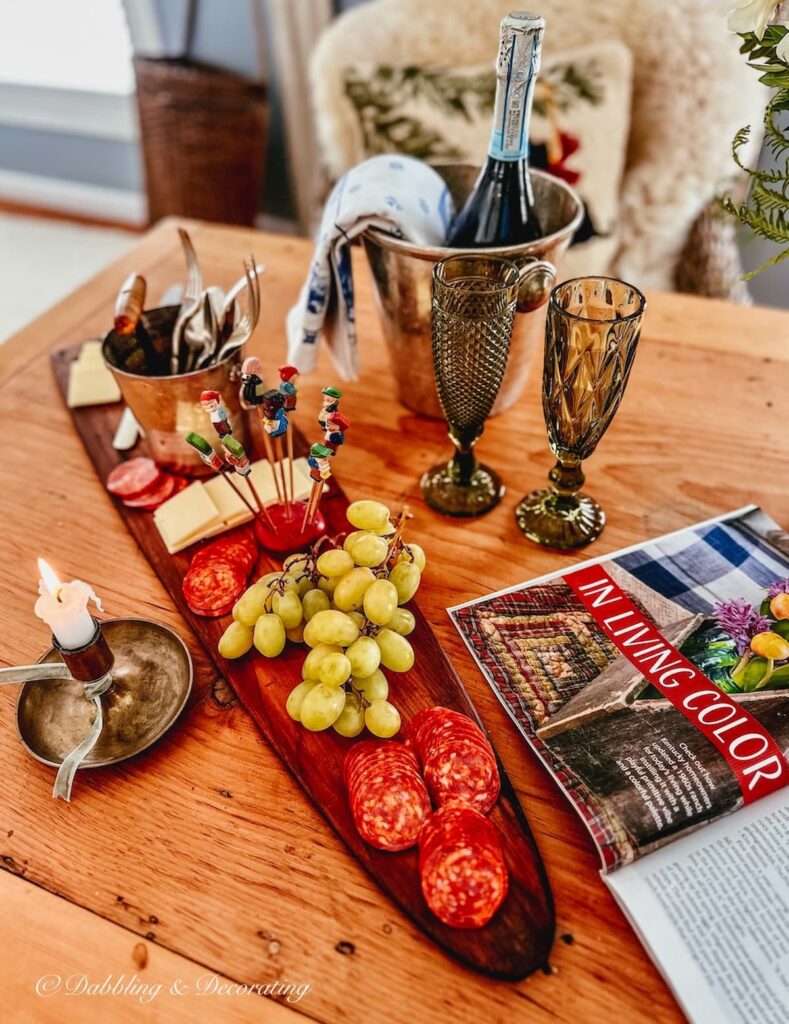
Another idea I came up with for these antique trapper’s fur stretchers is to turn the smaller ones into rustic charcuterie boards full of charm and character!
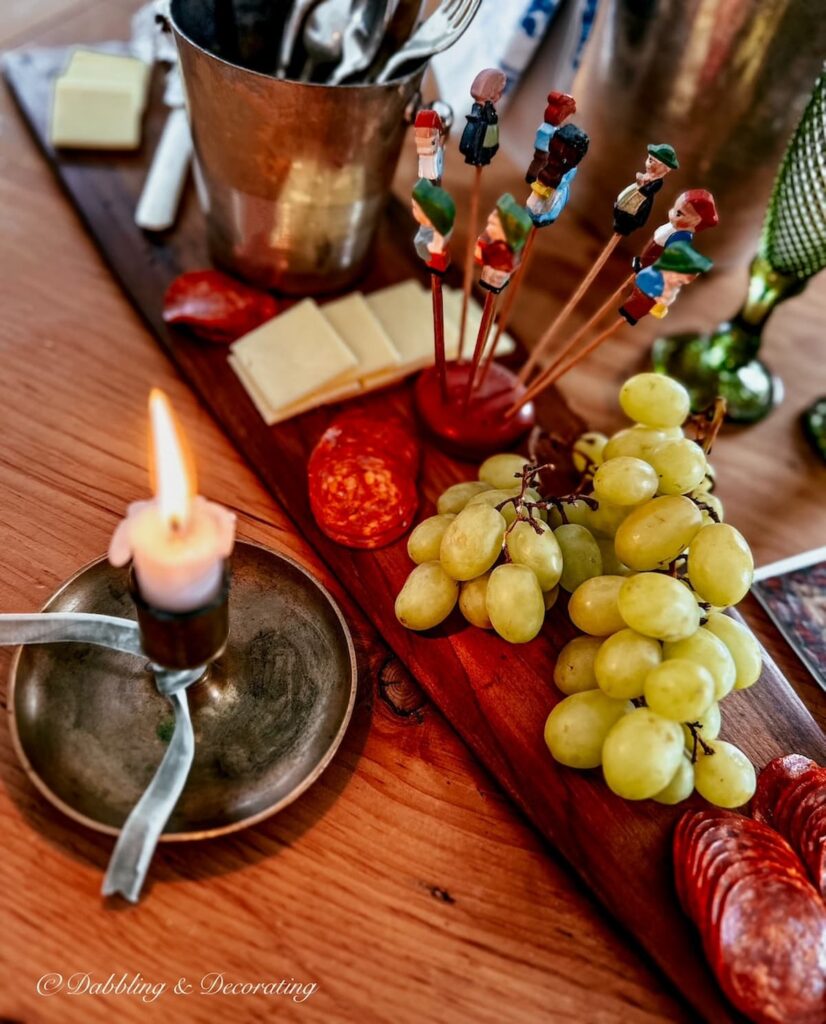
What is the easiest way to make this happen?
A little polish with Feed-N-Wax, followed by Food-Grade Mineral Oil to protect the food while enhancing the wood’s rich, vintage appeal.
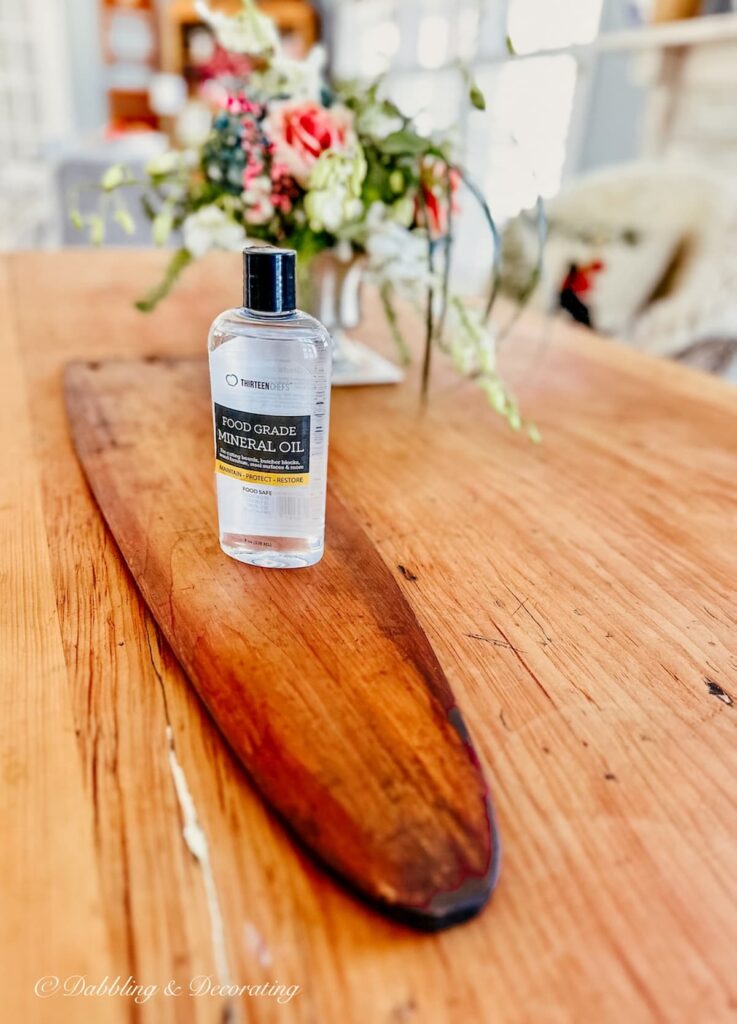
This easy project transforms an old piece of wood into a great idea for serving cheese and snacks with style—perfect for adding a touch of history to your next gathering!
Most Common Questions About A DIY Coat Rack
What are some good DIY coat rack ideas?
One great DIY coat rack idea is using stationary pieces, such as an old wooden board, antique finds, or vintage coat hangers, to create a functional and stylish rack. For example, if you’re looking to add a new coat rack to your guest room or entryway, consider mounting it in a spot near your coat closet or where guests will easily hang their coats during the winter months. You can also create a unique display by arranging different hooks or hangers on the board, allowing for both practical storage and decorative flair. When choosing mounting locations, think about accessibility and the flow of the space to ensure your new coat rack serves its purpose while enhancing the room’s look.
Are there free DIY Coat Rack plans?
Yes, there are plenty of free DIY coat rack plans available online! You can find a variety of options depending on the materials you want to use and the style you’re going for. From simple wooden boards with hooks to more creative designs using vintage items, there are step-by-step guides to suit every skill level. Many blogs, Pinterest boards, and DIY websites offer free templates and instructions to help you build your own custom coat rack at home. With just a little time and effort, you can create a functional and stylish coat rack that perfectly fits your space.
Can you build a coat rack yourself?
Absolutely, you can build a coat rack yourself! With a few basic tools and some creativity, making your own coat rack is a fun and rewarding DIY project. Whether you’re working with vintage finds, like wooden hangers and antique boards, or opting for more traditional materials like wood planks and hooks, building a coat rack is something most DIYers can tackle. There are plenty of easy-to-follow tutorials online to guide you through the process, and the end result will be a unique piece of functional decor for your home. Plus, you can customize it to fit your style and needs!
How do you make a coat rack?
To make a coat rack, you’ll need a few simple materials and tools. First, choose your base—whether it’s a vintage board, a reclaimed piece of wood, or a sturdy plank. You’ll then need coat hooks, which can be purchased or repurposed from old items like wooden hangers or hardware. Cut and prep your base to the desired size, ensuring it’s sturdy enough to hold coats. Mark the spots where you’ll place the hooks, using a tape measure for even spacing. Attach the hooks using screws or nails, and if needed, reinforce them with wood glue for extra security. Finally, mount the coat rack at your desired height on the wall, securing it with screws into wall studs or anchors for stability. Voilà! You’ve created a custom coat rack that’s both functional and stylish!
What makes a perfect modern coat rack?
A perfect modern coat rack combines functionality with sleek, minimalist design. It should have clean lines, a simple color palette, and a design that fits seamlessly into contemporary spaces. Look for materials like metal, wood, or even acrylic for a modern feel. The coat rack should be practical, offering enough hooks or storage space without being overly bulky or cluttered. Consider pieces that can be mounted on the wall to save space or freestanding racks for flexibility. Whether it’s a modular design or an integrated piece with additional shelving, the perfect modern coat rack should blend into your home’s aesthetic while offering easy access to coats, hats, or bags.
Bringing It All Together
With just a few vintage clothes hangers, an antique fur stretcher, and a little creativity, you’ve crafted a one-of-a-kind wall coat rack that blends rustic charm with functional design.
Whether you’re using it as a statement individual piece in your entryway or a movable piece that can adapt to different spaces, this DIY project proves that pieces of wood with history can be transformed into something both beautiful and practical.
And if you’re feeling extra inspired, don’t miss my bonus idea at the end of this post—turning an antique trapper’s fur stretcher into a unique and conversation-worthy charcuterie board.
Who knew one vintage find could have so many possibilities?
Your Guide to an Eclectic Style~
I’d love to hear from you! If you have thoughts, questions, or just want to pop in and say hello, feel free to leave a comment below. And if you have a vintage-loving friend, don’t forget to share this post—they might find a little inspiration here too.
Do you have a flair for all things vintage, too? I would love to see and feature you in our Reader’s Showcase Series. A place for you to share and be recognized for your talents and passion for all things thrifting, vintage, and antique decor-related inspired by your time here with Dabbling & Decorating. Email me at [email protected]
Pin forLater!

Shop This Post
This post may contain affiliate links, which won’t change your price but will share some commission.

Ann that is the coolest coat rack that I have seen in awhile !!
I use the hangers in my wardrobes but now I am rethinking…
I’m so glad you like it Sharon! I love old hangers and I thought this was fun too. Thanks for your sweet note!
Ann
Such a clever idea and it turned out great.
I can’t believe how clever you are and how amazing your coat rack turned out! Great job. I would have never thought to do that. Love the charcuterie board idea as well. Glad you brought all of them home. pinned
Thanks so much Cindy, I’m so glad you like them!! Thanks for stopping by today!
Thanks so much Cindy, it’s always such a pleasure when you stop by and say hello. See you soon, wink!
Hi Ann,
Soooo cute. What a clever idea. Not only are they functional, but adorable also. And a conversation piece!!
Xo
Cara
Thanks so much Cara, I’m so glad you like it!