A few years ago, I took a photography class with a local professional. The class project at the end was to create a picture story and publish it—something simple yet creative. I chose mailboxes! I had so much fun finding all the different mailboxes out there. One mailbox was sitting in a trash can, and another was pink and decorated to the nines. There truly is creativity in your mailbox!
I have been decorating my mailbox for a few years now and always get so many compliments on it. Therefore, I thought I would share one idea with you here today. This is super easy and only takes about an hour to complete. And it will last you all winter long. It’s not just for the holidays!
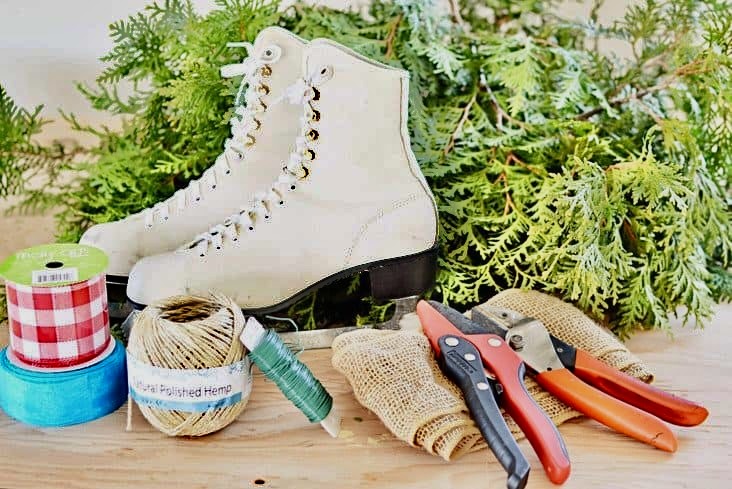
All you need to start is:
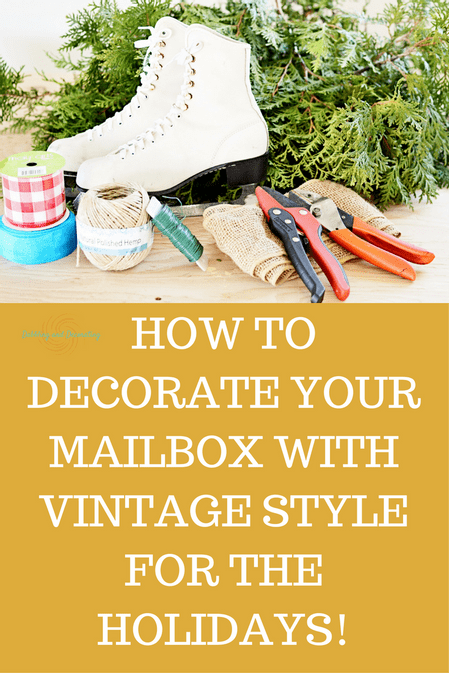
- 10 evergreen branches (I was able to cut these in my backyard).
- Wire, purchased from your local hardware or craft store.
- Wire cutters
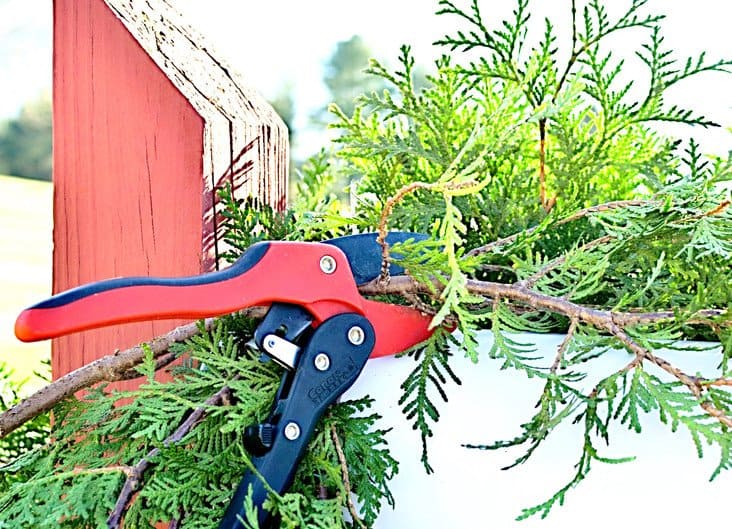
- Weed cutters (if you want to cut your own evergreens)
- Twine purchased at your local hardware or craft store.
- Your favorite ribbon, bow, or scarf!
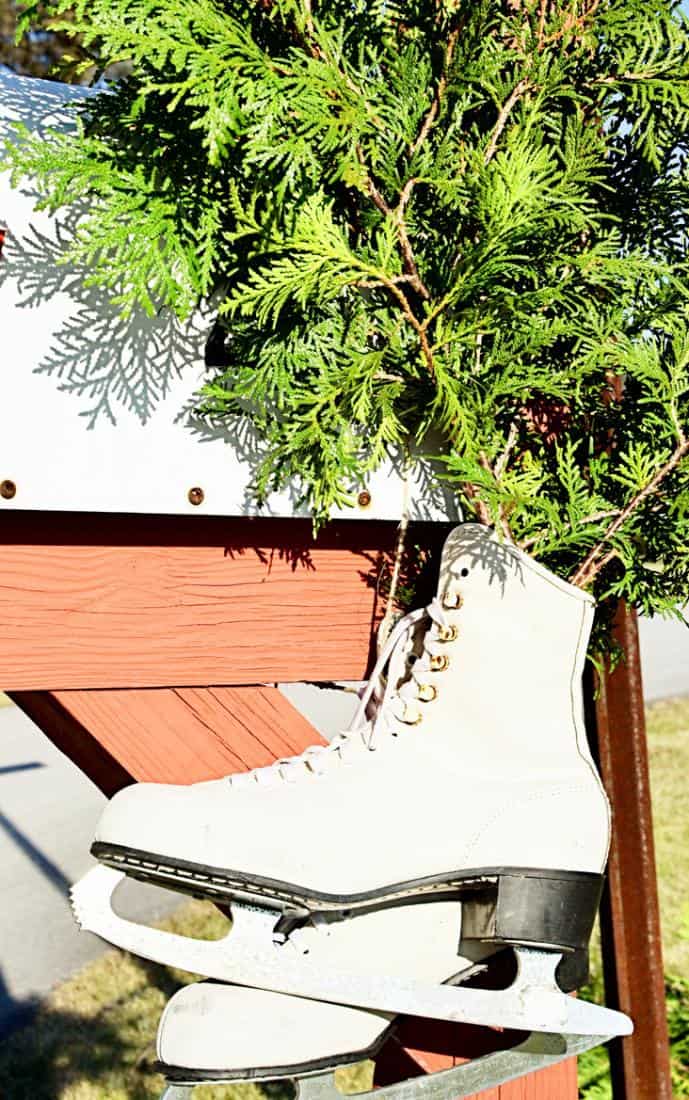
- A pair of ice skates. I found these at a local thrift shop for $3.00.
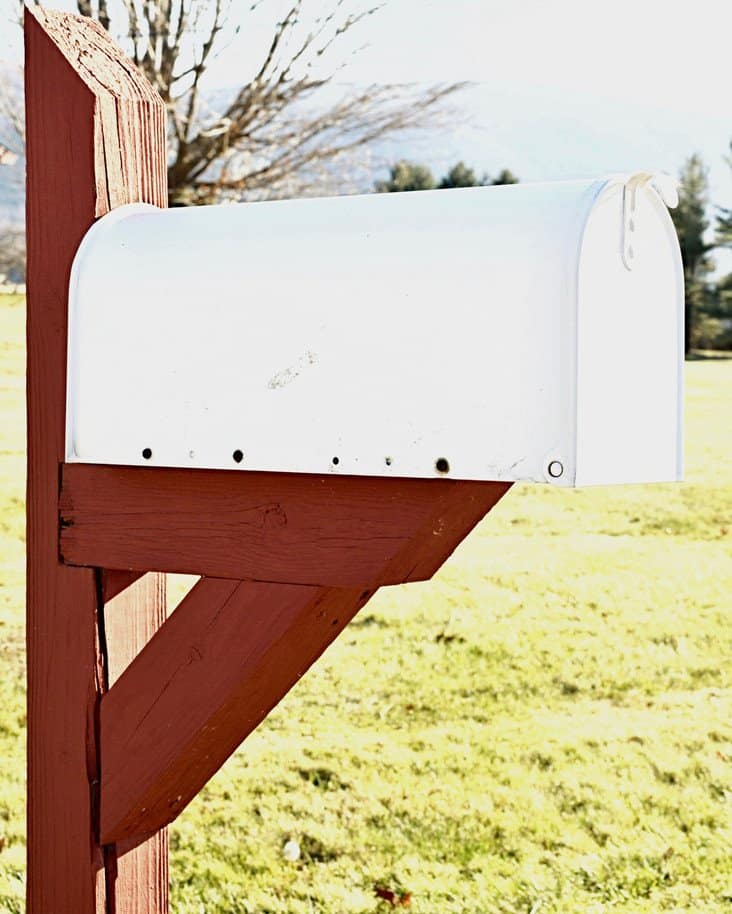
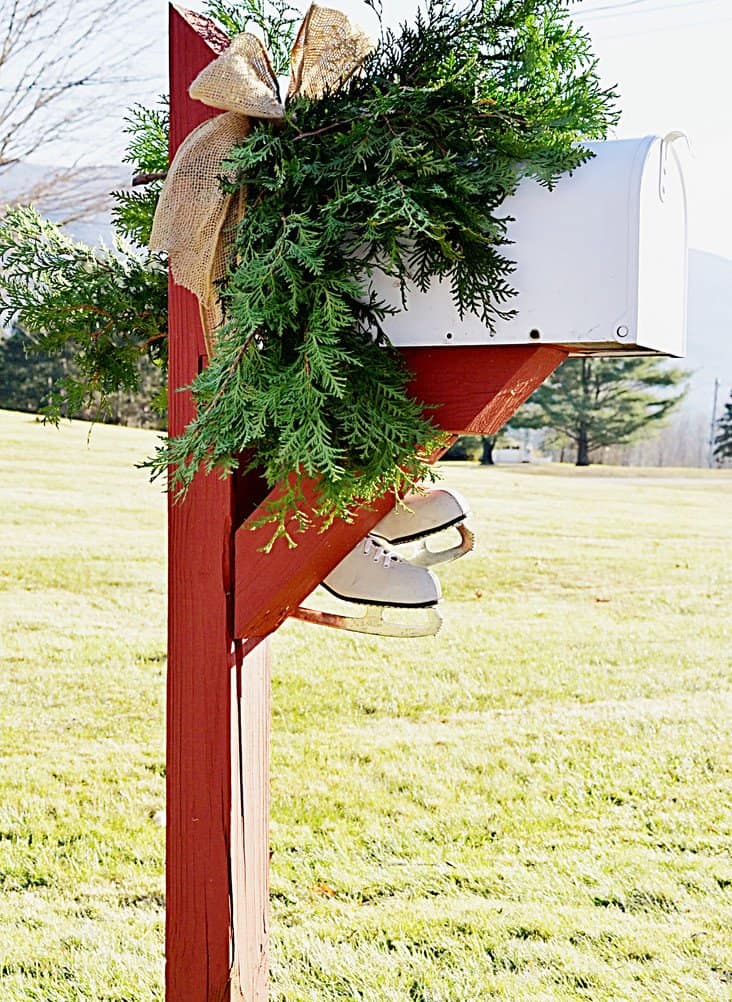
This is the “before” mailbox pictures.
I painted the pole red to match our home a couple of years ago, and that really accented the white mailbox.
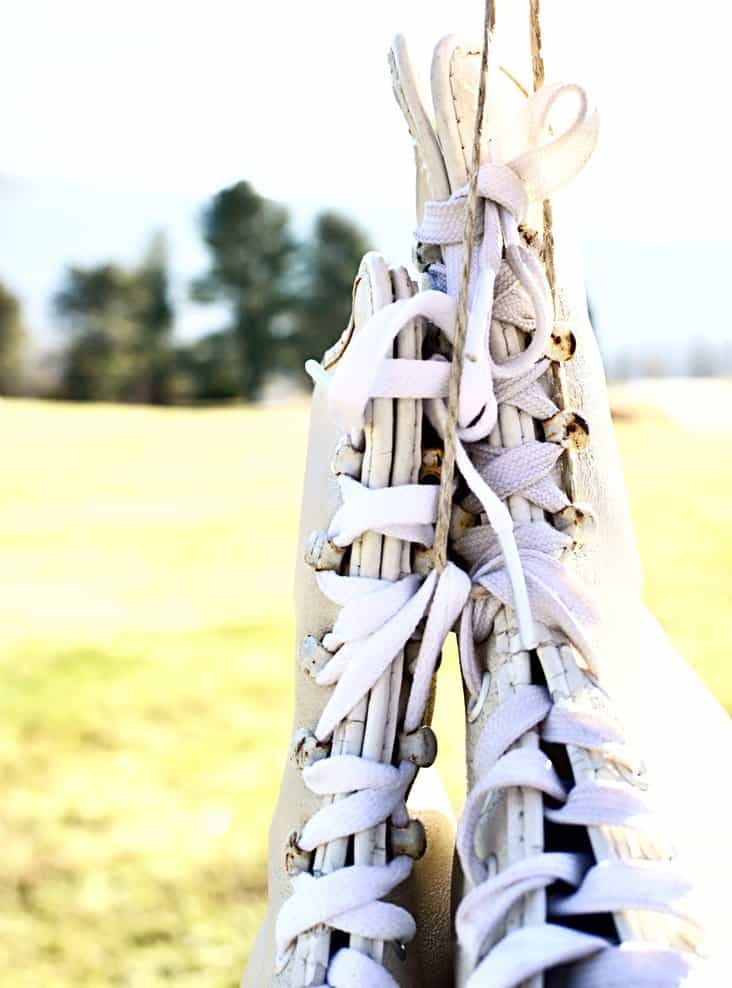
To begin, cut a very long piece of twine long enough to wrap around your entire mailbox. String the twine through the shoelaces of each ice skate. One skate is higher than the other, so the ice skates will be uneven when hanging from your mailbox.
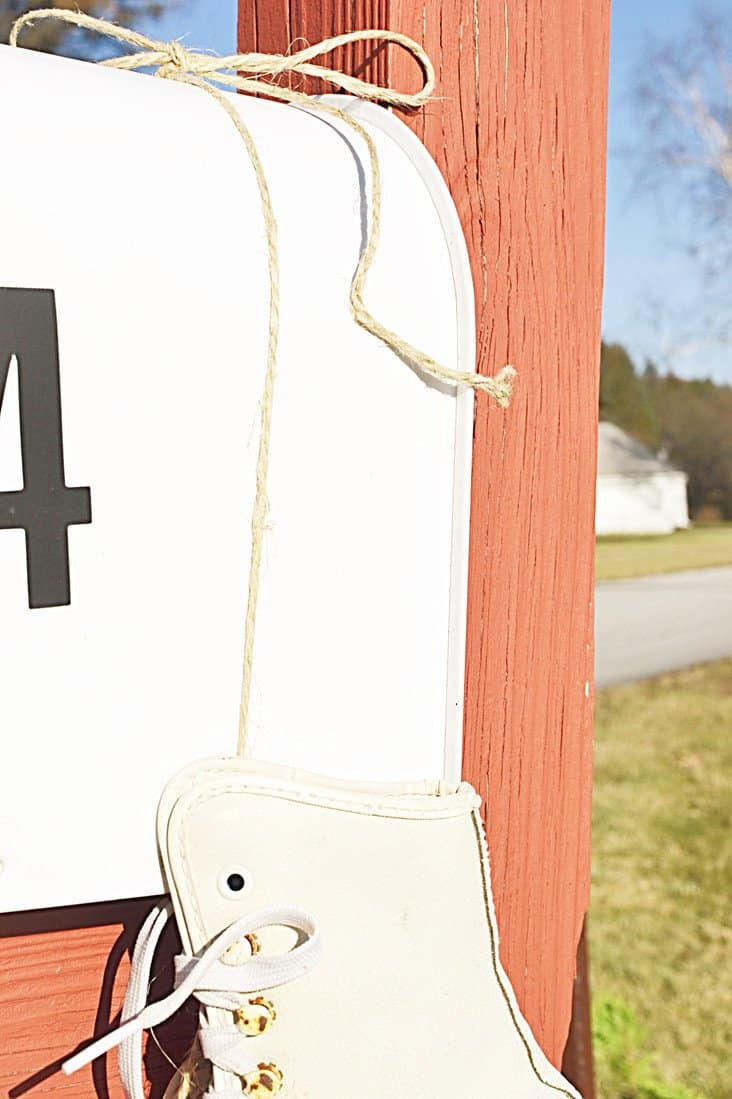
Tie the twine around the entire mailbox with the ice skates hanging off your preferred side.
Don’t pull them up too high, as you are going to cover the mailbox with your evergreens.
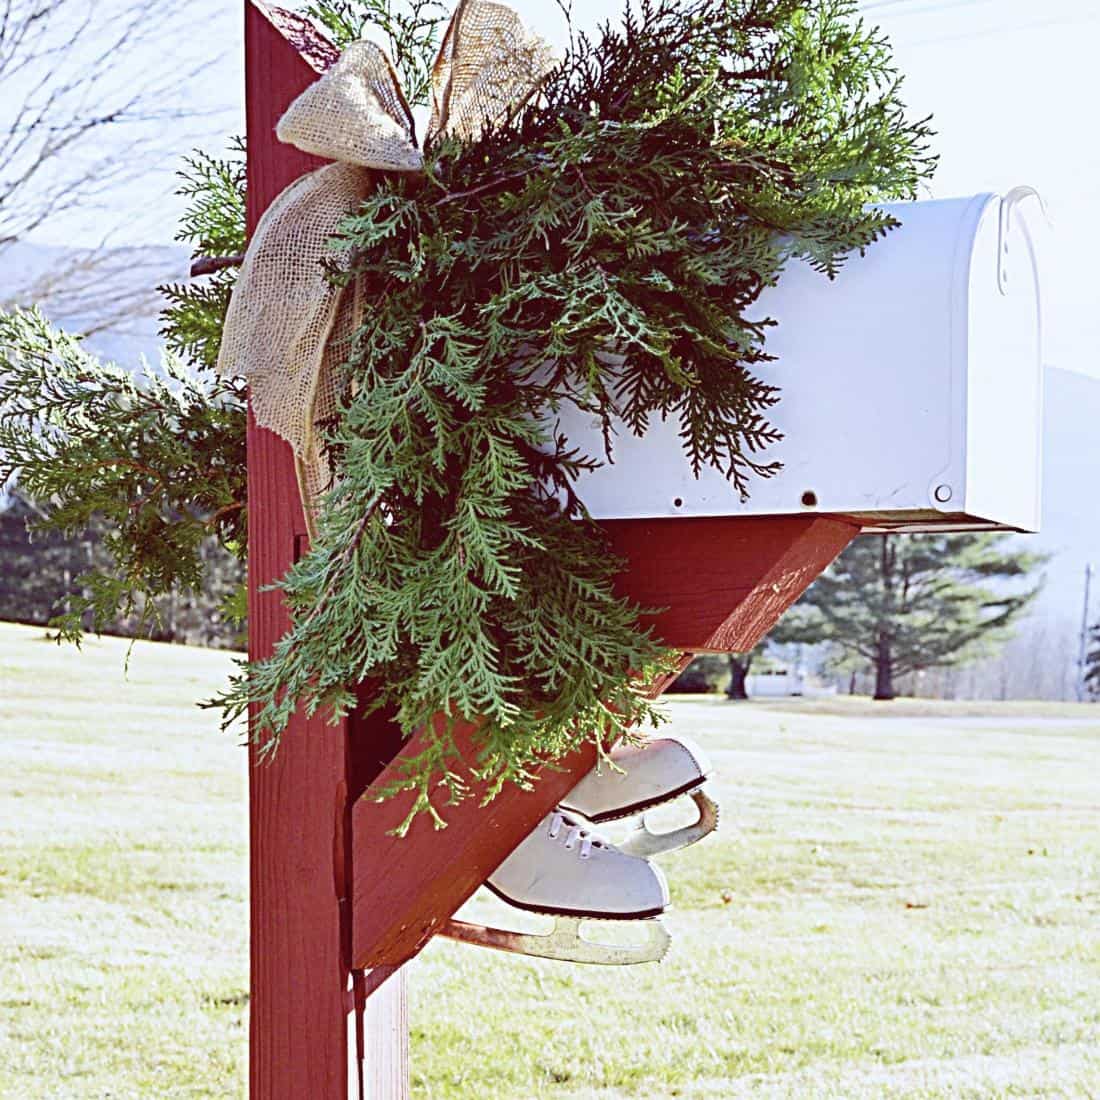
To start adding the evergreens, cut your wire about 6-8 inches long and start wrapping the wire around each cut evergreen, wrapping it around the twine tied around your mailbox. I also fill the top of the ice skates with the evergreens, adding more fullness.
Once the evergreens are wired on, clip off the bottoms to eliminate the bottoms, highlighting the greens only.
Add as many evergreens as you like to suit your desired fullness.
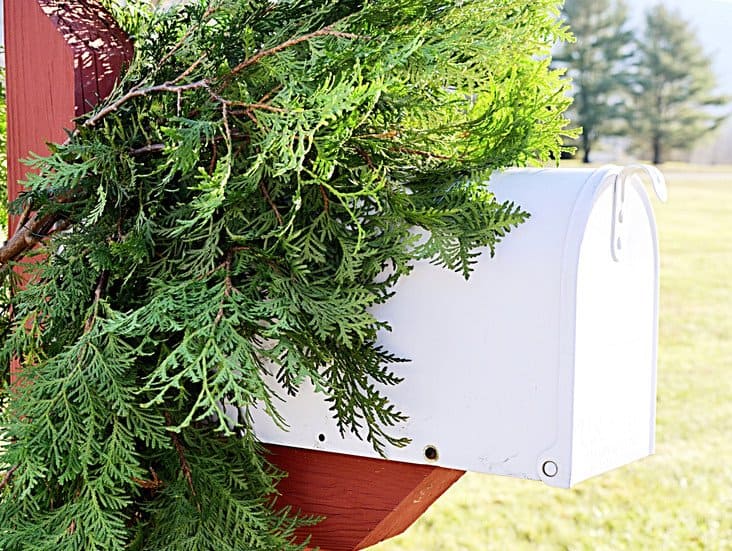
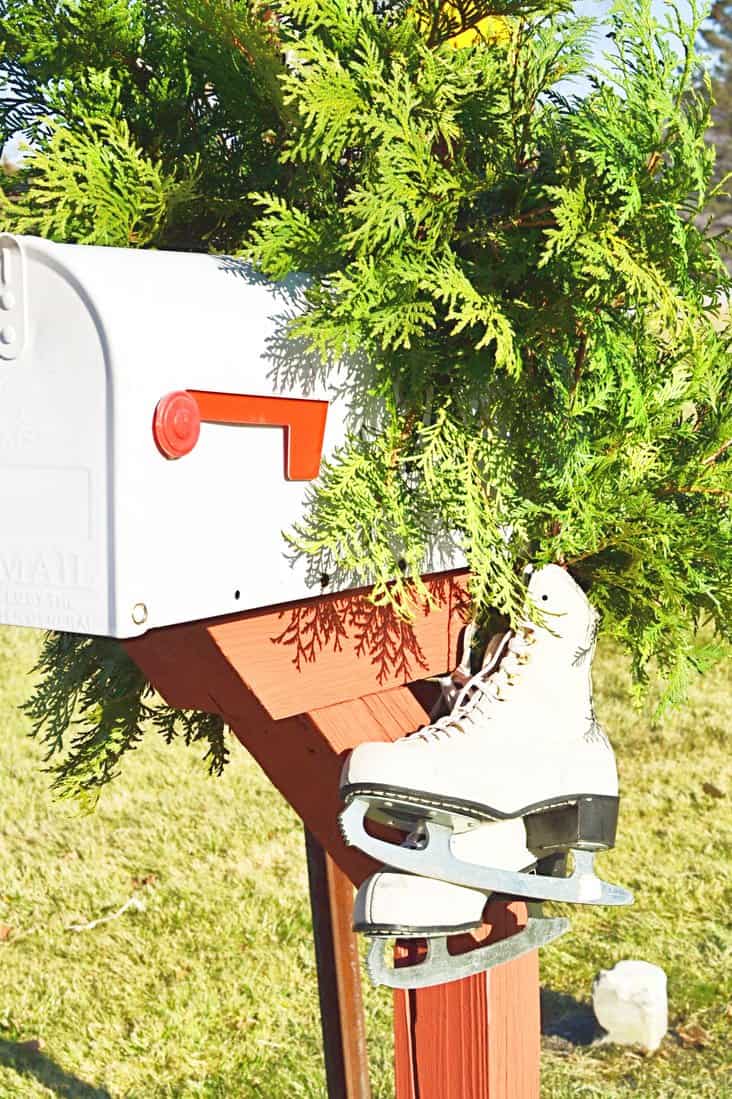
I added a burlap bow here. However, you can add any kind of bow that fits your decor! Simply wrap it around the mailbox and tie it very tight. Mine have always lasted the winter months here in New England, so don’t worry. However, I would choose something of quality. Last year, I wrapped a plaid scarf around it, which also looks very festive!
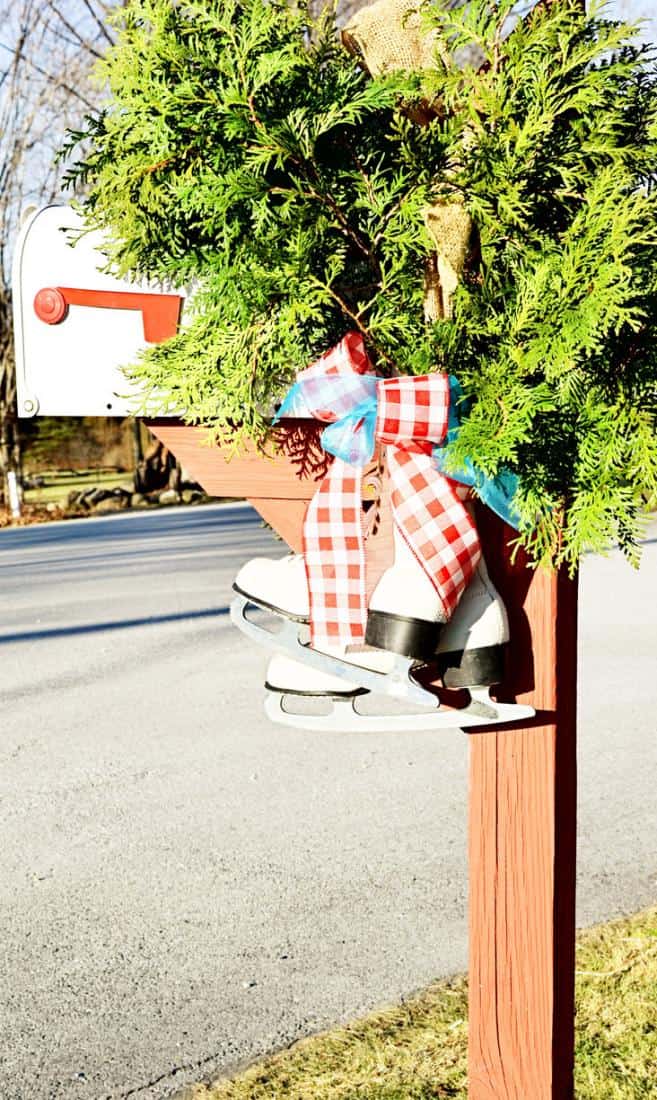
Here I added red plaid and teal bows to the skates. (This year’s color theme)
Your Guide to an Eclectic Style~
I’d love to hear from you! If you have thoughts, questions, or just want to pop in and say hello, feel free to leave a comment below. And if you have a vintage-loving friend, don’t forget to share this post—they might find a little inspiration here too.
Do you have a flair for all things vintage, too? I would love to see and feature you in our Reader’s Showcase Series. A place for you to share and be recognized for your talents and passion for all things thrifting, vintage, and antique decor-related inspired by your time here with Dabbling & Decorating. Email me at [email protected]
Pin forLater!

Love. Love. Love it!!!❤️❤️
Thank you kindly, happy holidays😃