Are you looking to transform bargain black frames into charming antique gold frames? Let me show you how simple it is! You won’t believe it!
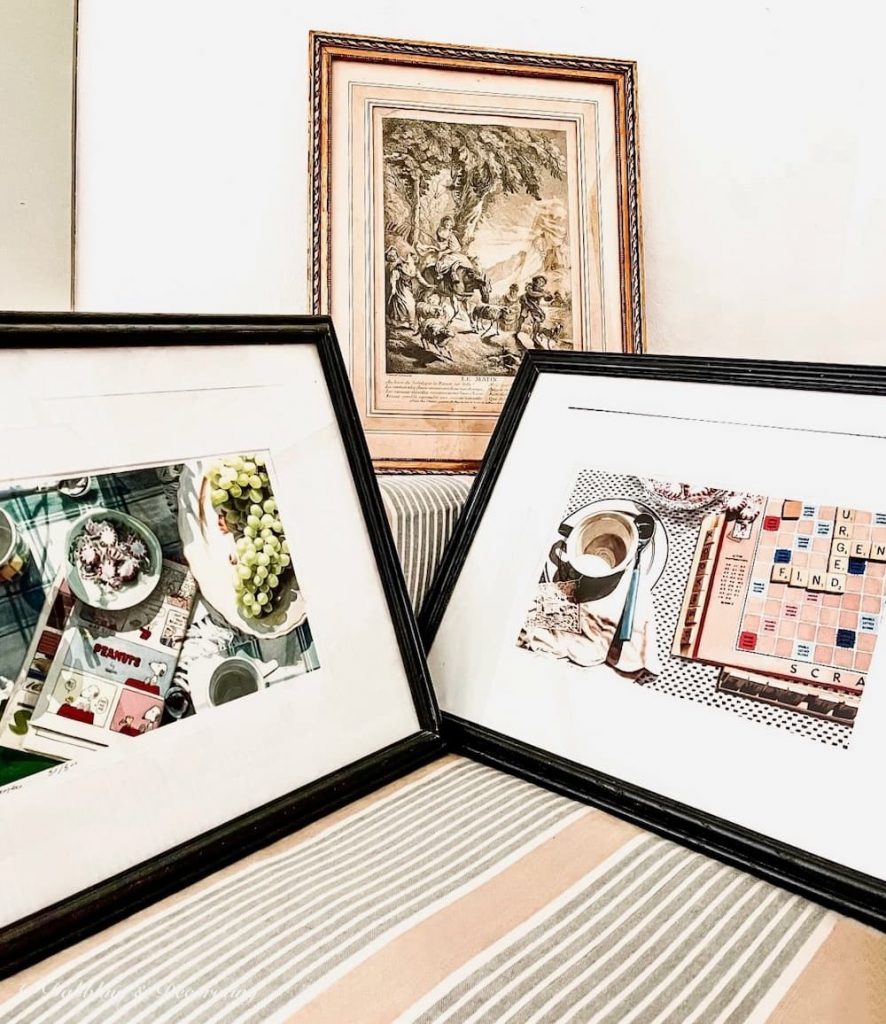
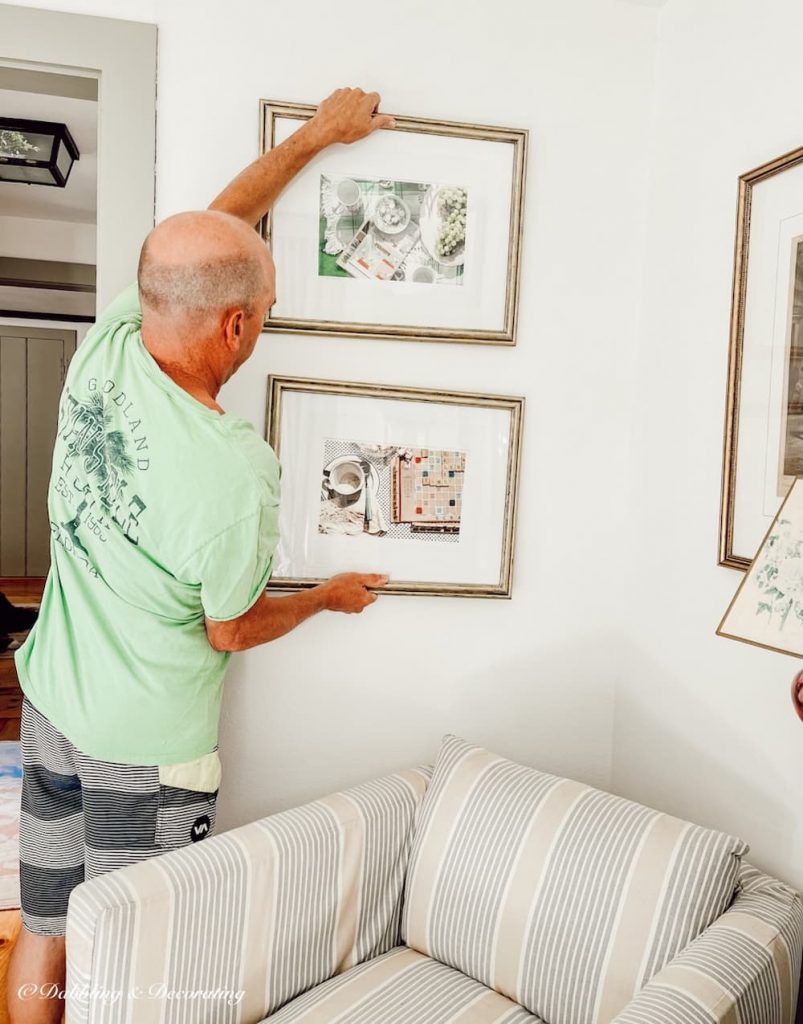
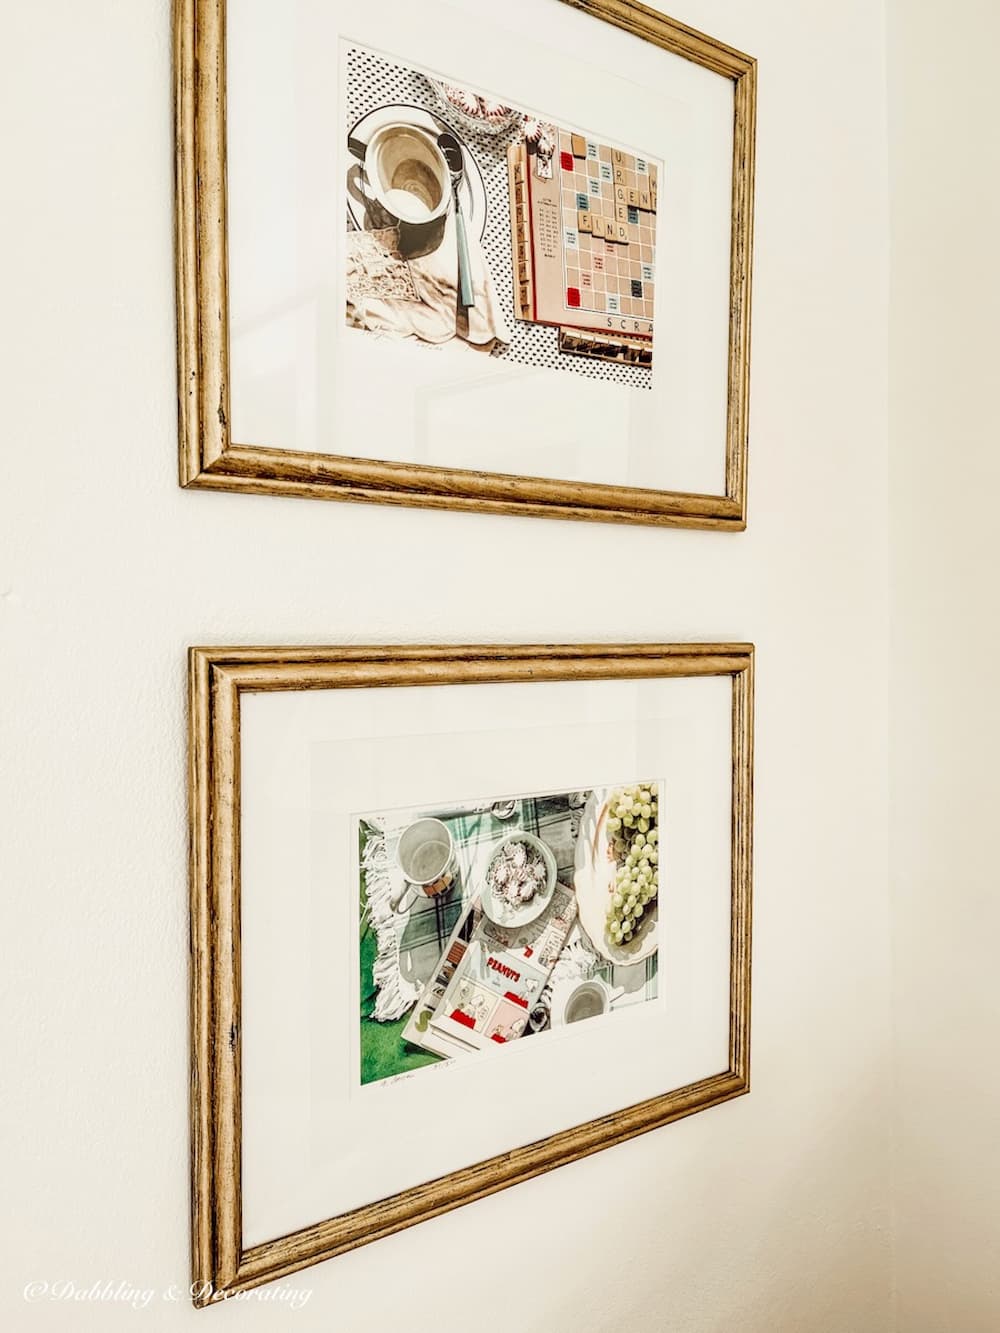
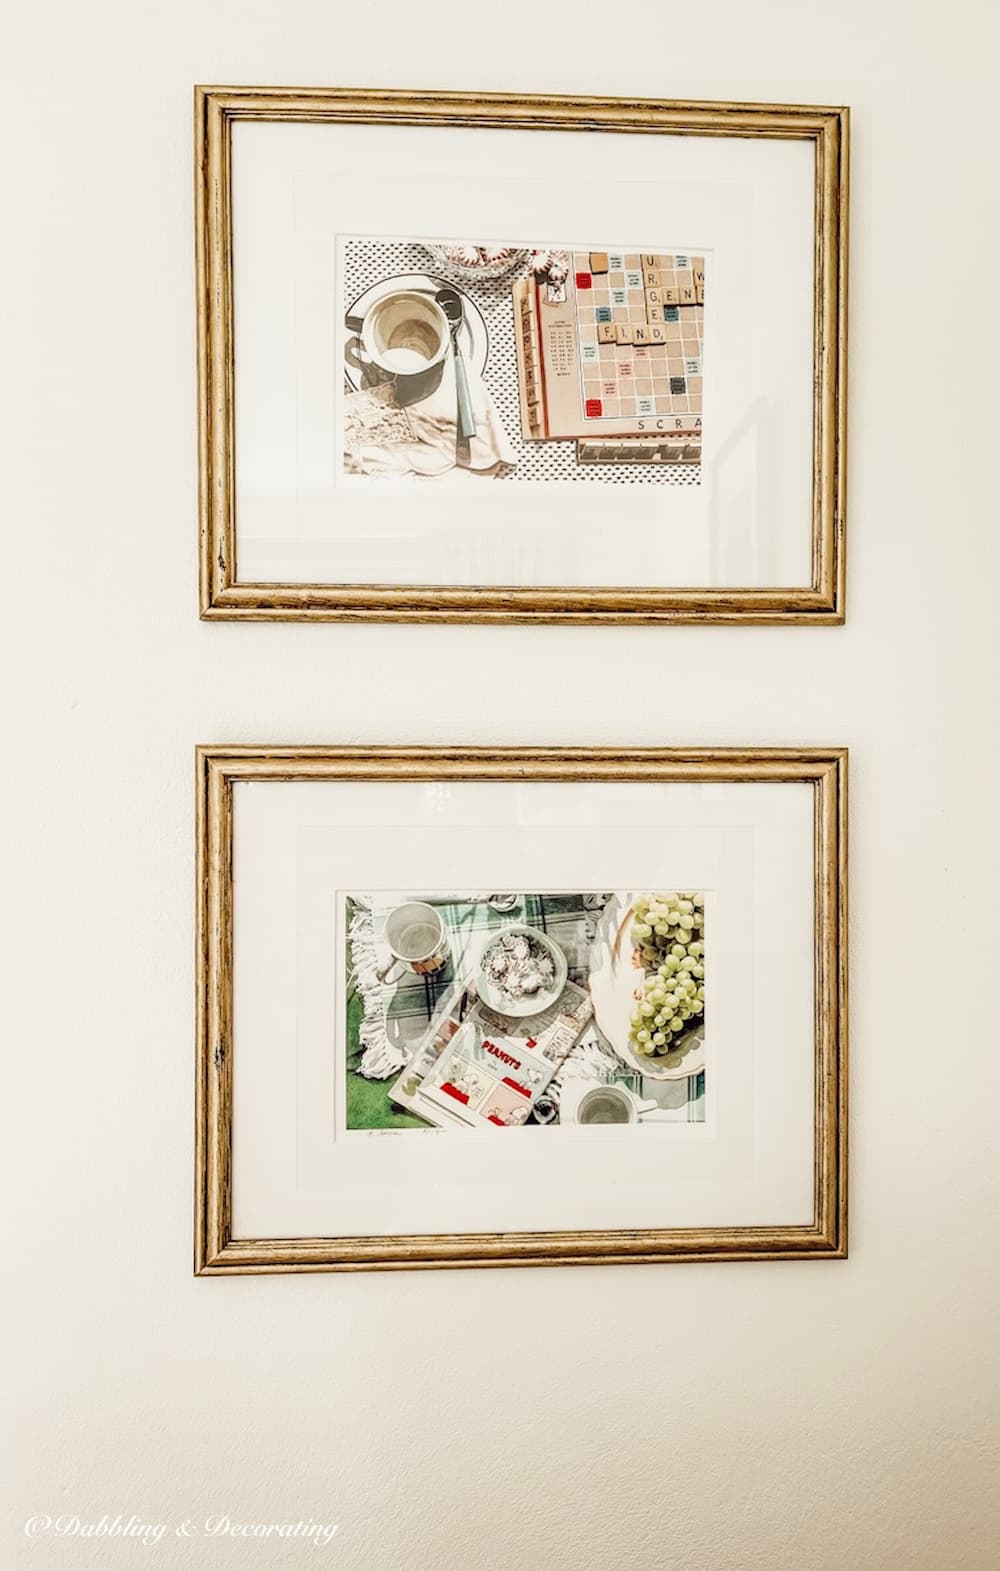
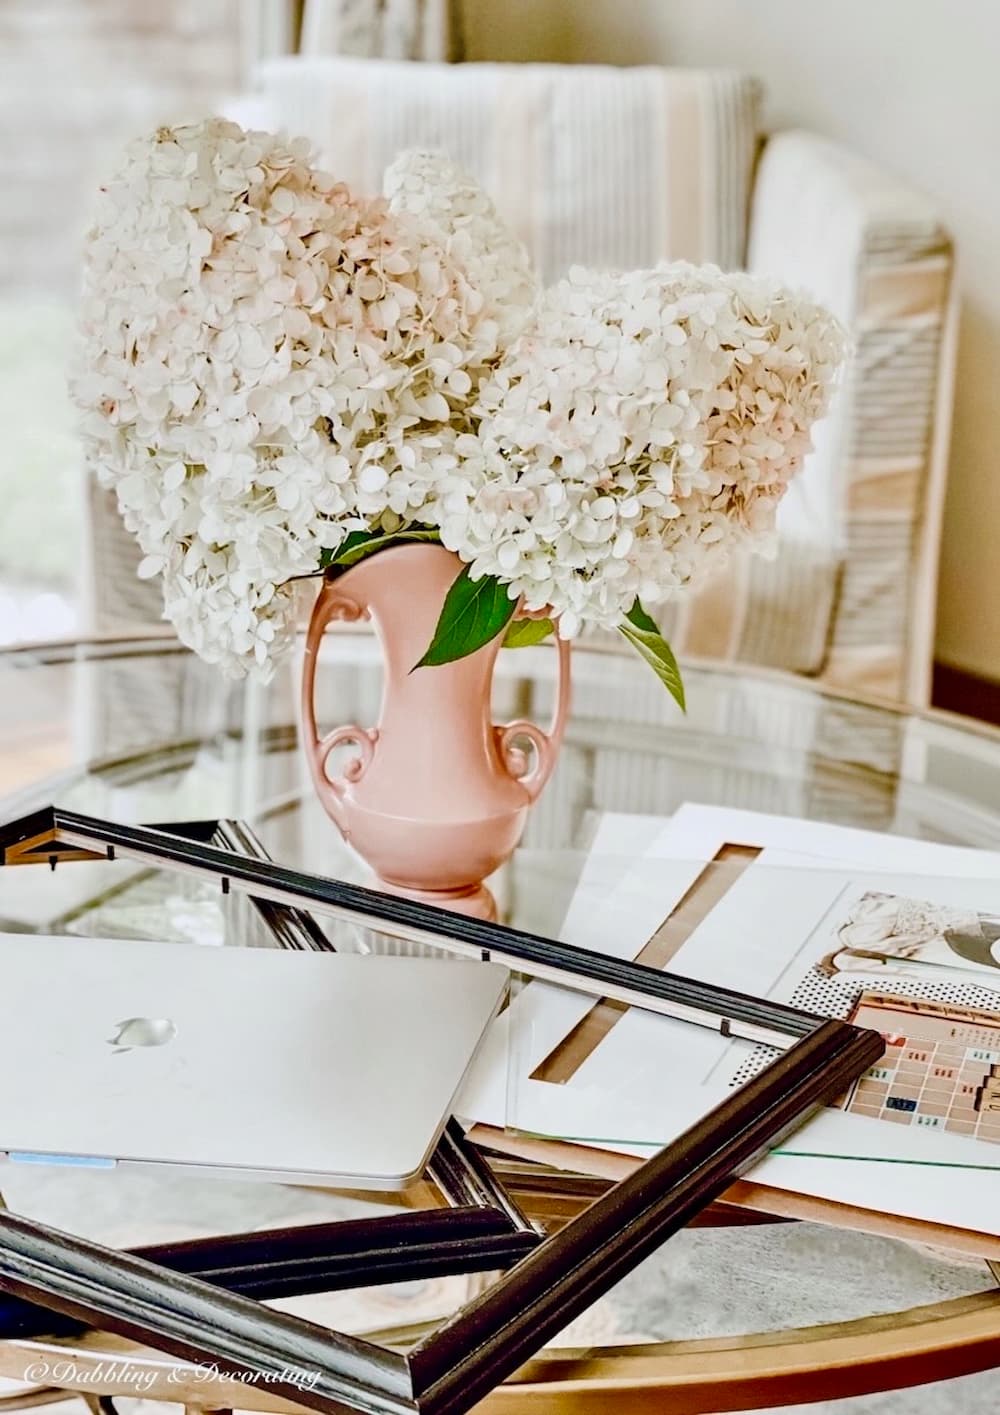
Last week, while back at our place in Vermont, I picked up two adorable prints at a vintage shop.
I thought they’d be so cute in our sunroom in Maine, where each print displays a morning coffee, comics, and a game of Scrabble.
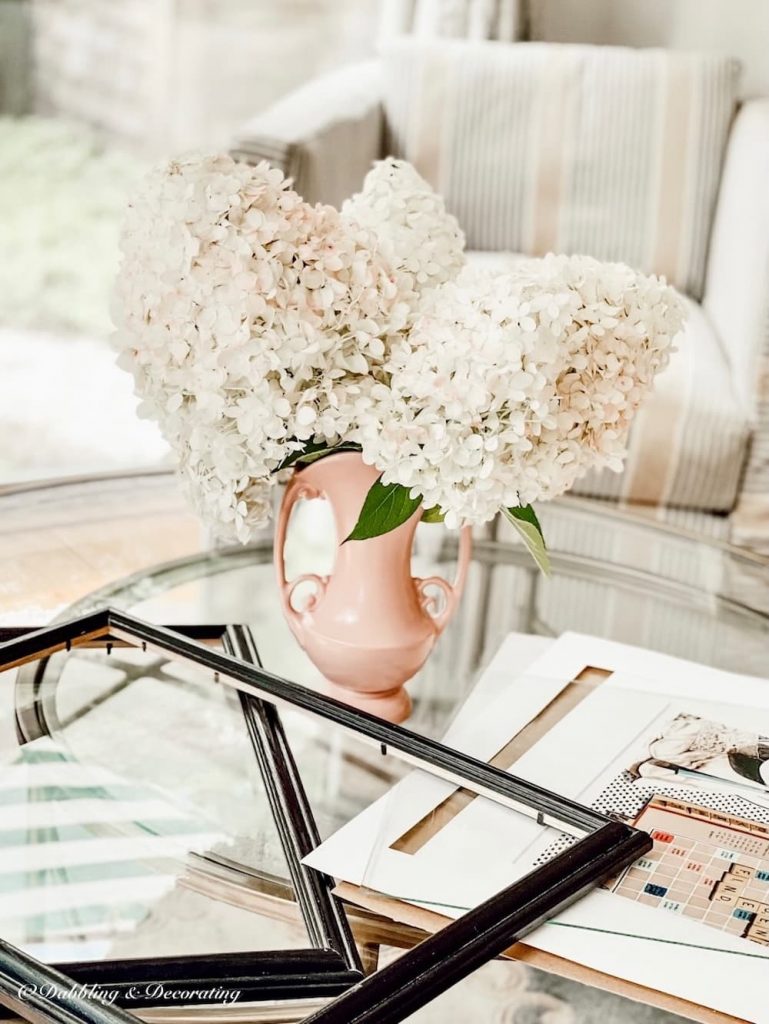
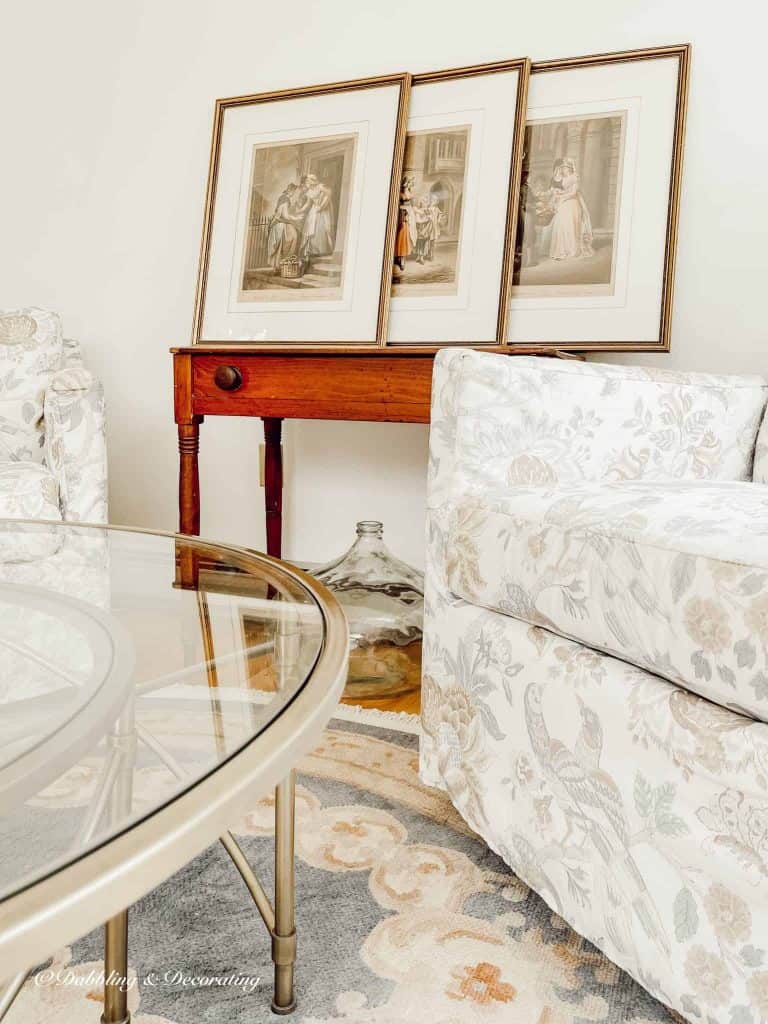
But I didn’t like the budget black frames that they came with. I also picked up this authentic antique gold-framed print behind them, which is the look that I really wanted for them.
Pro Tip
You may also enjoy the post, 3 Finds at a Flea Market Near Me This Weekend.
Step-By-Step Guide for Black to Gold Frames
Let me show you how easy it is to transform inexpensive black frames like these into antique gold frames with Annie Sloan’s Bright Gold Gilded Wax.
This post may contain affiliate links, which won’t change your price but will share some commission.
How to make a picture frame look antique?
It’s so easy, I had no idea!
How do I know?
I dropped by one of my favorite shops here in Maine, Signature Finishes, at The Shops at Cape Neddick. Maureen is my go-to around here for all things in faux finishings.
I bought a tube of Bright Gold Annie Sloan’s Gilded Wax and a small stencil brush at Maureen’s recommendation.
You may also choose from Annie Sloan’s other metallic finishes:
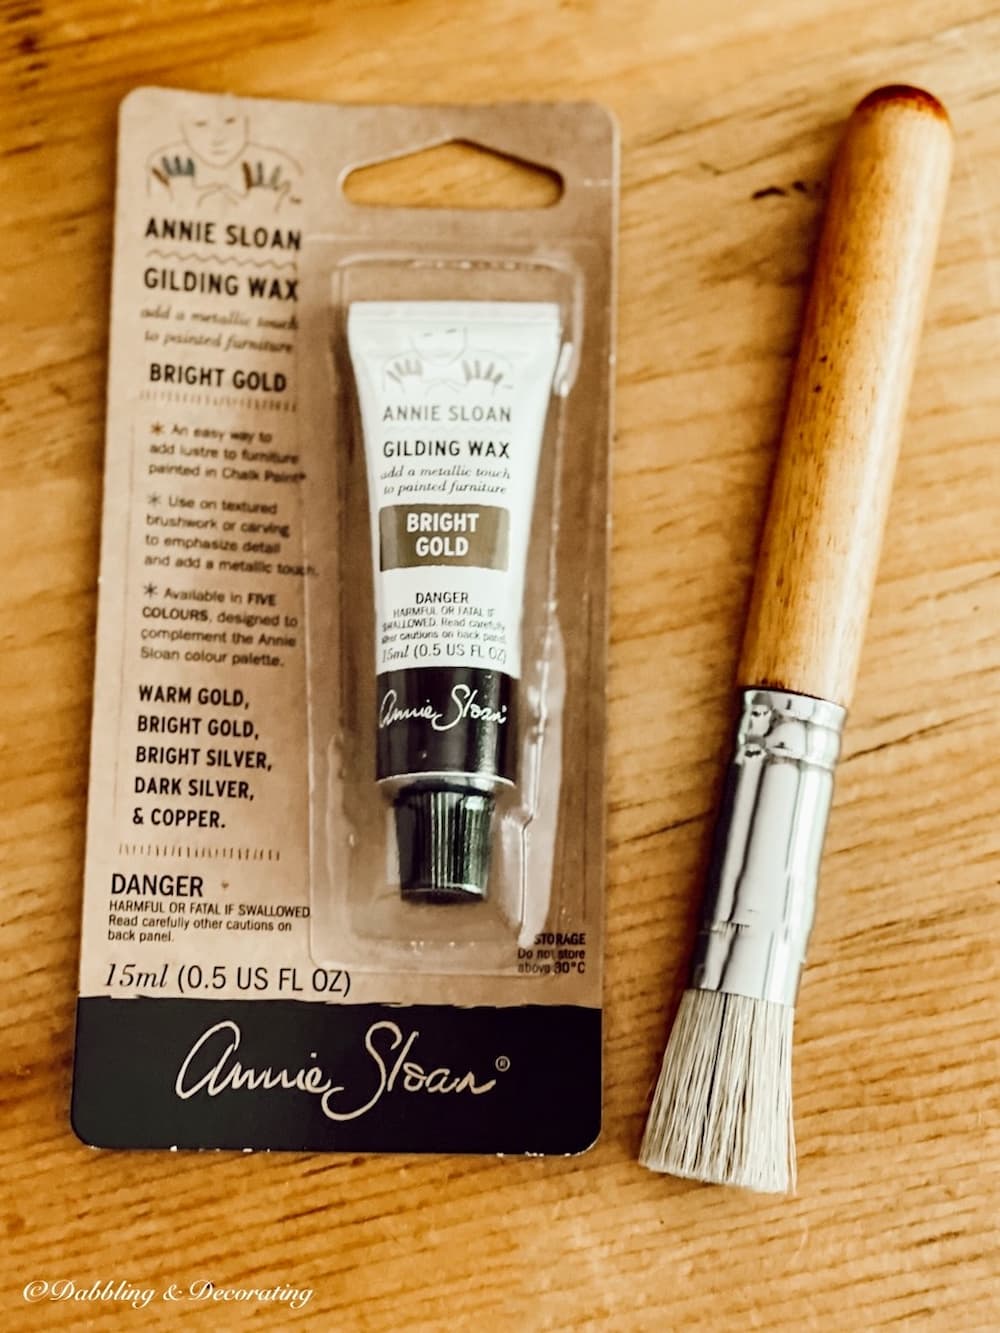
What is Gilded Wax?
“Gilded wax is a quick and easy way to add a metallic touch to your painted furniture. Enhance the texture, detailing, or create gilded shapes, lines, and designs using your favorite Annie Sloan Stencil.” Source: Annie Sloan.
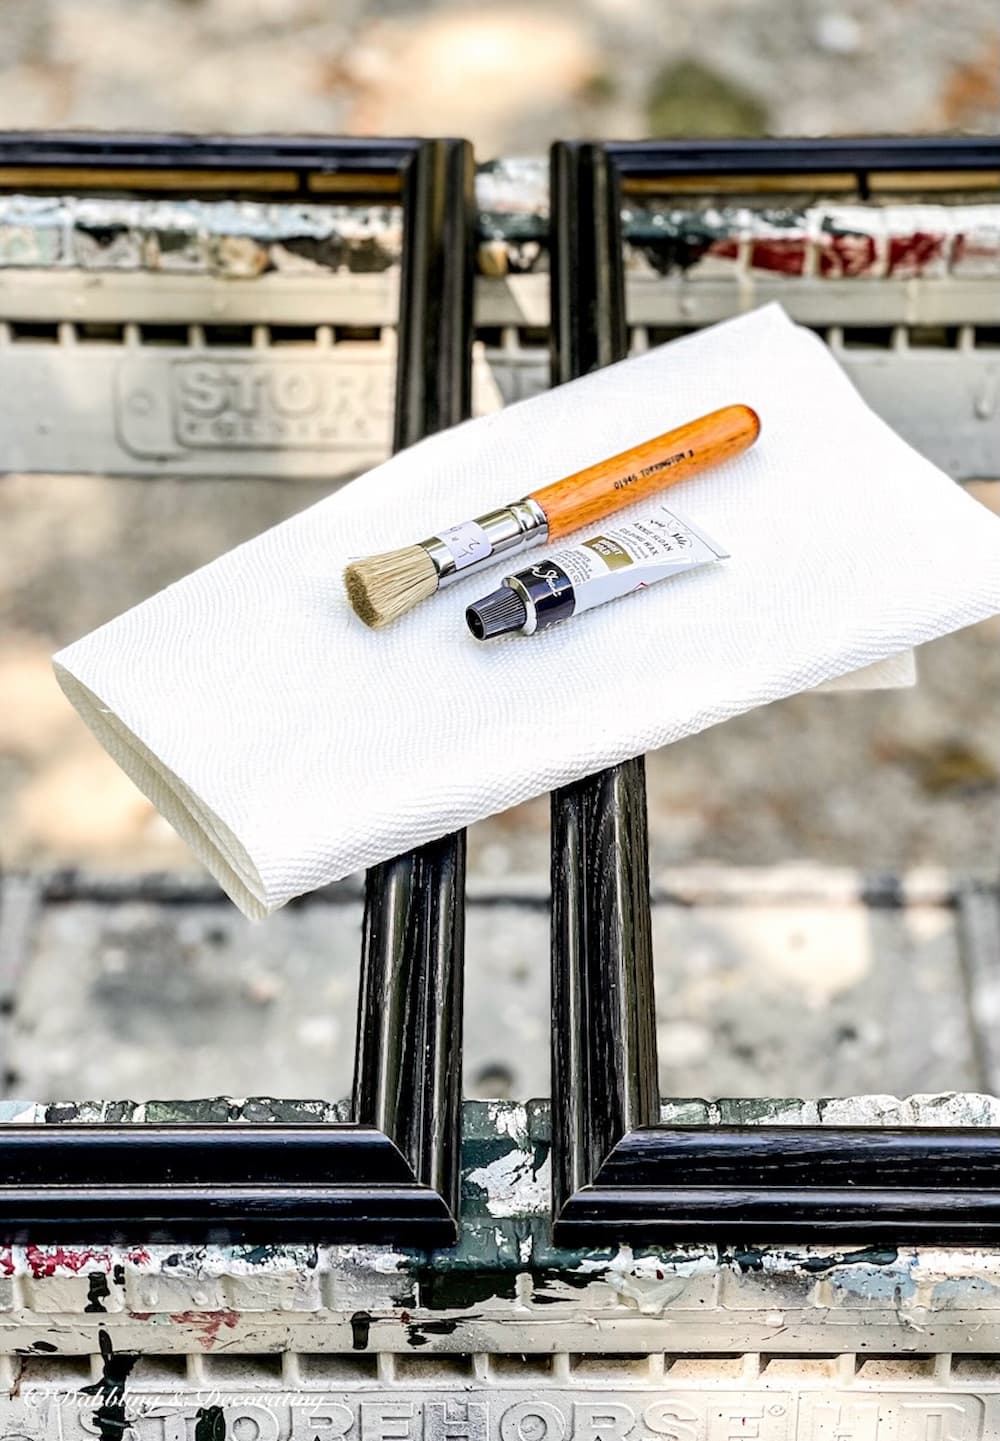
Supplies Needed:
Set Up a Gold Frames Painting Station
I set my workstation up outside with two saw horses as the foundation.
This made it easy to maneuver the frames and have an excellent 360-degree visual of each frame.

How to Wax the Frames
Read and follow the instructions on the back of any package first.
- Squeeze a small amount of the Bright Gold Gilded Wax by Annie Sloan onto the paper towel. You’ll be surprised how far a small tube like this will go! So, start out using it sparingly.
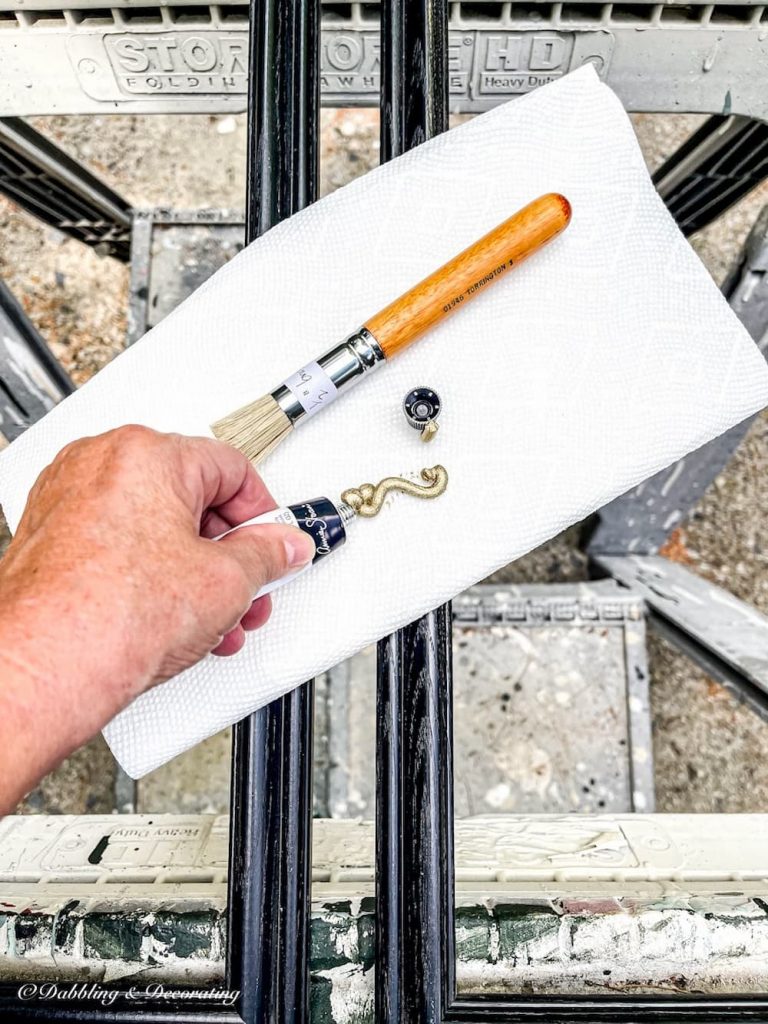
- Dab the stencil brush lightly into the Bright Gold Gilded Wax on the paper towel.
- Start brushing it onto your first black frame.
- Begin by lightly brushing it on the black frame and then filling it in more as you go to suit your liking.
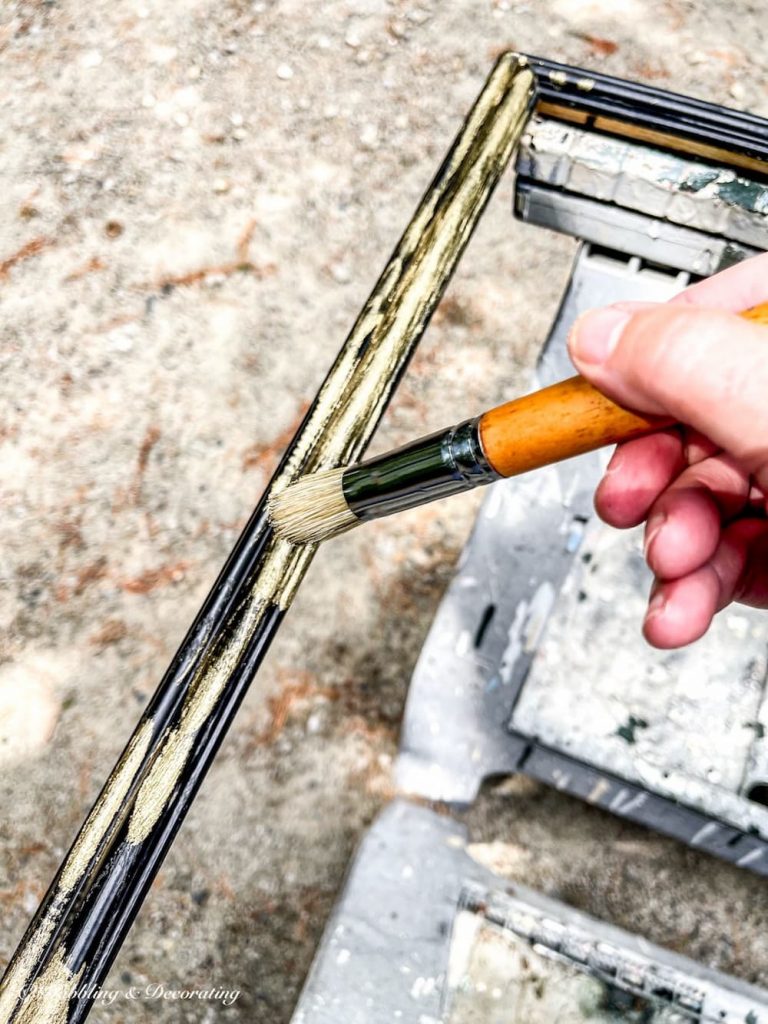
It’s really just this simple!
After finishing the first gold frame with a light coat of Gilded Wax, I could take a step back and determine how much black I wanted to show through.
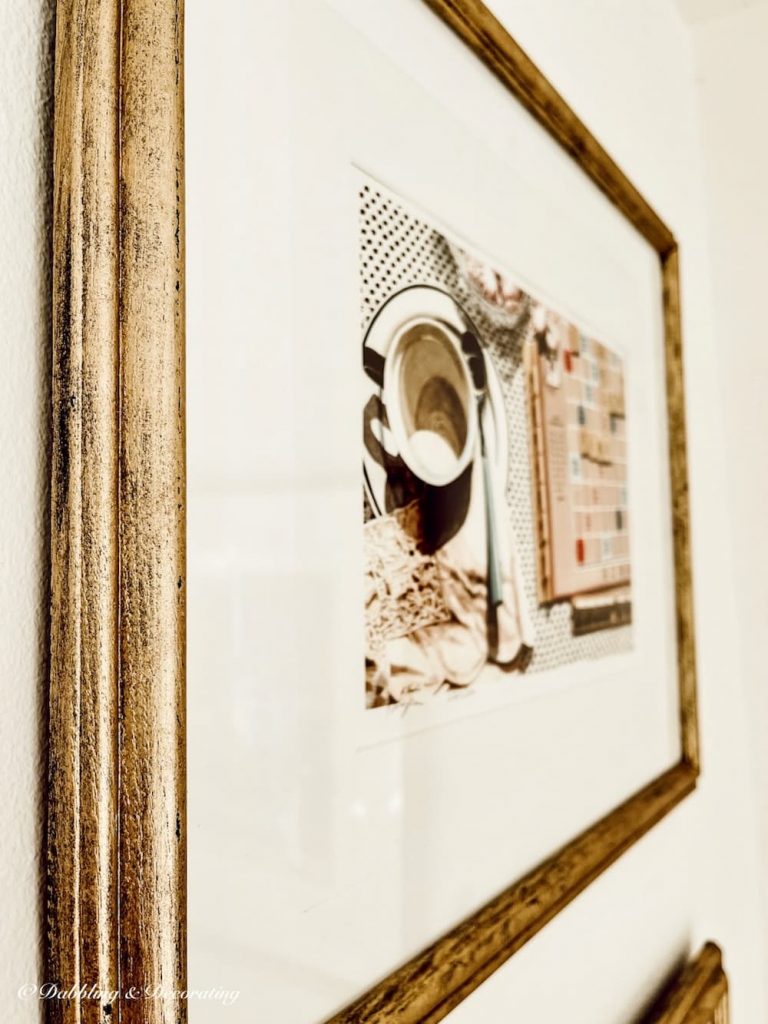
The black on the frame is an essential visual element when antiquing a faux finish.
It will give the frame depth, texture, and vintage look to make it appear authentic.
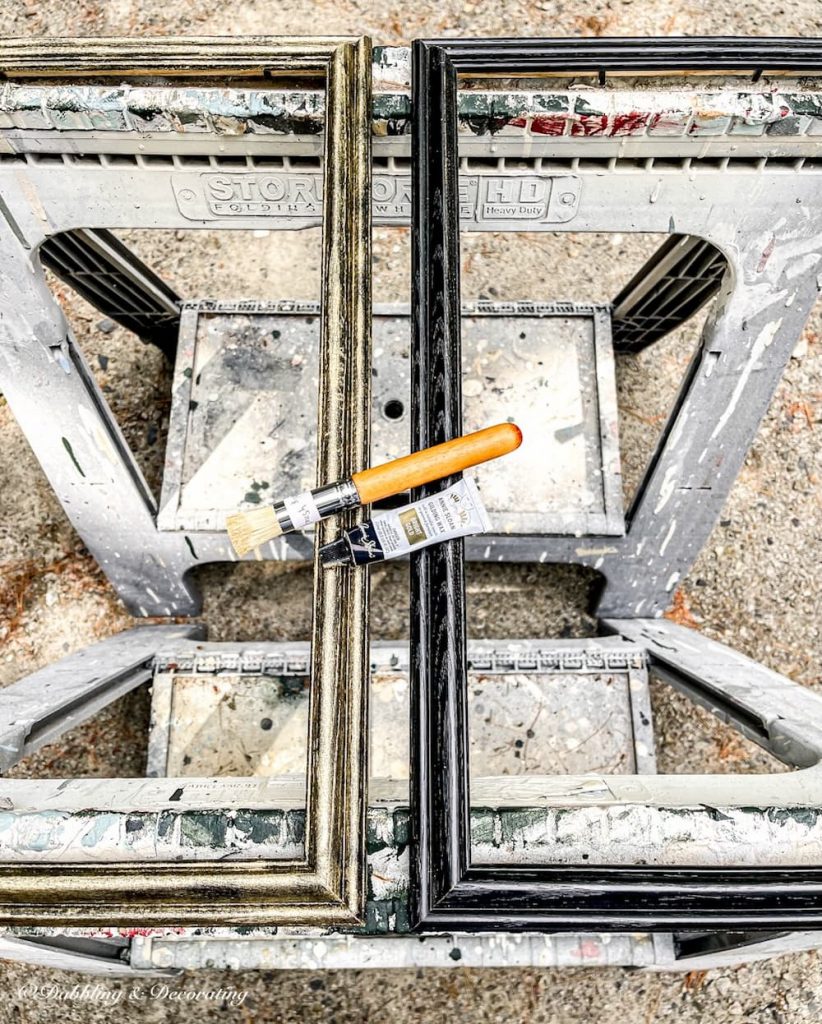
But I didn’t want it heavy in black since these prints will be hanging in our sunroom.
Because of this, I recommend applying a thin layer of the Annie Sloan Gilded Wax and then going back and applying more until you achieve the antique gold look you want.
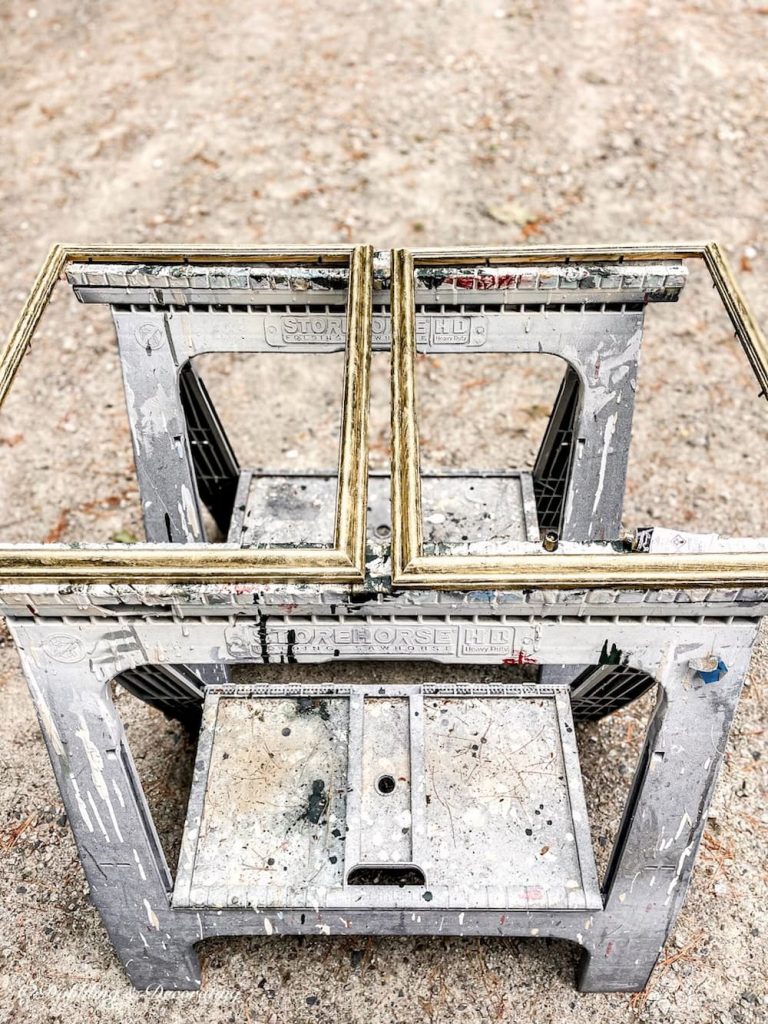
I’ve also heard that Rubb ‘N Buff works well, too…
Let the painted gold frames dry overnight.
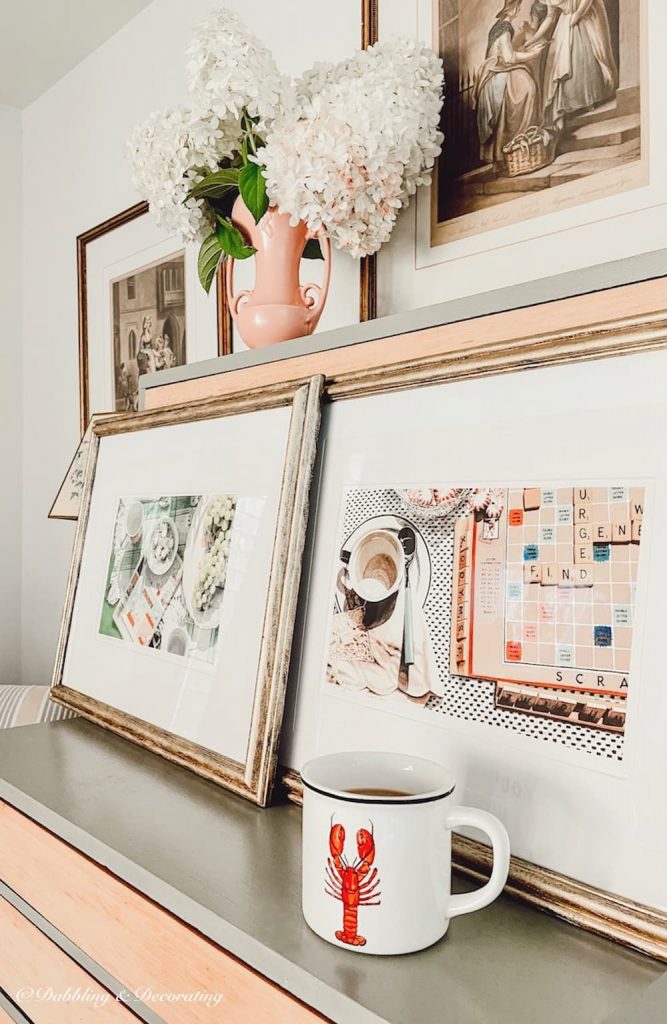
For the price of budget black frames, a little Annie Sloan’s Gilded Wax, and a stencil brush, you can create a beautiful, antique-looking gold frame that will enhance any room in your home.
And how easy was that?
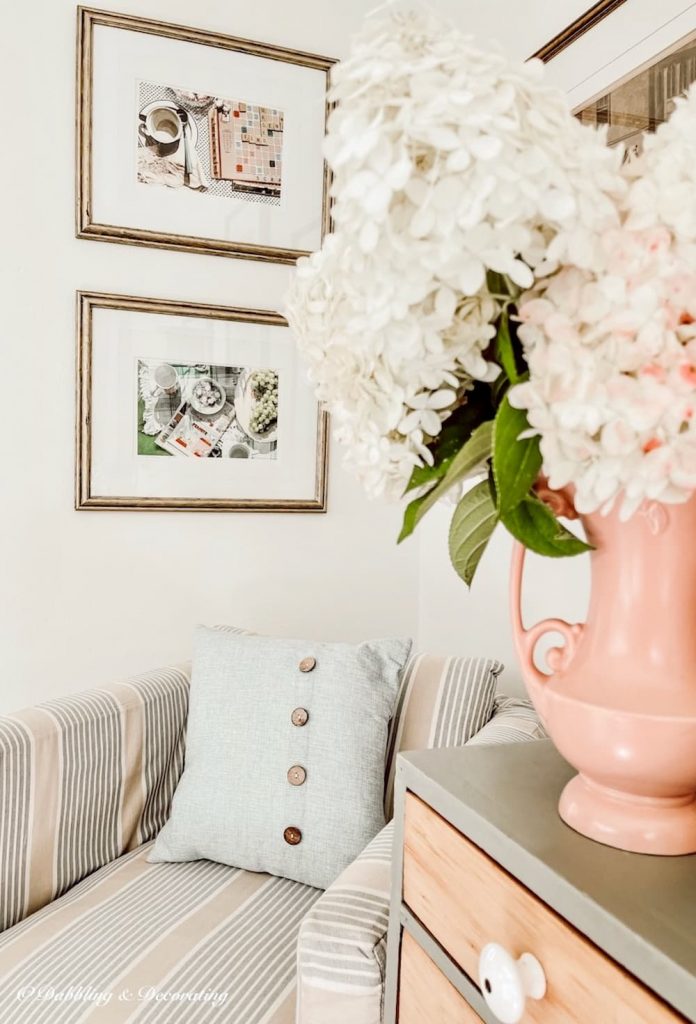
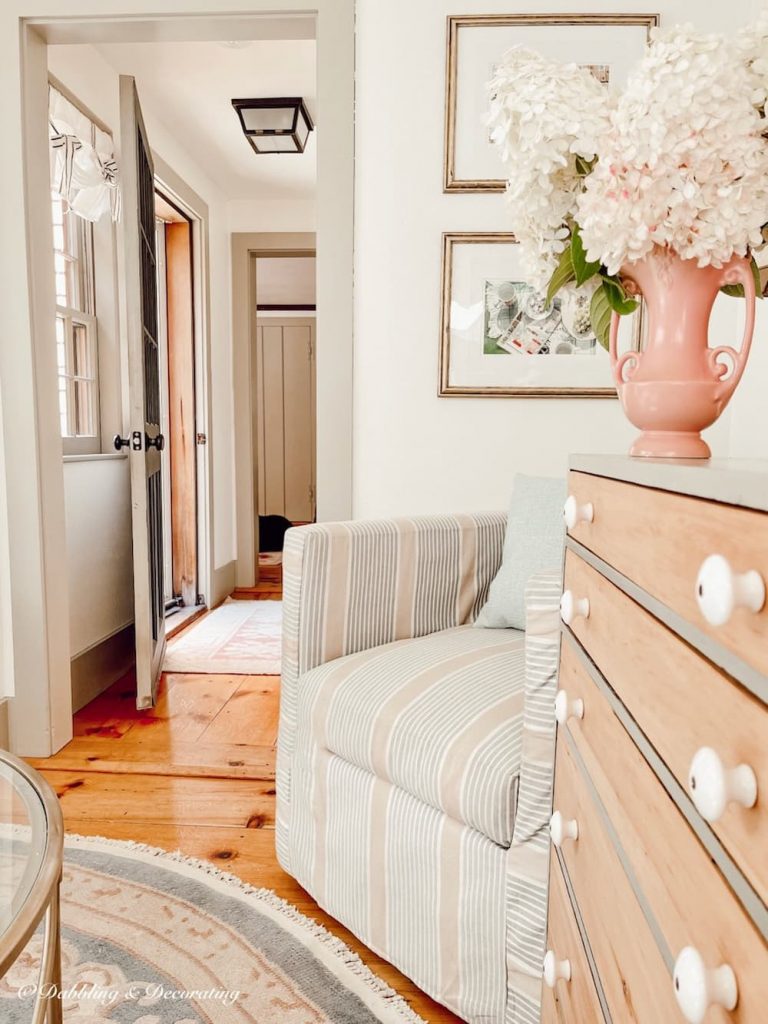
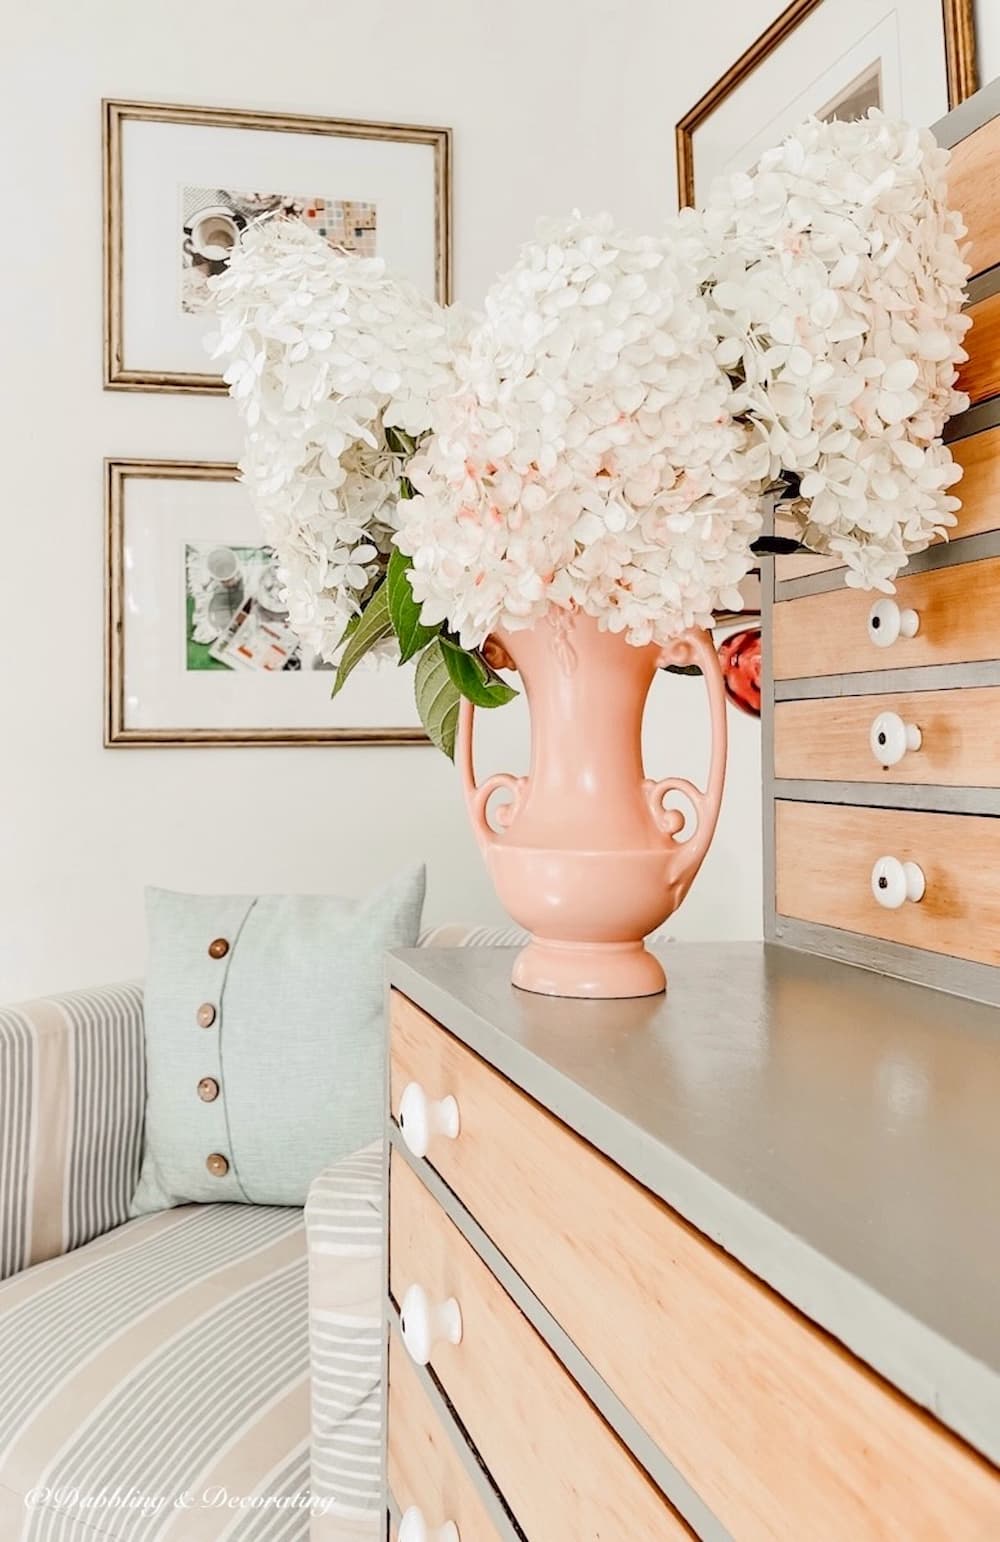
Do you love vintage McCoy vases like the pink one featured here?
Join me for our favorite Thrifting with the Gals blog series, and follow along on all of our thrifting and antiquing adventures.
Your Guide to an Eclectic Style~
I’d love to hear from you! If you have thoughts, questions, or just want to pop in and say hello, feel free to leave a comment below. And if you have a vintage-loving friend, don’t forget to share this post—they might find a little inspiration here too.
Do you have a flair for all things vintage, too? I would love to see and feature you in our Reader’s Showcase Series. A place for you to share and be recognized for your talents and passion for all things thrifting, vintage, and antique decor-related inspired by your time here with Dabbling & Decorating. Email me at [email protected]
Pin forLater!


Ann,
I love Annie Sloan products and these turned out great.
Thanks so much Rachel🫶🏻
Thank you for this ‘timely’ post! I have this exact same project sitting around waiting for me to take action!! I found two framed prints at a garage sale; they were $1 each. I liked the prints, but they needed new matting, and the frames needed painting. But then we moved and I wanted to hang 2 botanical prints in our dining room, one on each side of the hutch. I realized I could use the $1 frames & glass, insert them with the Etsy botanical prints, and I would done!! Except that I am stalling on the gilding of the frames. You have encouraged me and provided good directions. I am probably going to use the rub~n~buff, but I am still a little intimidated by this project!!
Oh wow don’t be intimidated at all Kristine! You can even wipe it off as you go if you don’t like it🙌🏻