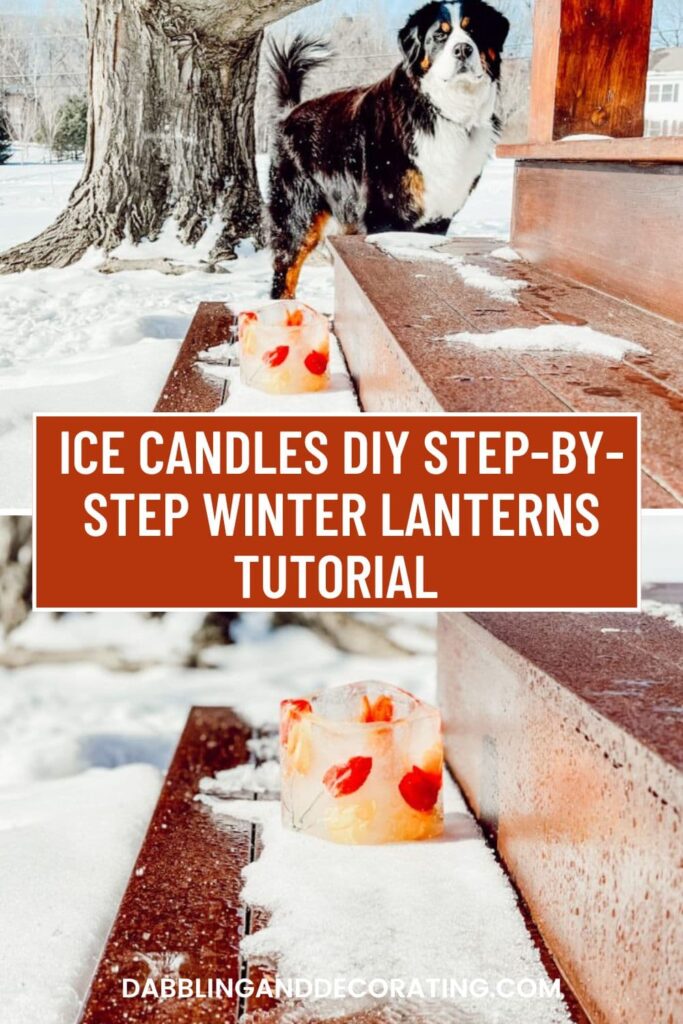
Learn how to create stunning DIY ice candles with this step-by-step winter lanterns tutorial. Perfect for the holiday season, this beautiful ice candle decorating project adds a magical touch to your decor.
Beautiful Ice Candles
Winter is the perfect time to embrace the simplicity of making beautiful ice candles.
Using everyday items like milk cartons and old candles, you can create enchanting DIY lanterns that add a warm, magical glow to your holiday decor.
What are Ice Candles or Ice Lanterns?
Ice candles, also known as ice lanterns, are stunning creations made by freezing water to form a block of ice or an ice vessel with a hollow center to hold a candle.
Historically, they’ve been used in Nordic and Scandinavian traditions to light up winter evenings with their enchanting glow.
These lanterns are a beautiful way to add warmth and charm to outdoor pathways, porches, or even interior spaces for seasonal decor.
Pro Tip
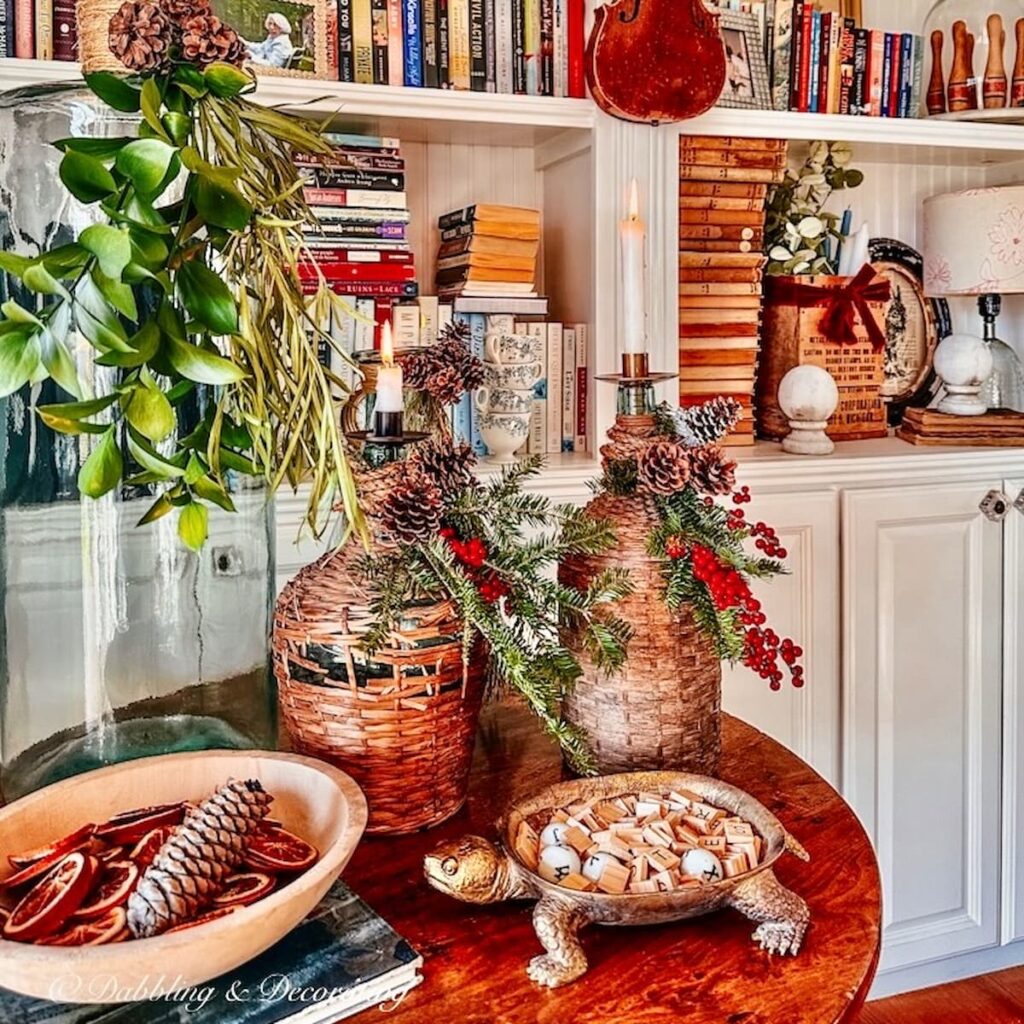
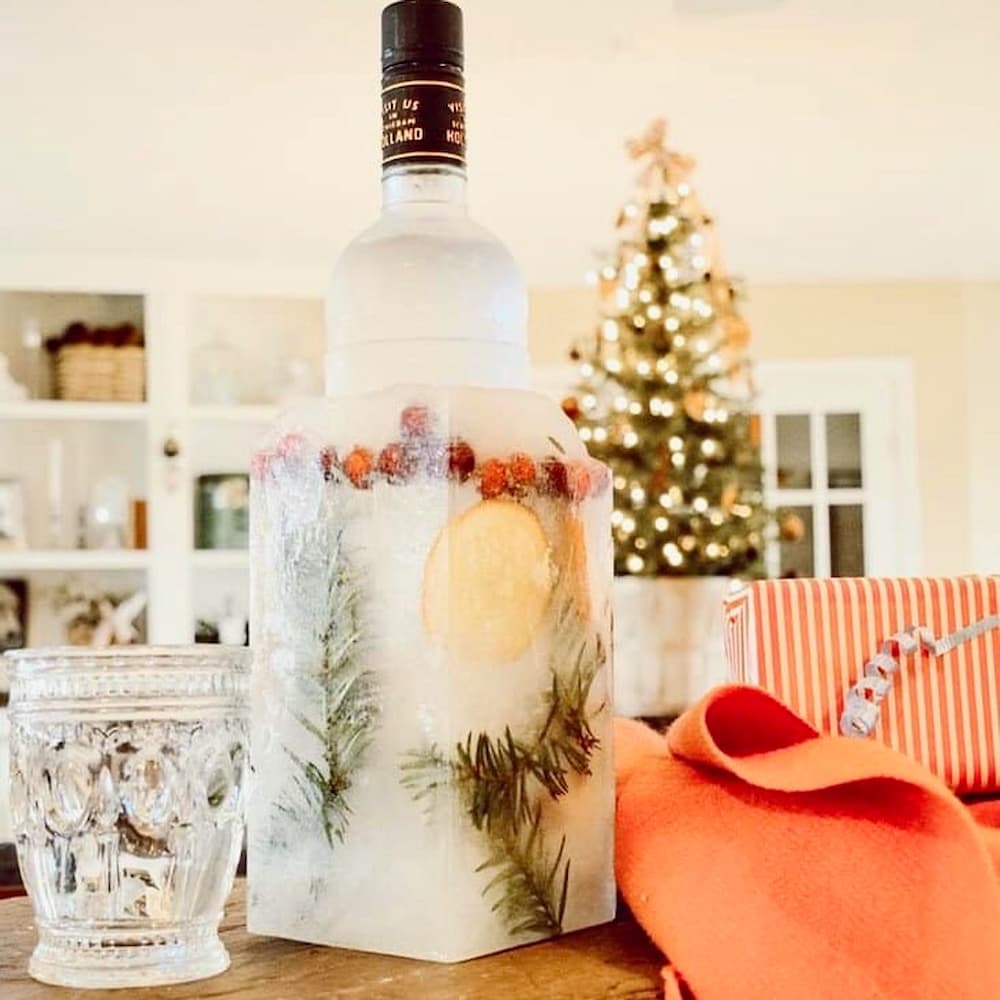
You may also find inspiration in this Firelight, Evergreens, and Snow: The Christmas Bottle Project of Swedish Homes post.
The simplicity of making them—with a short project list of items like water, milk cartons, and candles—makes them an easy yet elegant craft.
The finished candle, encased in shimmering ice, creates a magical ambiance perfect for winter gatherings or holiday displays.
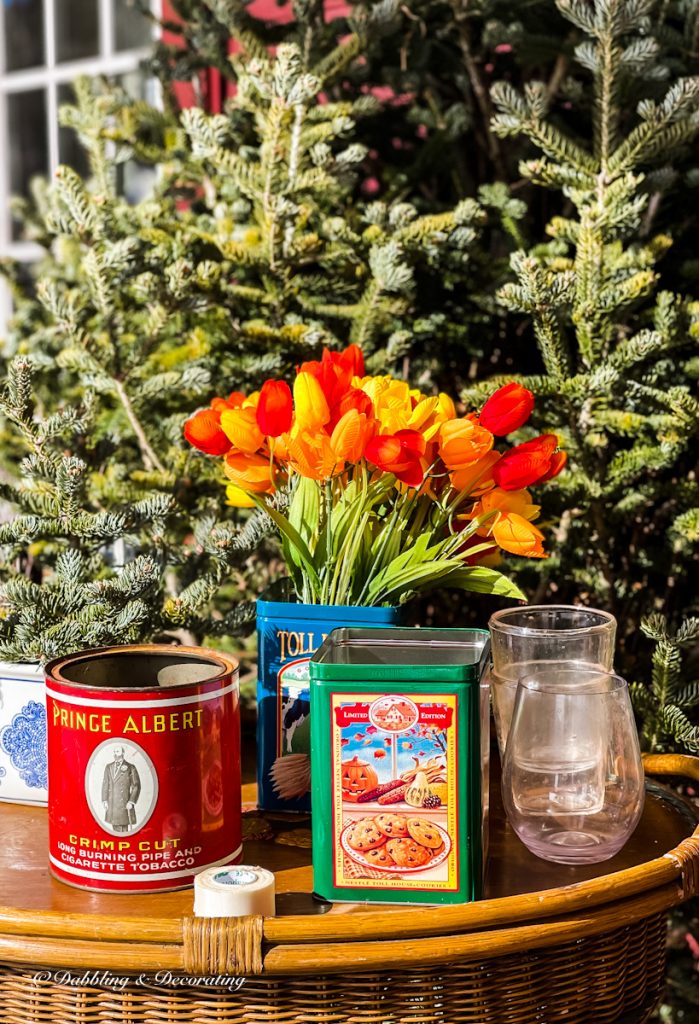
Supplies You’ll Need for For These Ice Candles:
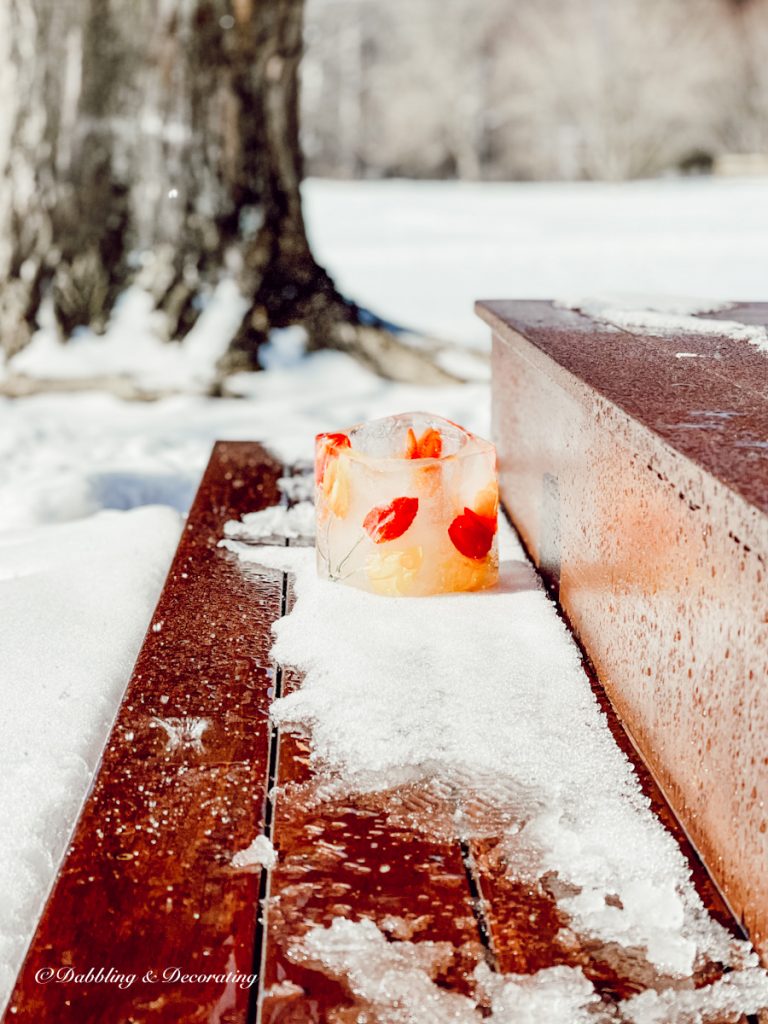
I used what I could find from around our house to craft these three ice votives for our porch to share with you here today.
Step-By-Step Ice Candles DIY Tutorial
Step 1:
First, begin by taking a large tin can, carton, or the like and filling it with about 1/2 a cup of cold water.
Step 2:
Place the smaller tin can, cup, etc., inside the larger tin can. (In my case, I used a plastic cup instead of a small tin can, as I didn’t have any on hand.)
Step 3:
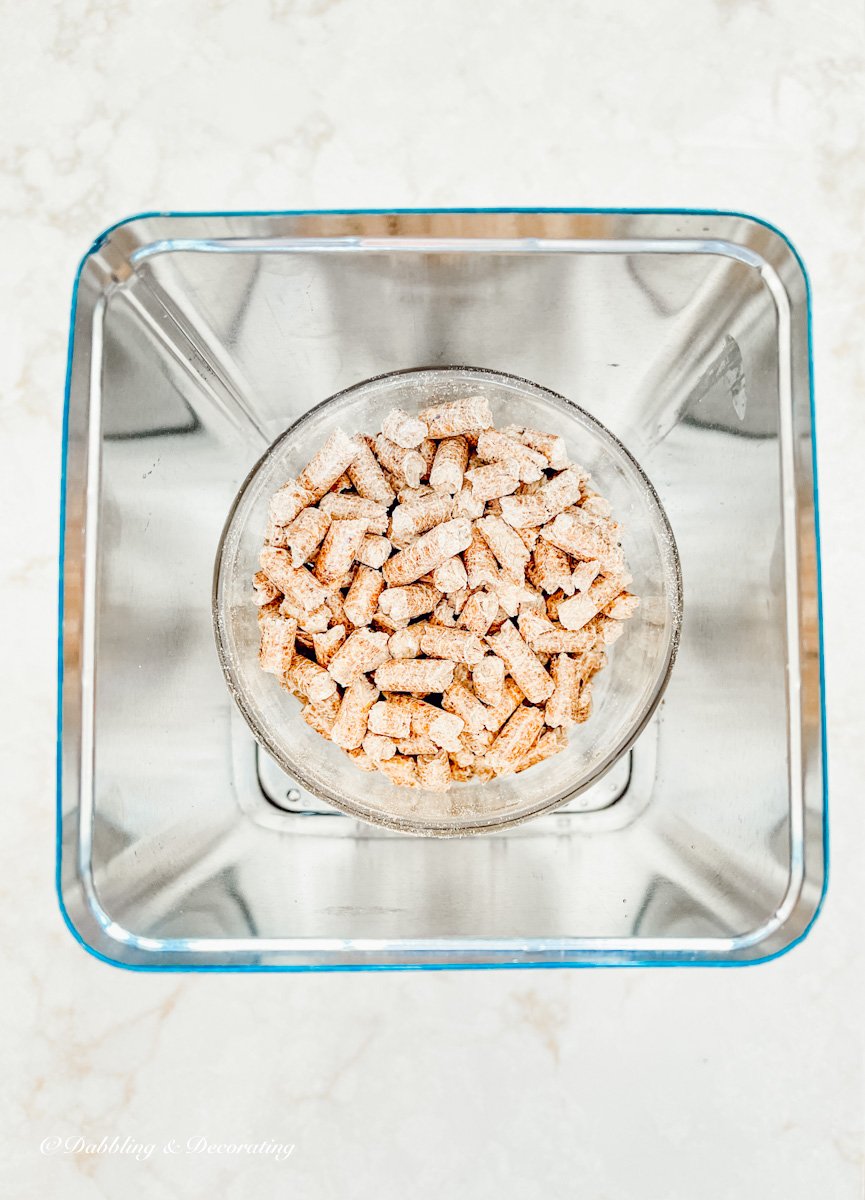
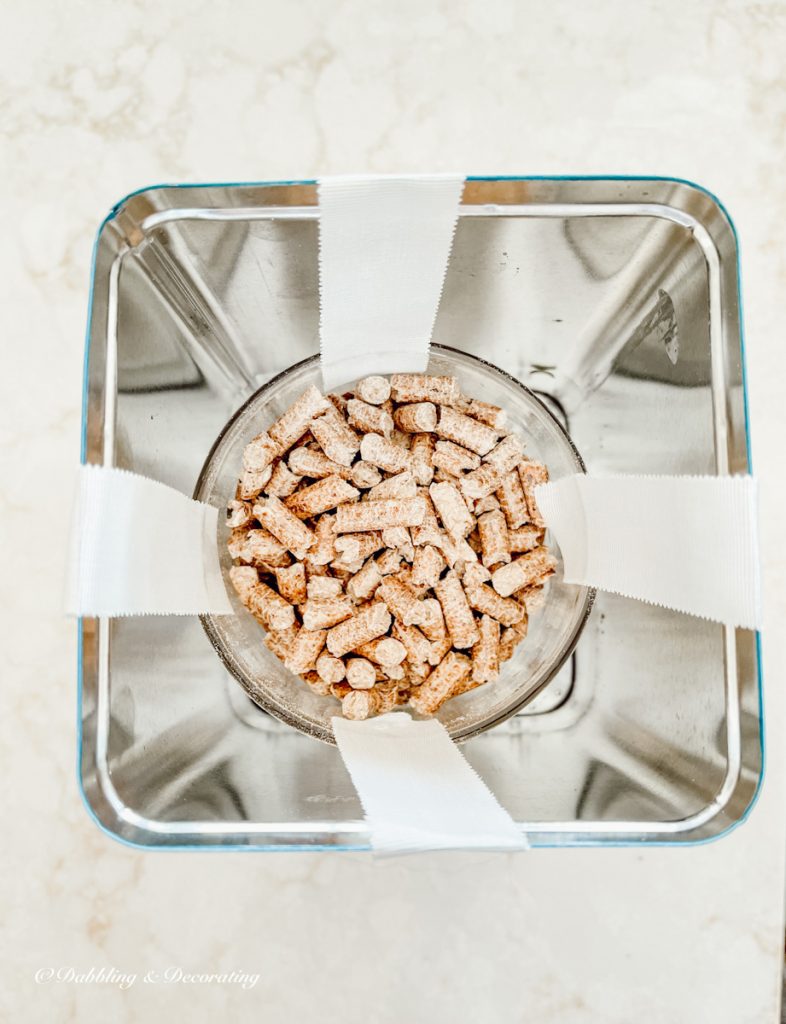
Fill the smaller inside container with stones, dirt, or, in my case, wood pellets to weigh down the inside container.
Your containers should now look something like this:
Pro Tip
You may also find more winter inspiration in this How to Create an Ice Bucket for Entertaining post.
Step 4:
Next step, secure the inside smaller container with tape as I did here:
Step 5:
Now, you will want to choose your favorite pieces to accent your winter lanterns.
You can use faux flowers, berries, evergreens, leaves, or whatever else you want to freeze inside for the decorative coloring of your ice candles.
As I do in this photo below, you can fill all sides of your ice candle tin with your selected accents.
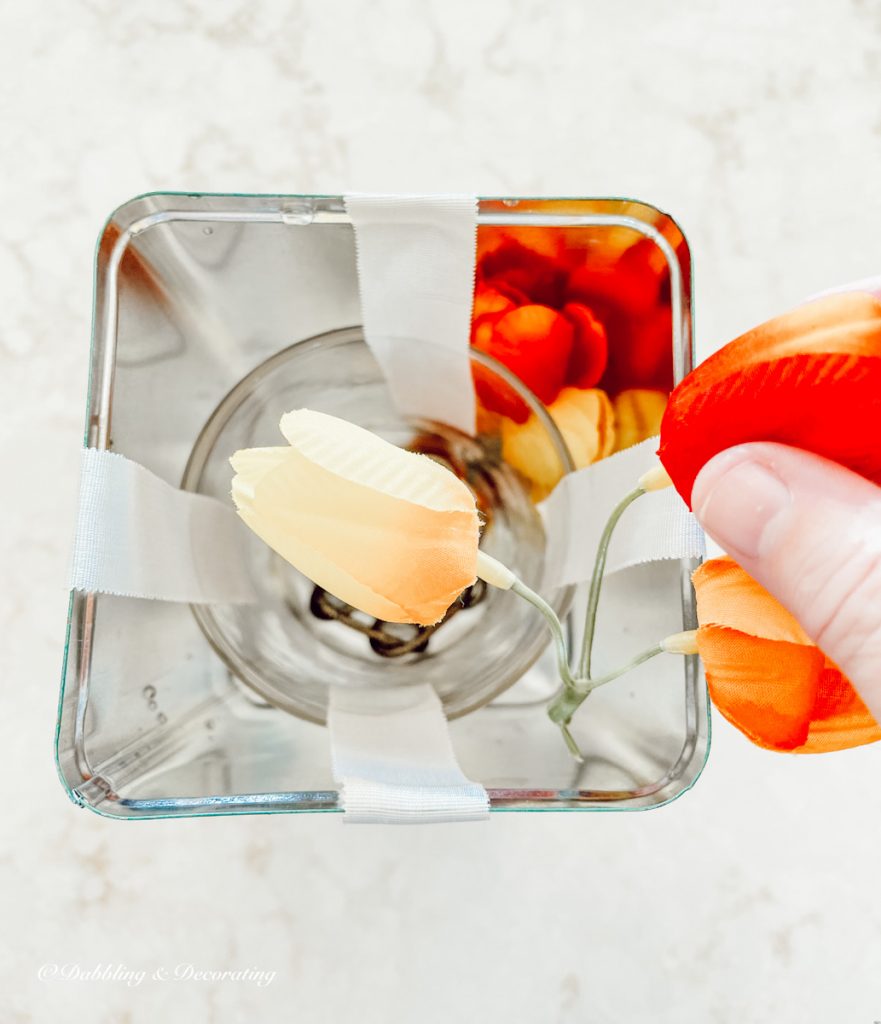
Experiment with your ice candle accents. I have found moderation is better than too much. Just a few branches or berries are smarter than too many.
Step 6:
Now, you’ll want to fill the sizeable outside ice candle container with water, about a third up the side of the inside container.
The inside container should remain firm on the bottom.
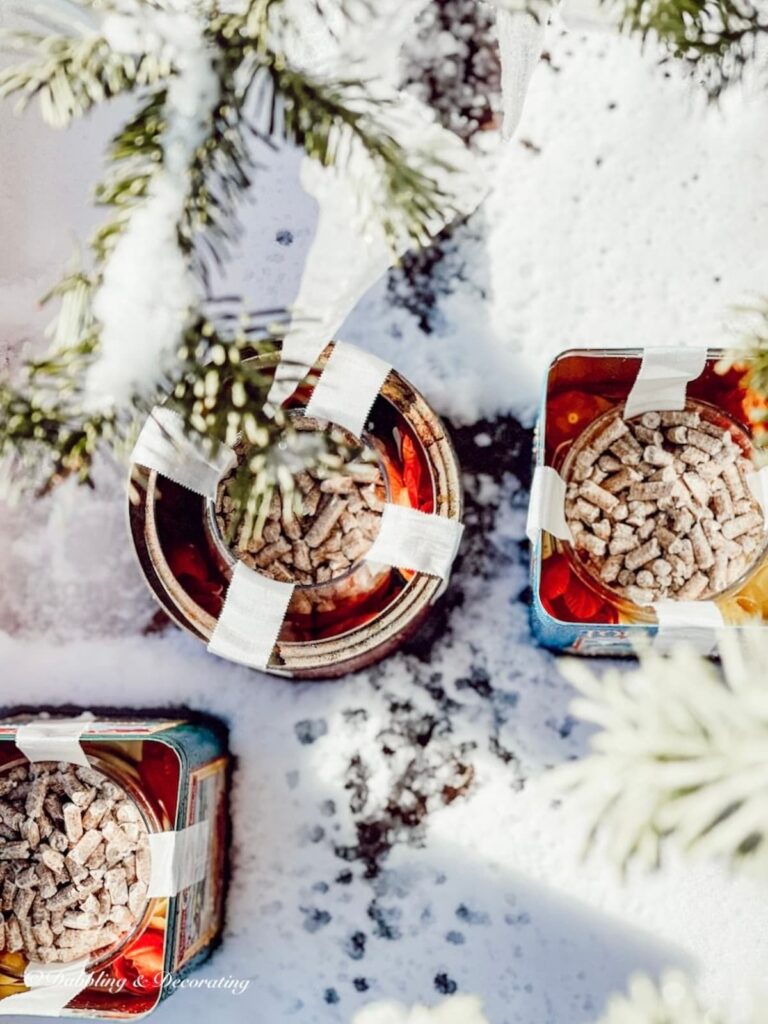
Now, place the ice candle tins outside, if the temperature is below freezing, or in your freezer overnight until completely frozen, 6-8 hours.
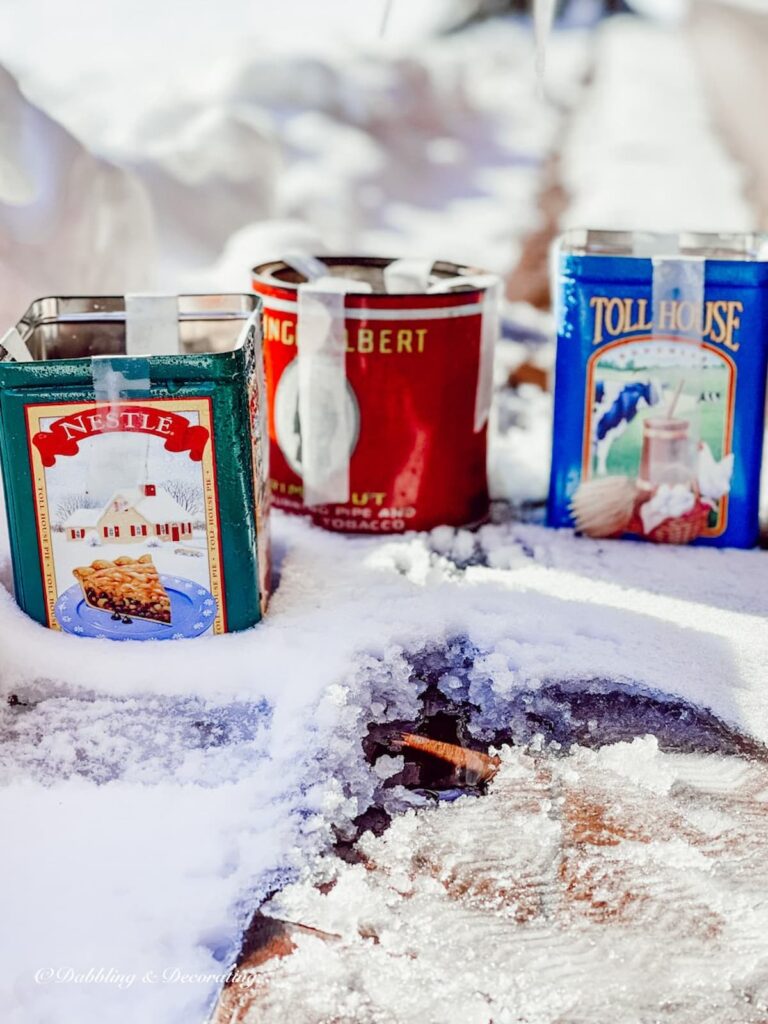
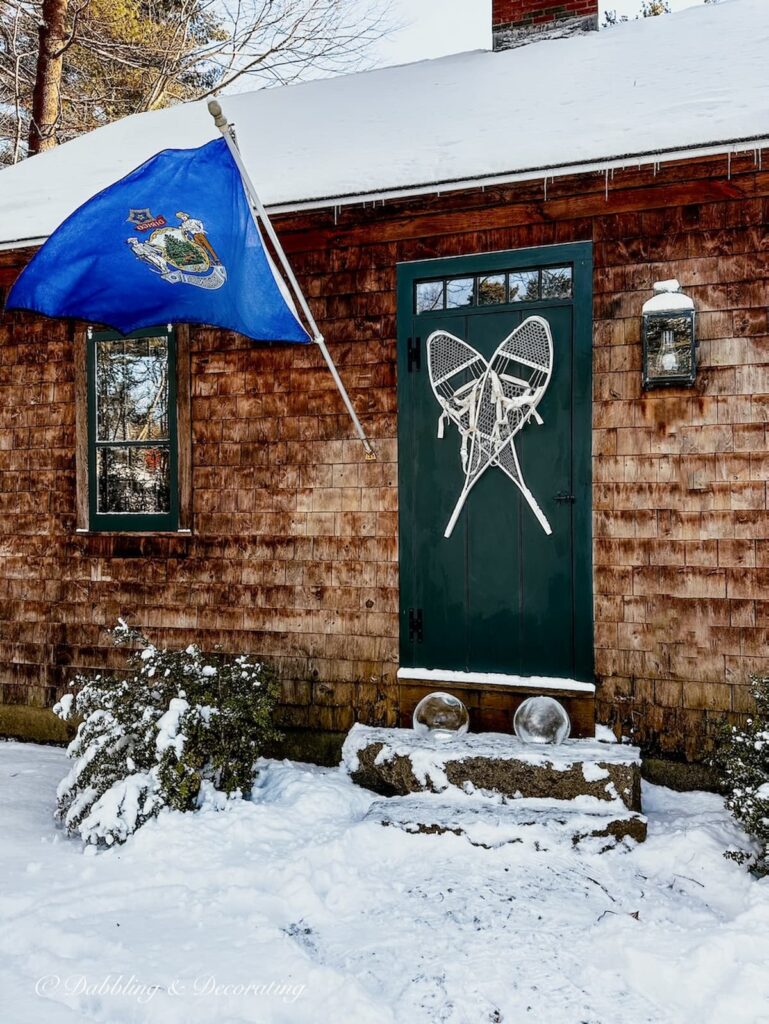
Pro Tip
You may also find inspiration in this Ice Lantern Kit: Deluxe DIY Winter Globe Luminaries post.
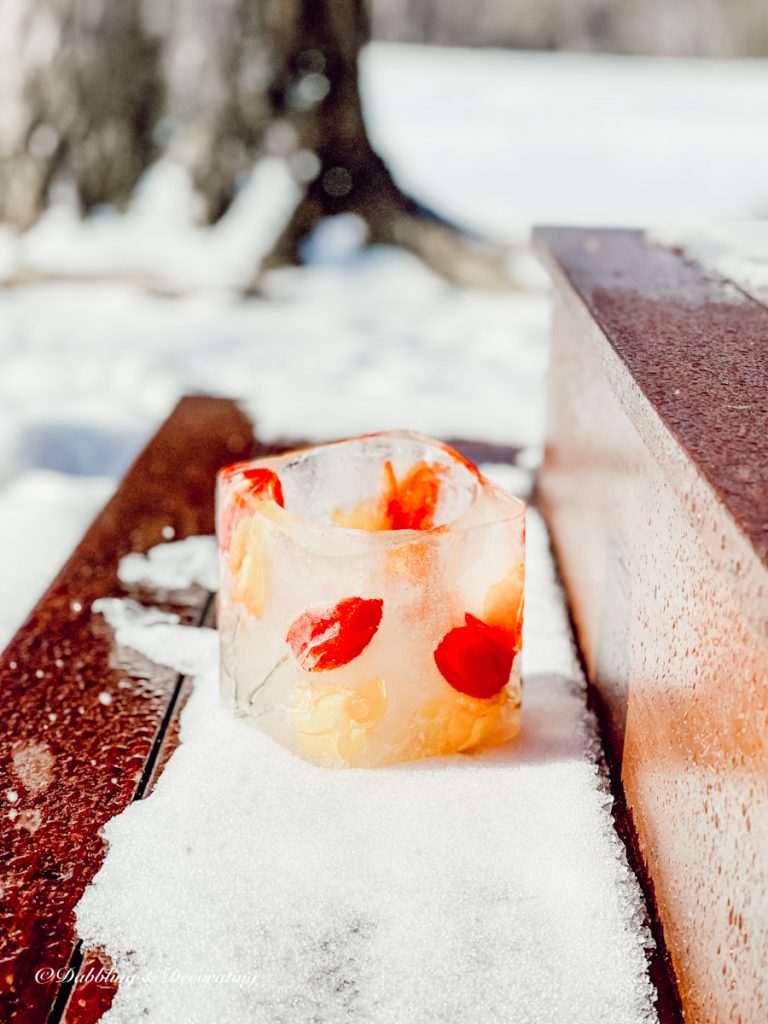
After leaving my ice candles outside overnight in the snow, I couldn’t wait to go outside to check on my new ice candles to see how they turned out.
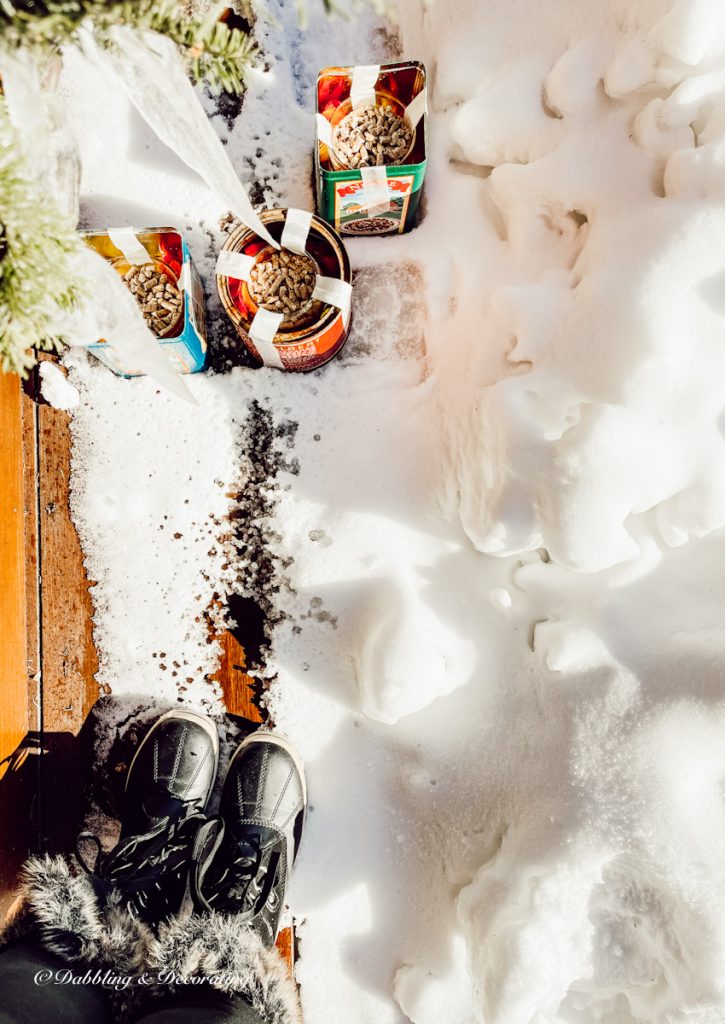
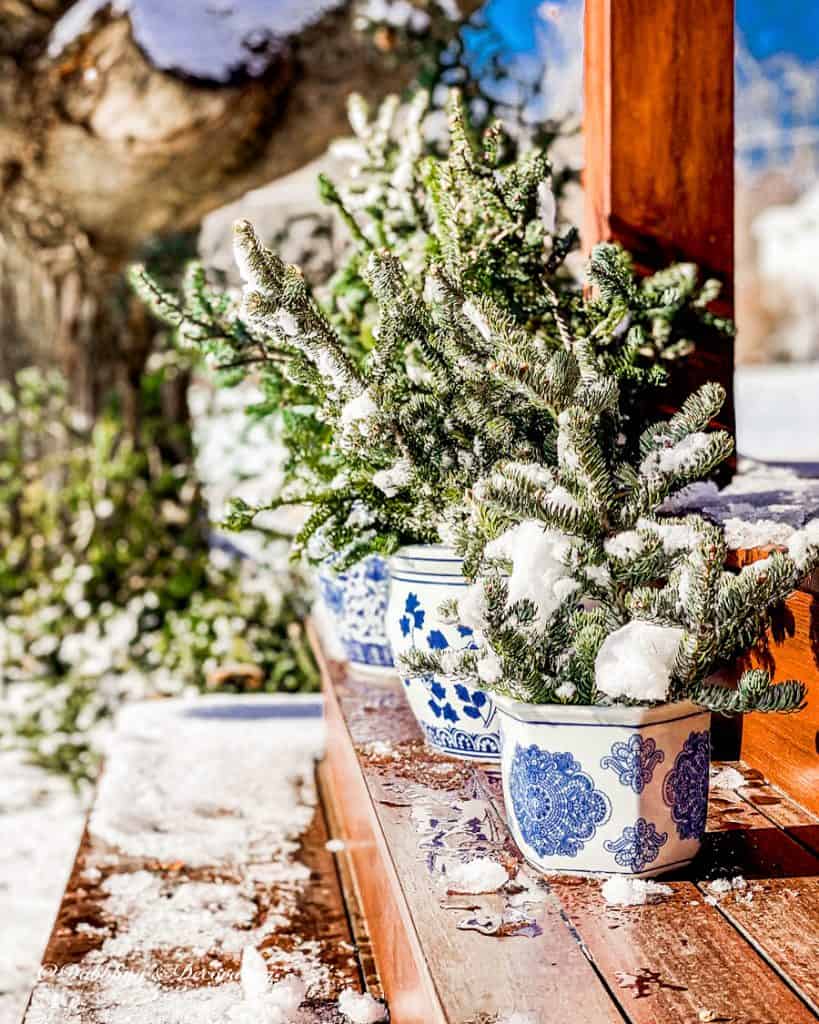
Pro Tip
You may also enjoy this Usher in Winter with Blue and White Chinoiserie Decor post for more winter decorating ideas.
Step 7:
Once your new frozen luminaries are frozen, run warm water on the outside container, loosening up the ice in the frozen containers. They should loosen right up and slide right out.
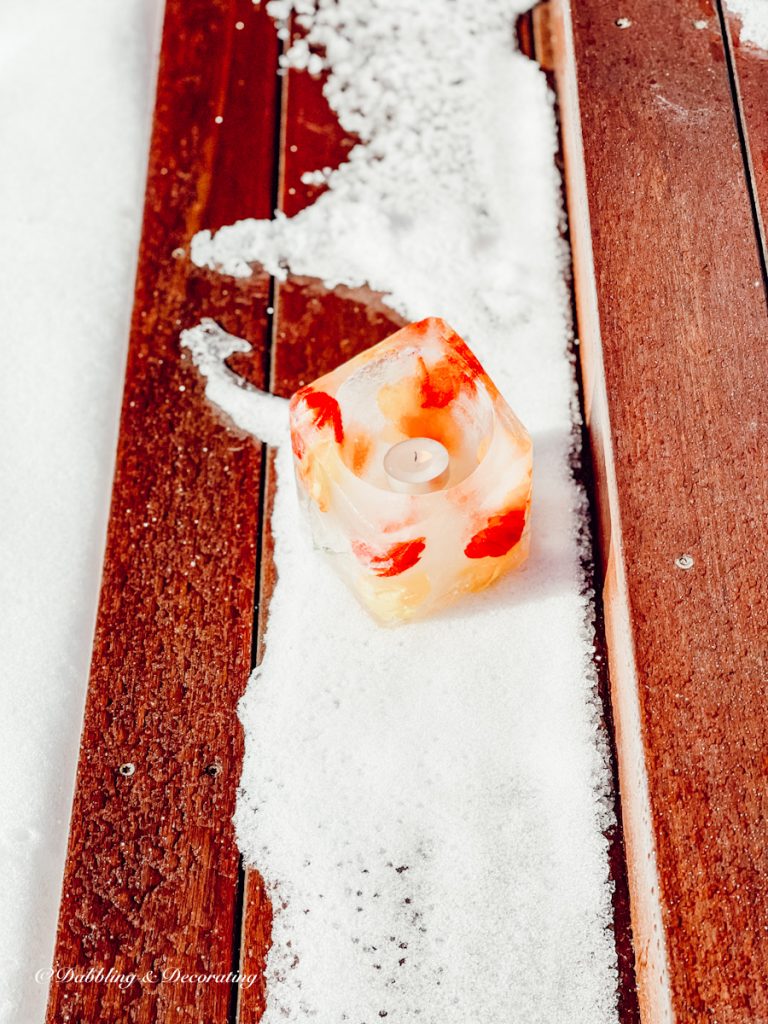
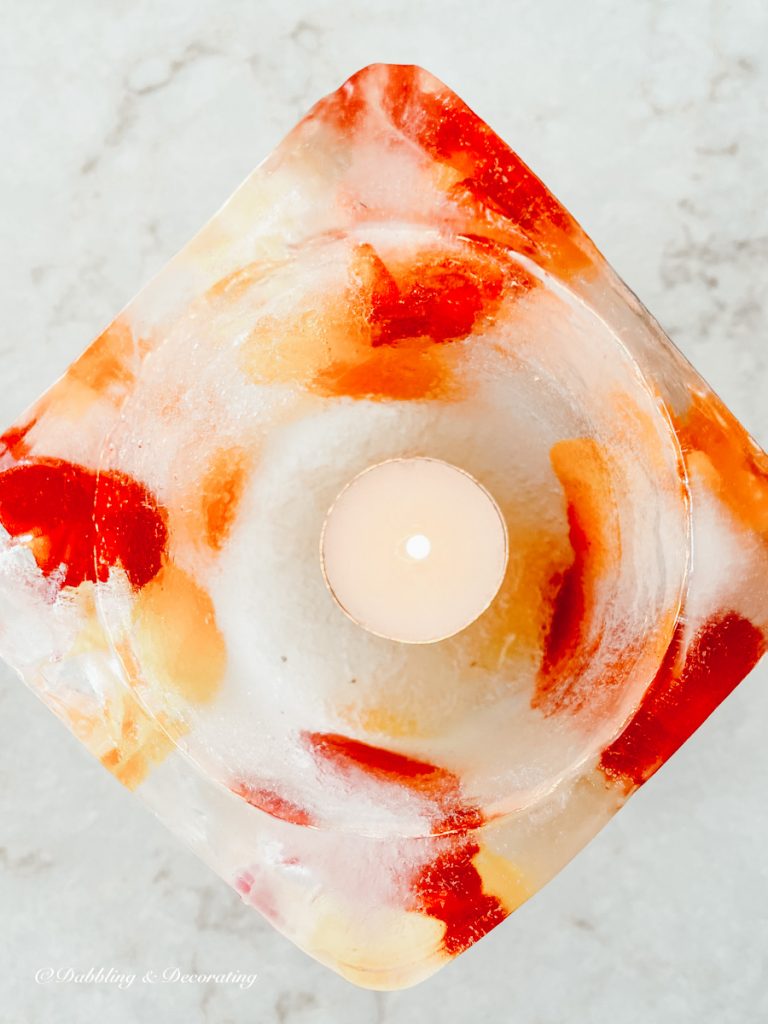
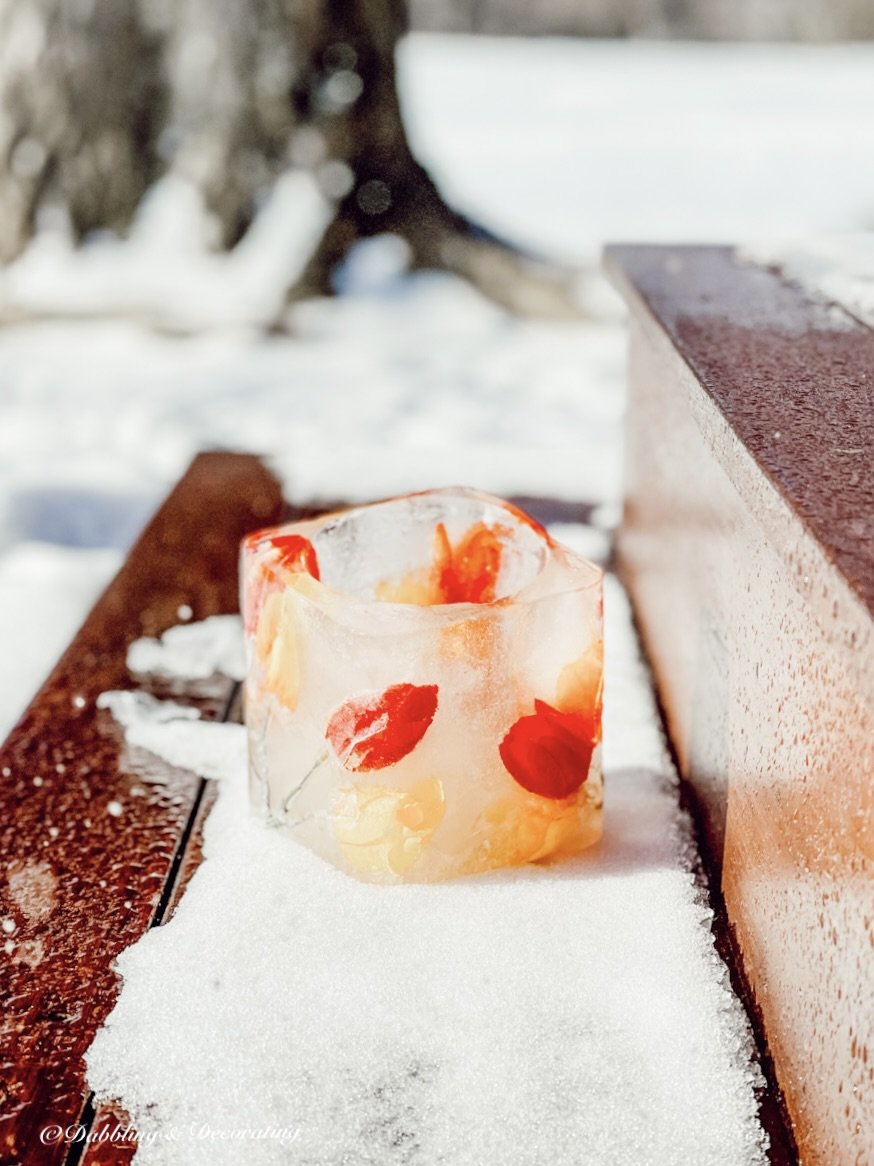
My ice lanterns now look like this, and I added a straightforward tea light candle.
What You Should Avoid When Making Ice Candle Holders?
Water naturally expands when frozen. Avoid containers with a lip on the top or inside, as you won’t be able to slide the ice candles out of the tin. I learned this the hard way…
Ensure all your containers have no small leaks. Or you’ll find them empty in the morning…
How cute and easy is this winter craft?
Pro Tip
You may find more winter design inspiration in this Homes in Sweden | My 10 Favorite post.
How to Decorate with Ice Candles
DIY ice candles are a creative and versatile decorating project that can transform your spaces into a magical winter wonderland.
One of the biggest reasons they’re so popular is their simplicity and affordability—you can use thrifted containers and inexpensive things to create stunning designs.
These candle vessels are a good option for adding elegance to both outdoor and indoor decor, making them a favorite for crafty life enthusiasts. Here are some ideas for decorating with beautiful ice candles:

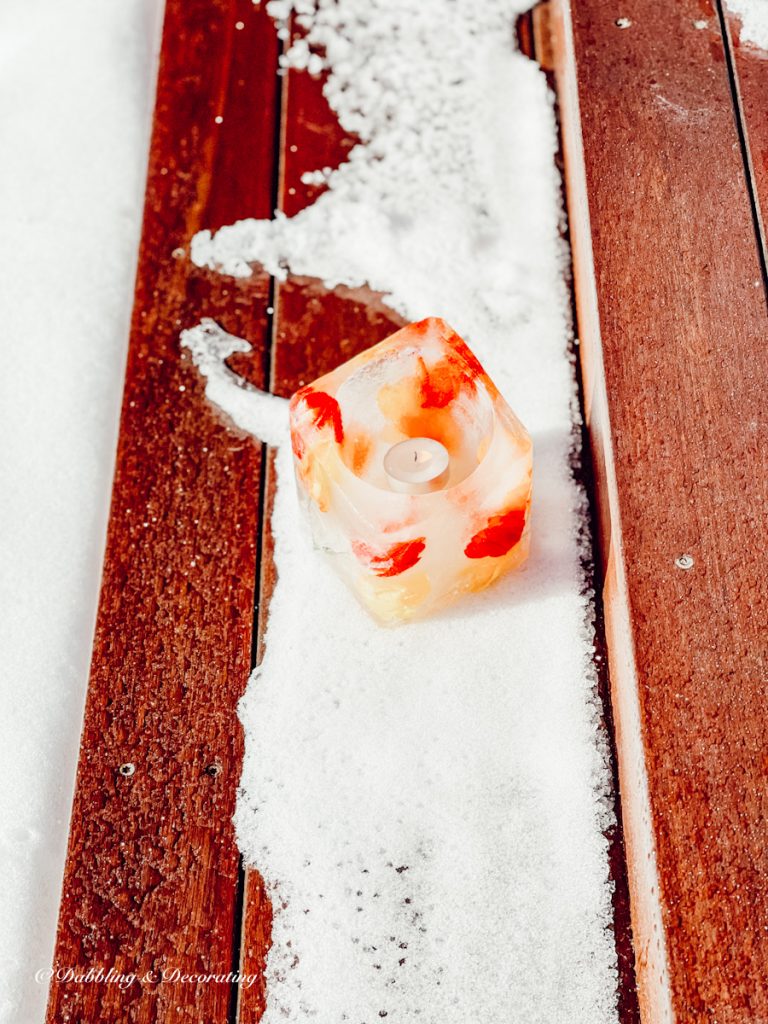
I love how the colorful tulips in the ice candles provide hope for spring. Don’t you think?
Creating a DIY ice candle is a fun and rewarding project that’s perfect for this time of year.
The first step is gathering simple materials—maybe even raiding Mom’s kitchen for supplies like milk cartons or old candles!
It’s a great time to embrace the season’s beauty and bring a little winter magic to your home with these glowing creations.
Your Guide to an Eclectic Style~
I’d love to hear from you! If you have thoughts, questions, or just want to pop in and say hello, feel free to leave a comment below. And if you have a vintage-loving friend, don’t forget to share this post—they might find a little inspiration here too.
Do you have a flair for all things vintage, too? I would love to see and feature you in our Reader’s Showcase Series. A place for you to share and be recognized for your talents and passion for all things thrifting, vintage, and antique decor-related inspired by your time here with Dabbling & Decorating. Email me at [email protected]
Pin forLater!


This is so pretty and fun Ann!!! I need to do this at my house! Thanks for the inspiration!
Thanks so much Kristin😃
This is the cutest idea, Ann. I absolutely love how it turned out.
Ann, these candle holders are just so cute. I’m sharing on my Sunday post.